The body has just been removed exposing the bare chassis right side view.
1 / 230
Left rear view of exposed chassis immediately after the body was removed.
2 / 230

The very important chassis number 1156 has been located on the front crossmember.
3 / 230
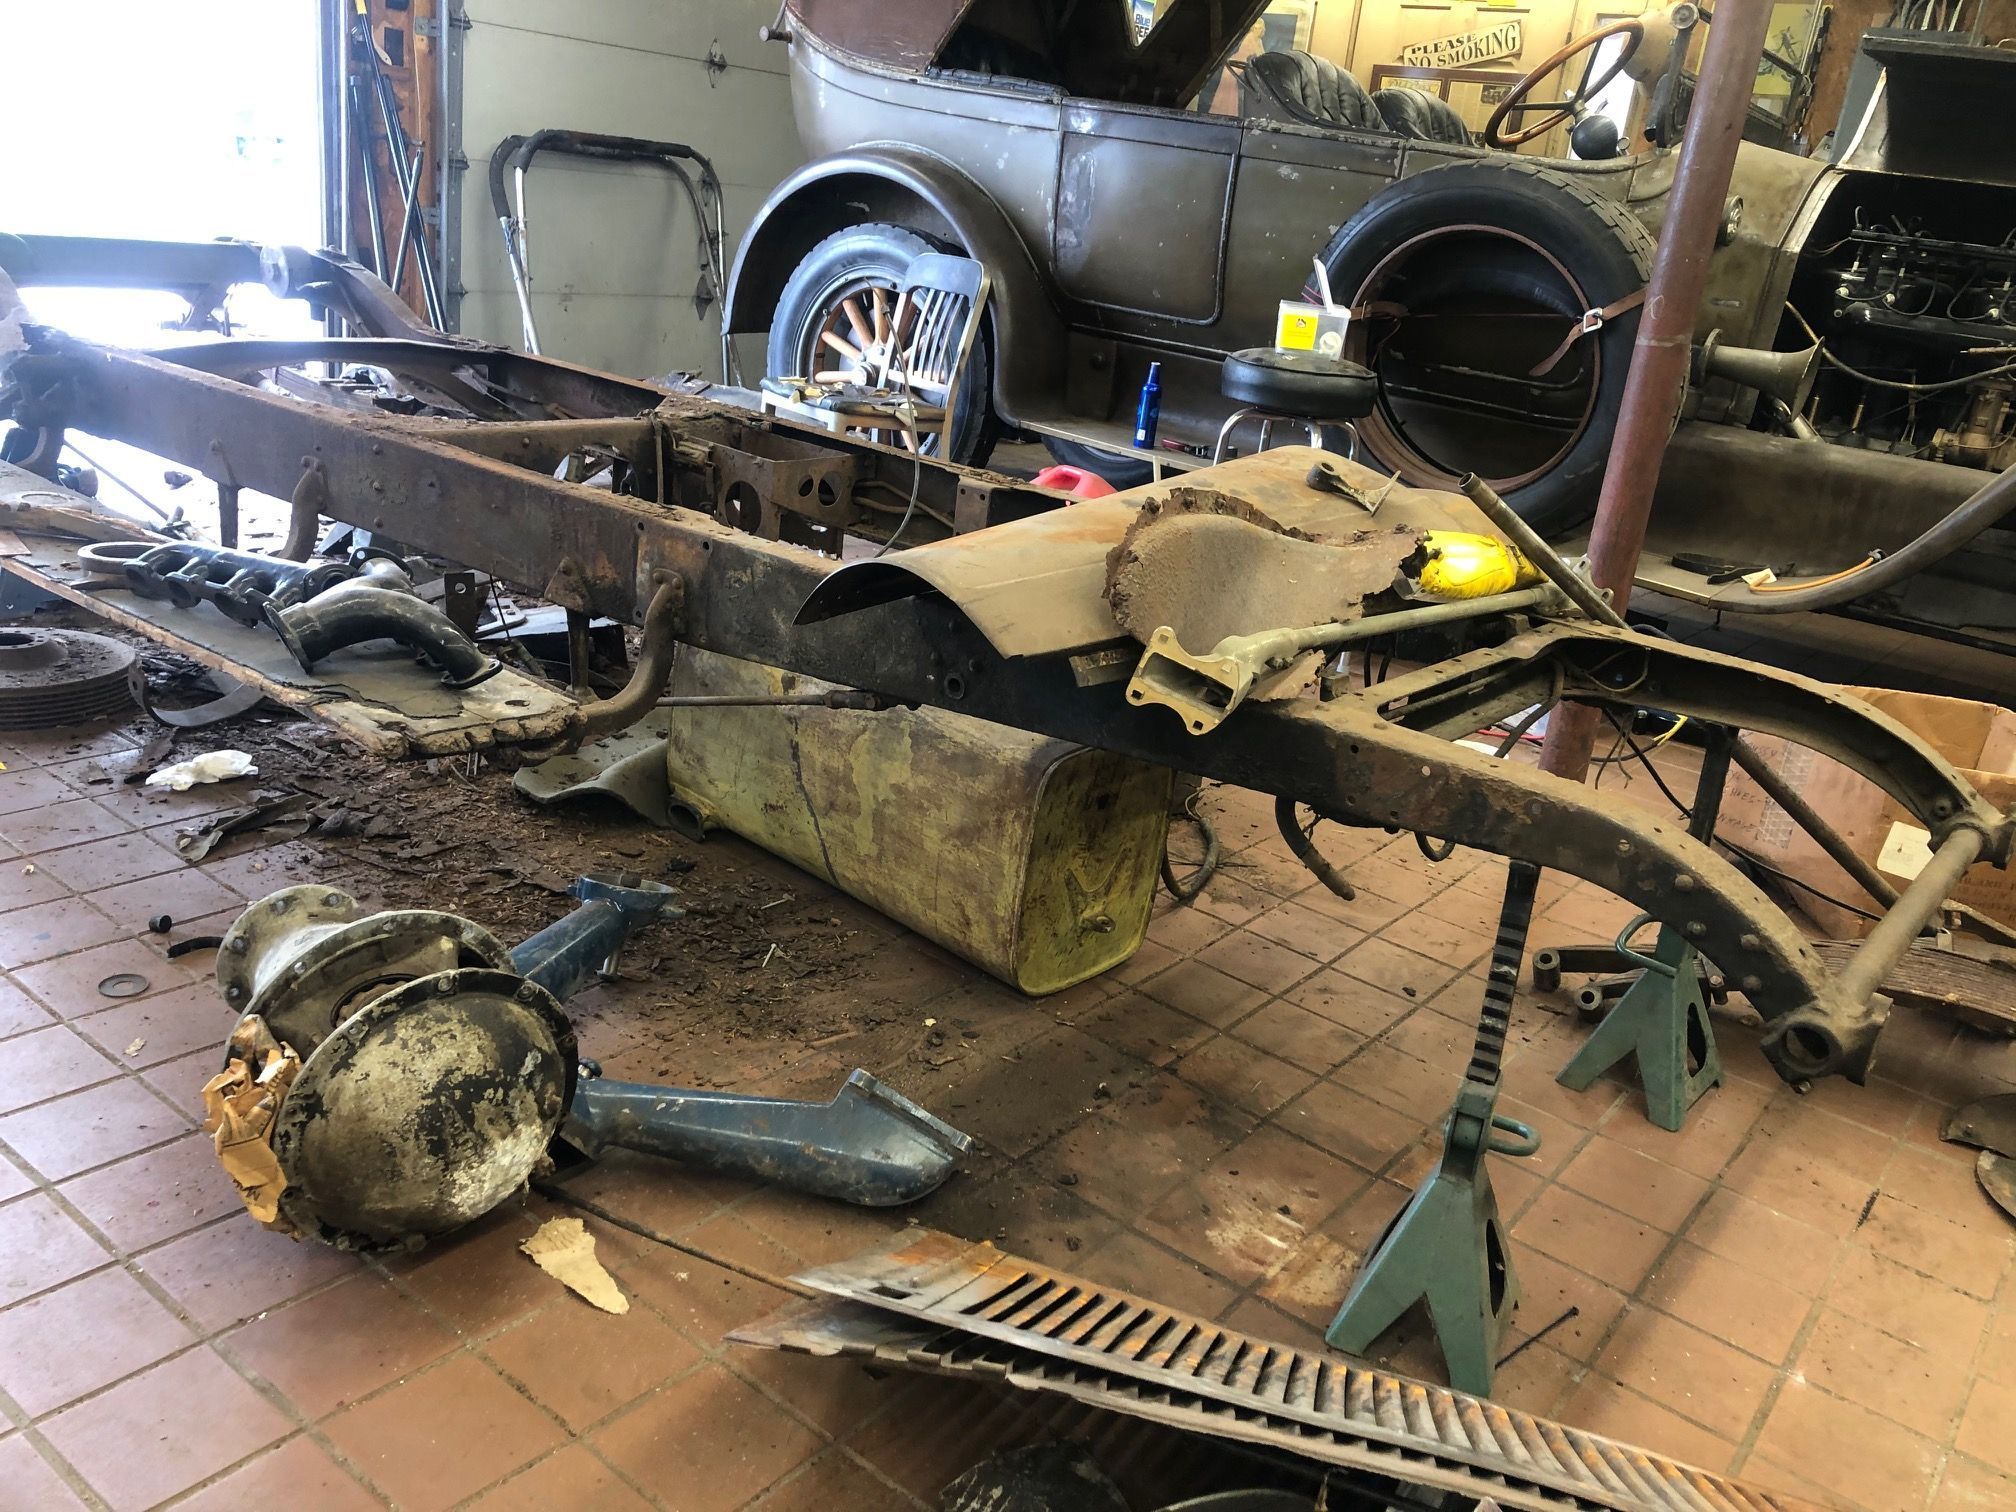
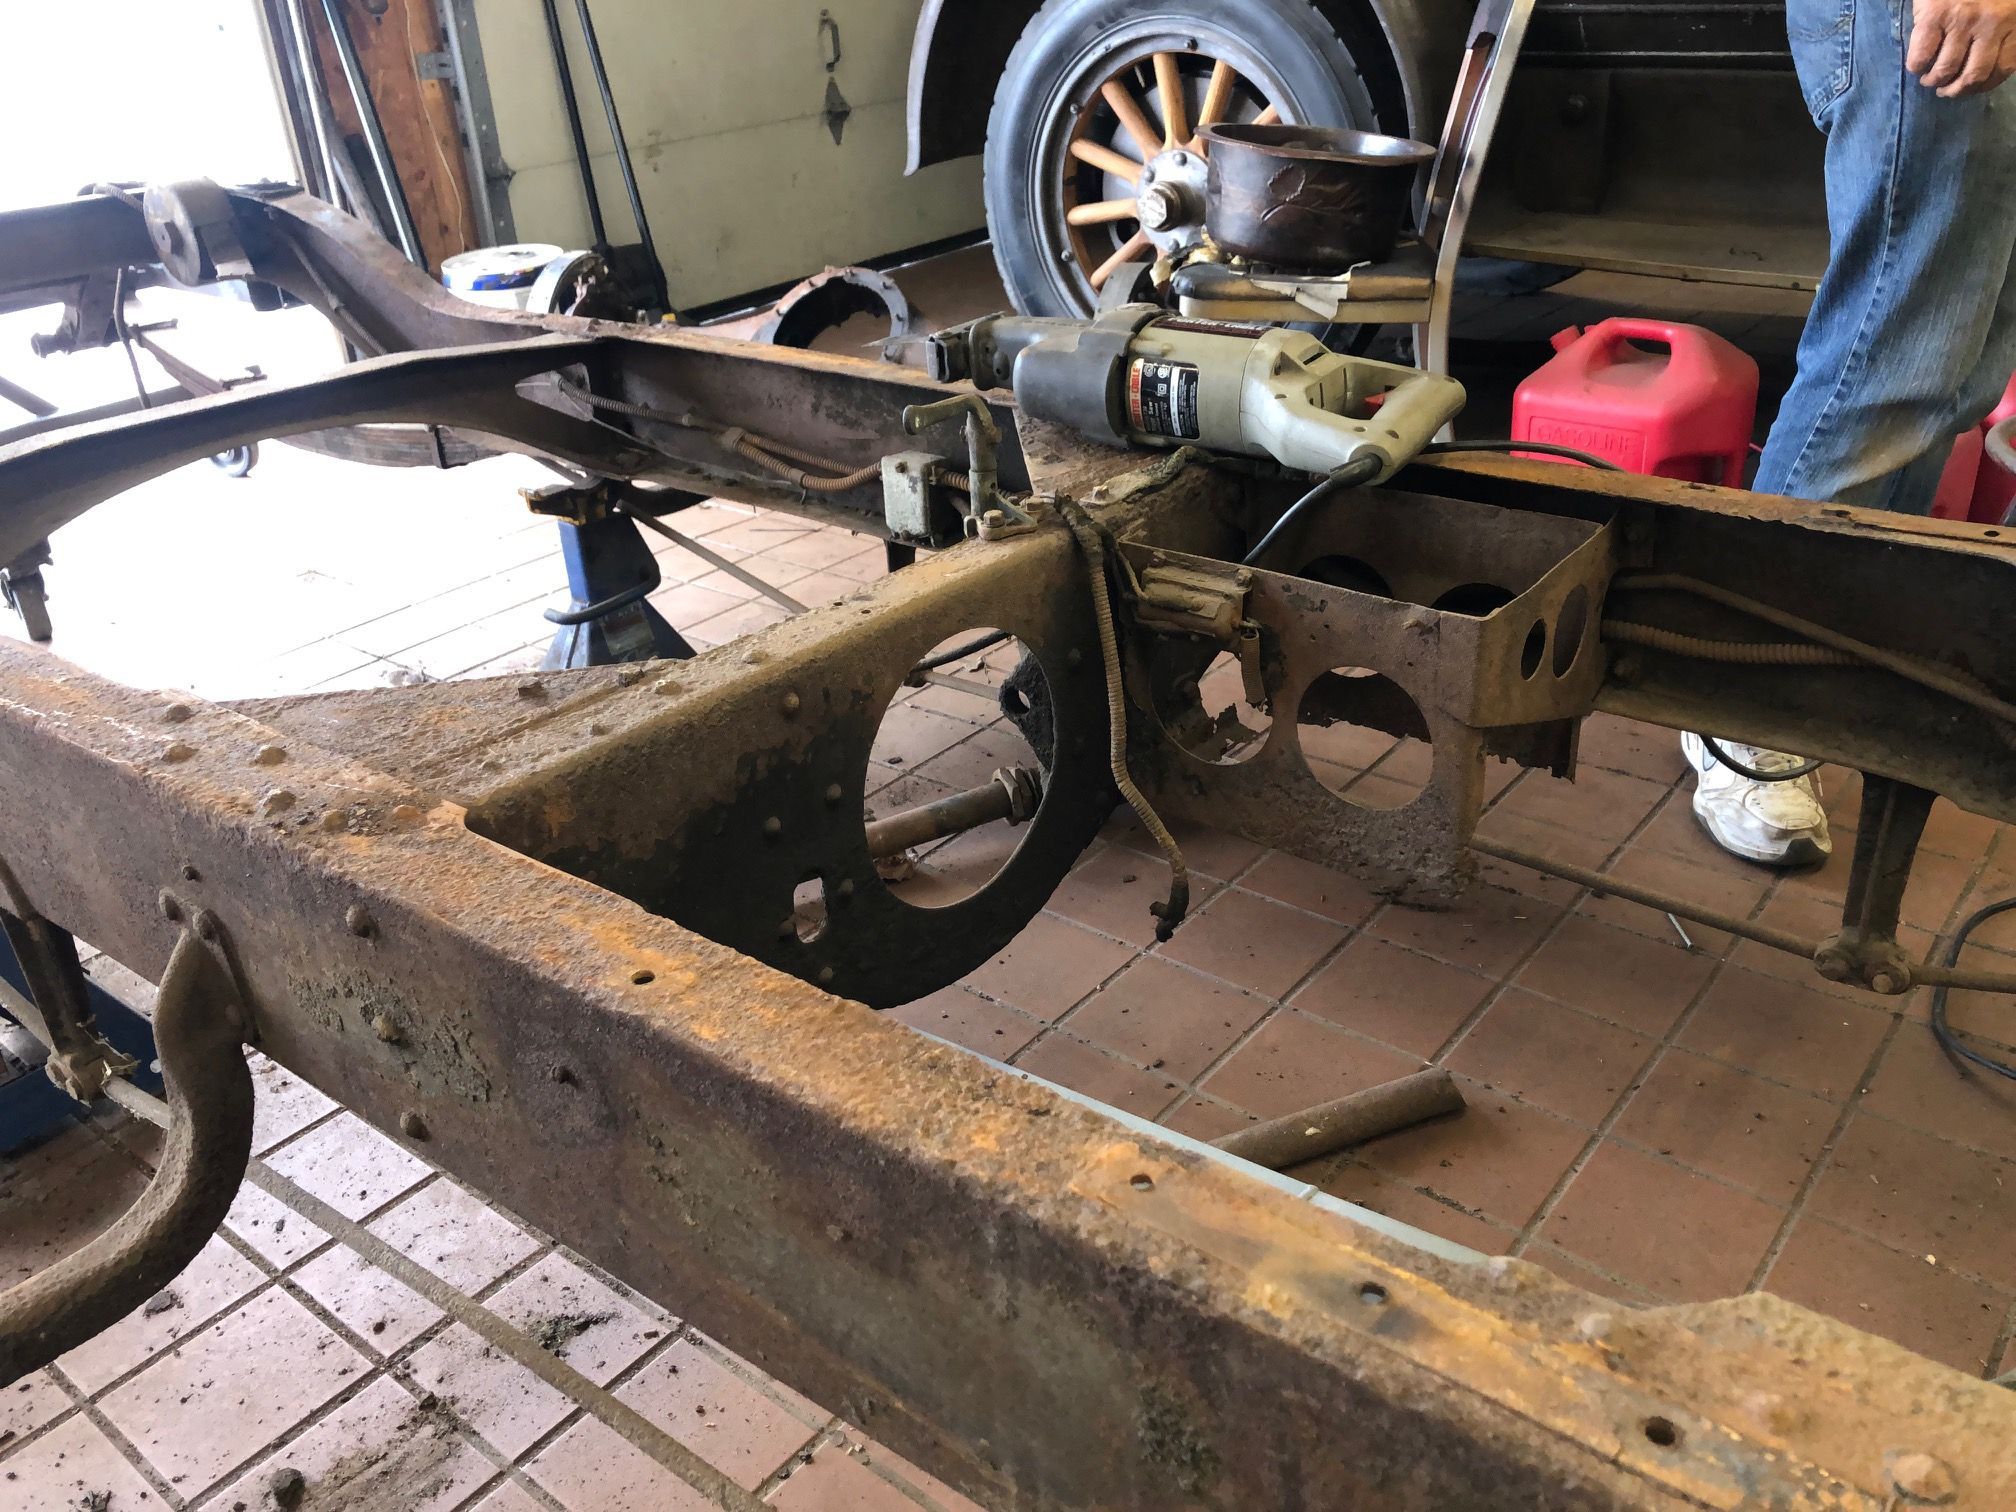
Right front view of chassis after the debris from the body has been removed and parts have been located .
4 / 230

Left front view of chassis after debris from the body has been removed and chassis parts are located and inventoried.
5 / 230
Front view of engine #1549 displaying many loose parts.
6 / 230
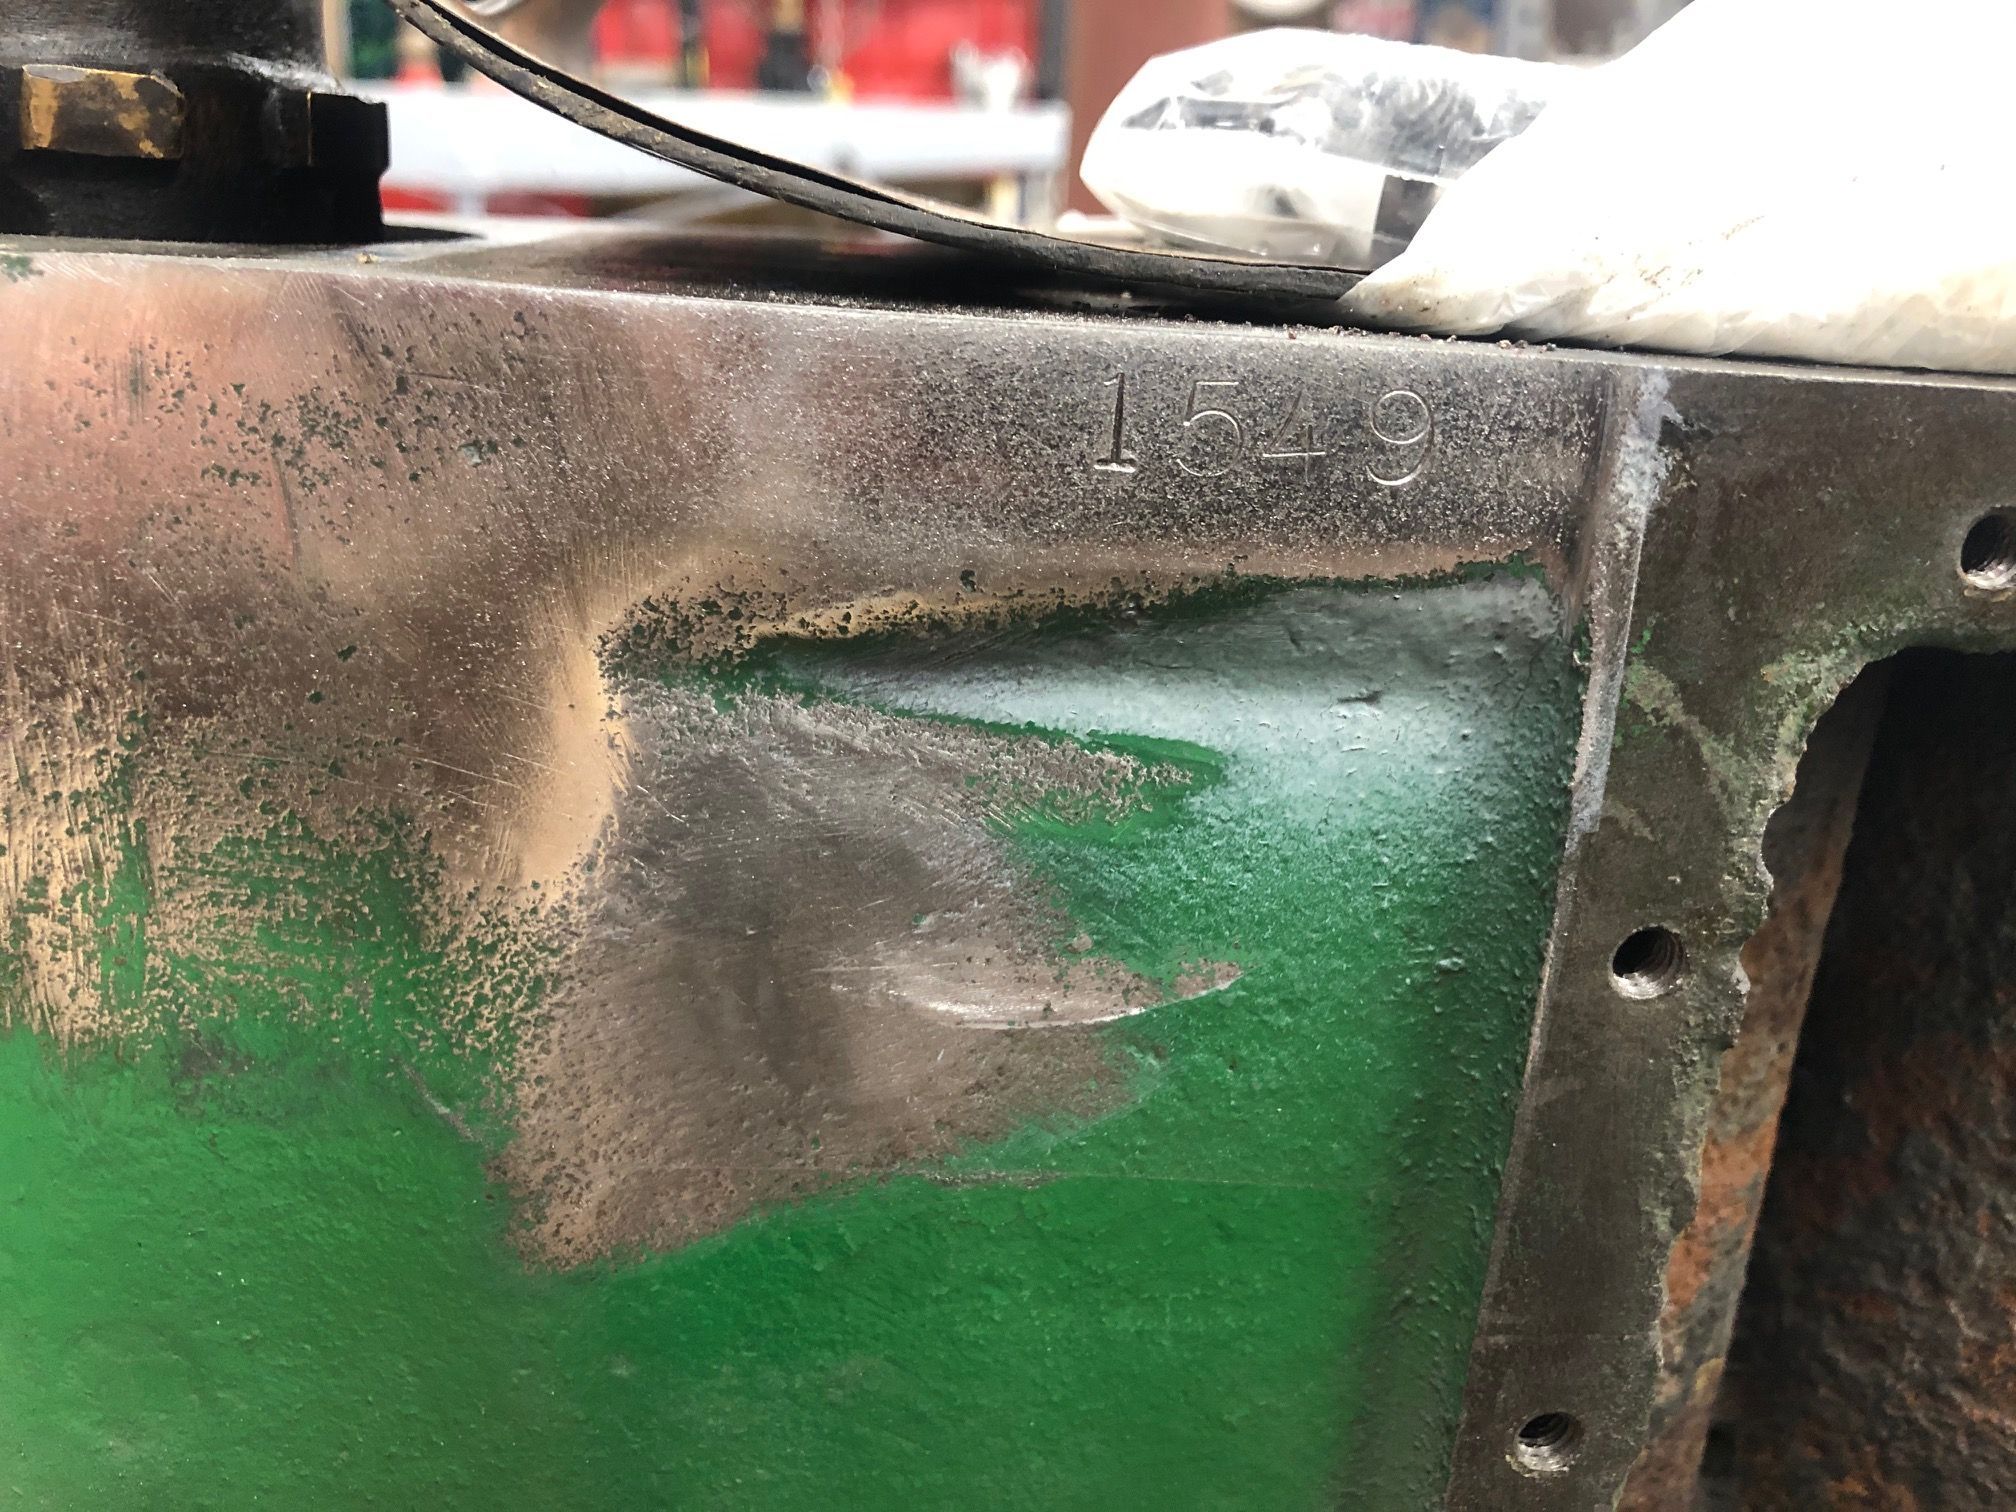
Left side of engine displaying engine # 1549.
7 / 230
Left side of engine.
8 / 230
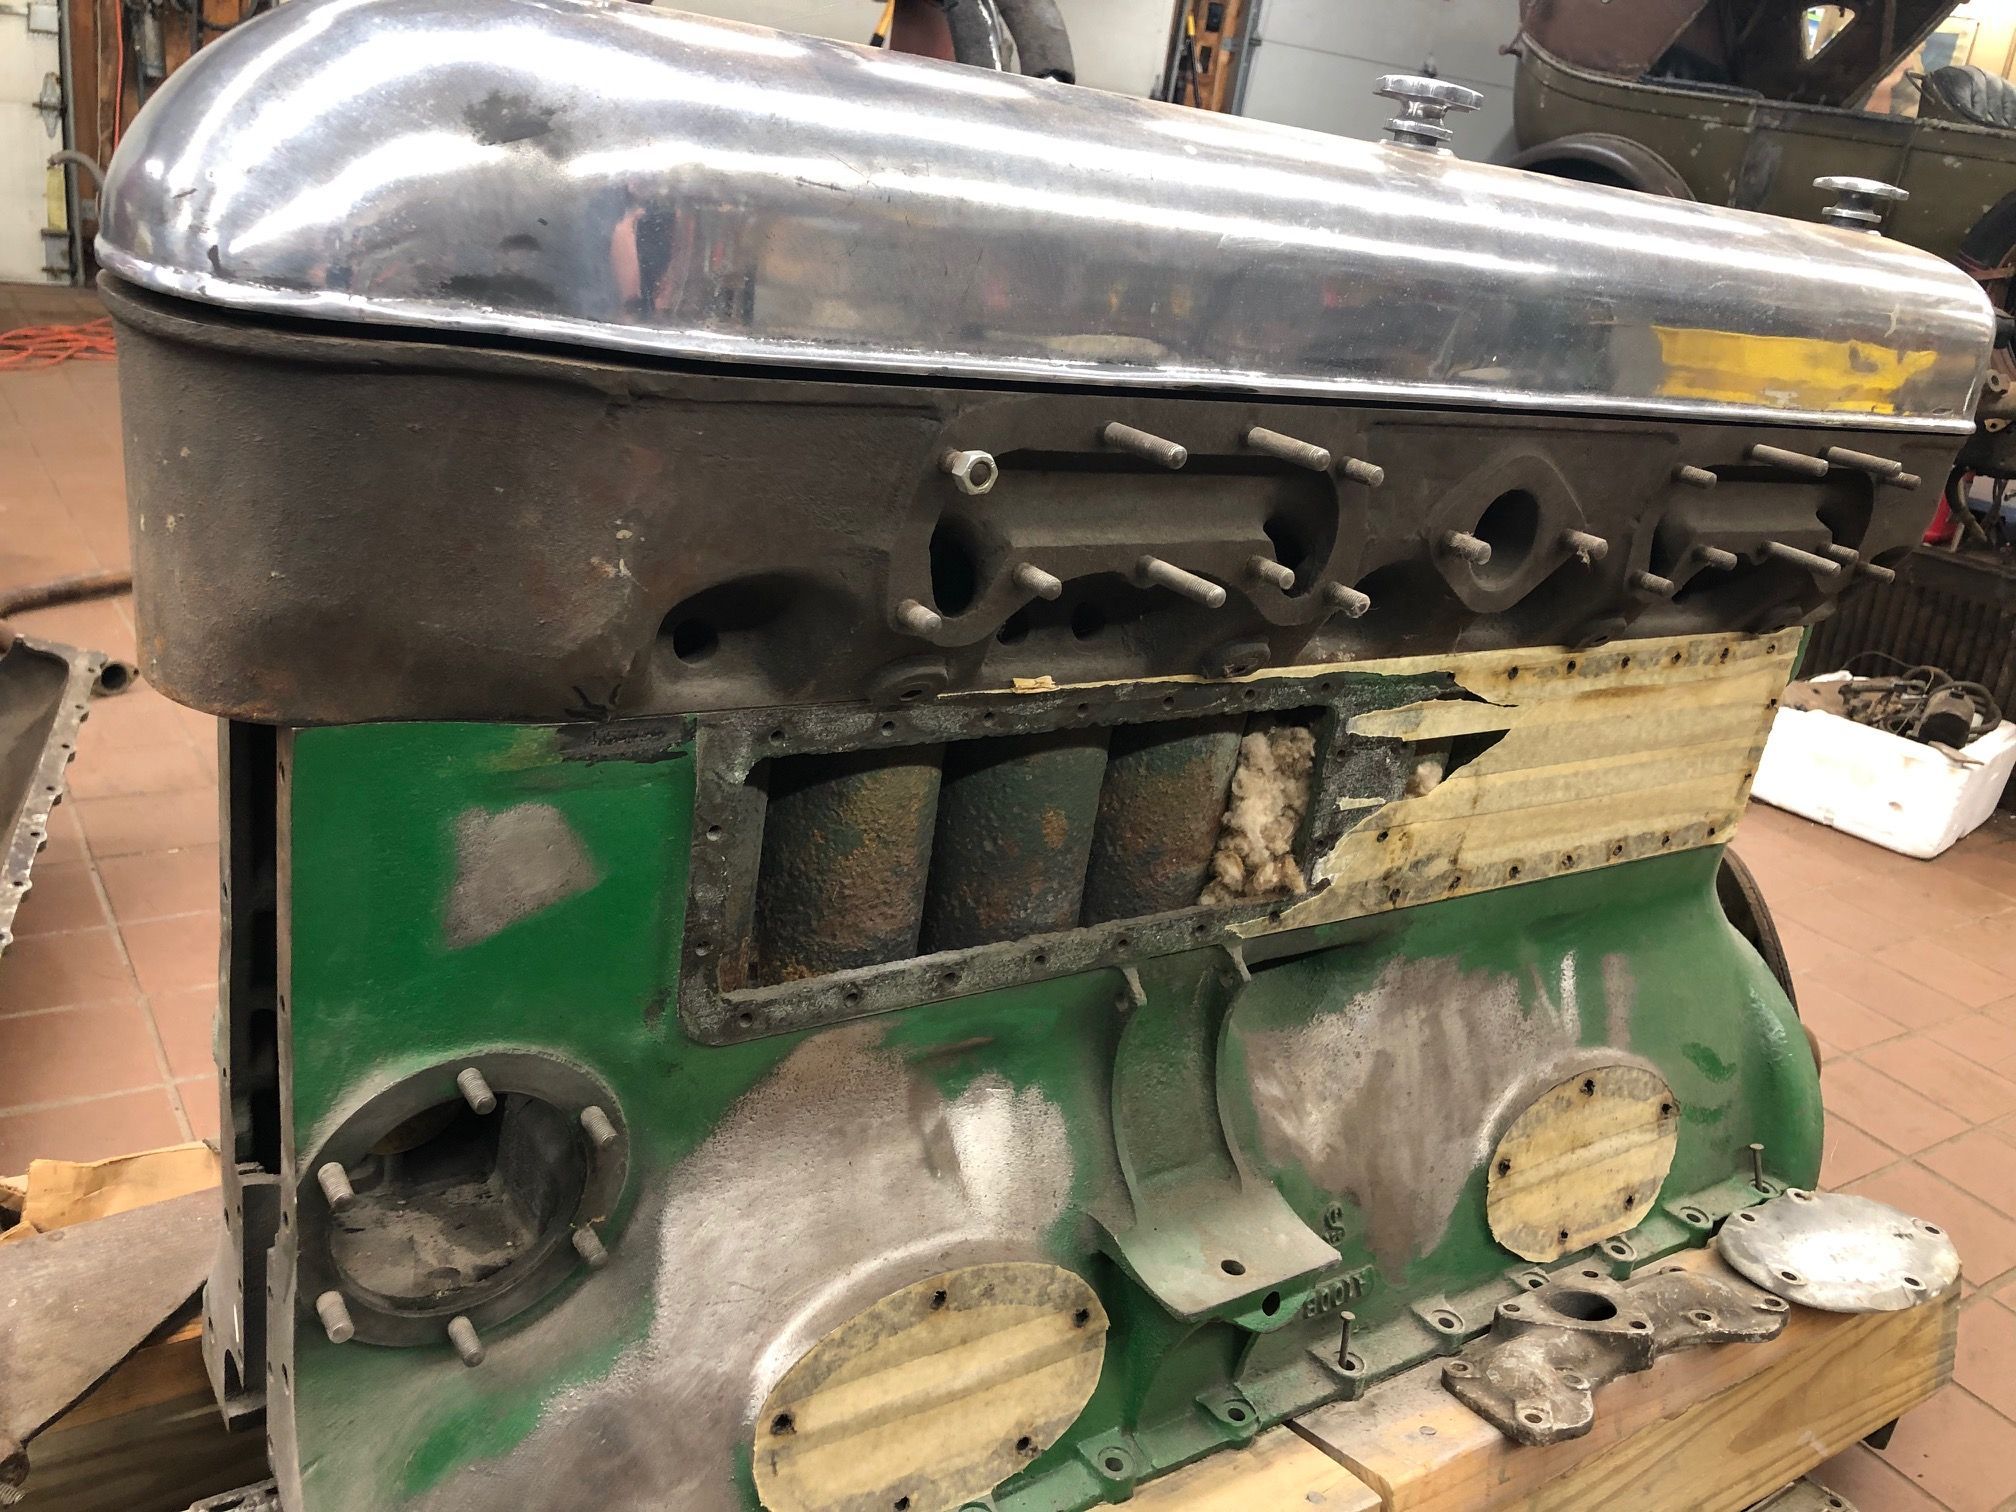
Right side of engine displaying many loose parts.
9 / 230
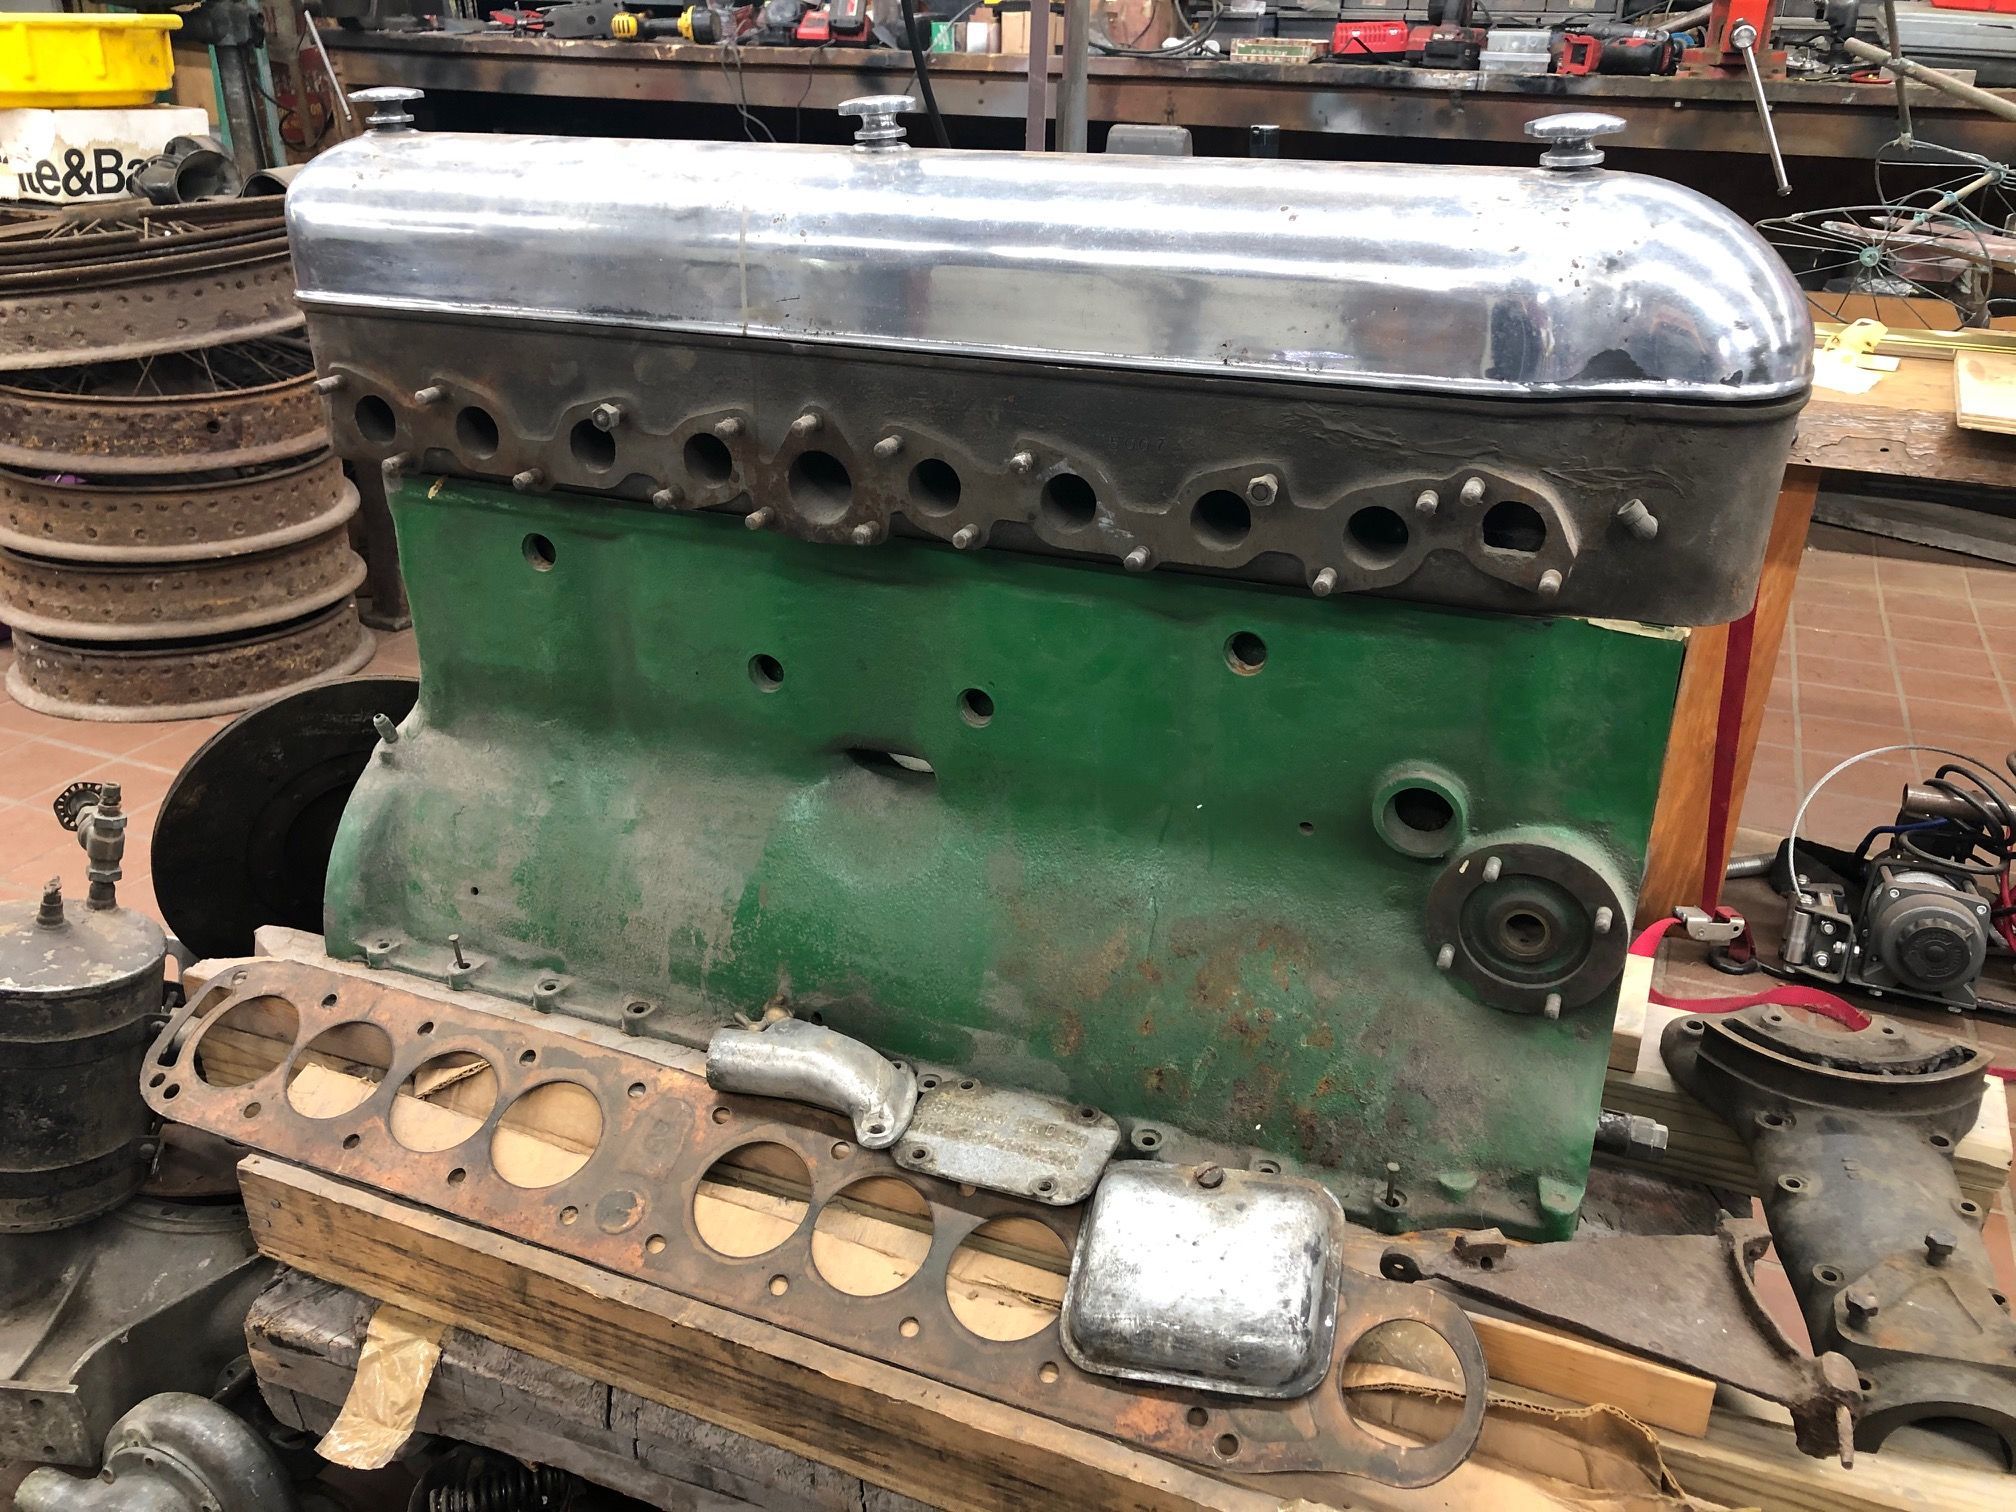
Transmission side of "complete" engine. After doing an inventory of parts for this engine, we note that many parts are missing. As of March 2021, the former owner has assured us that these parts will be located and sent to us soon.
10 / 230
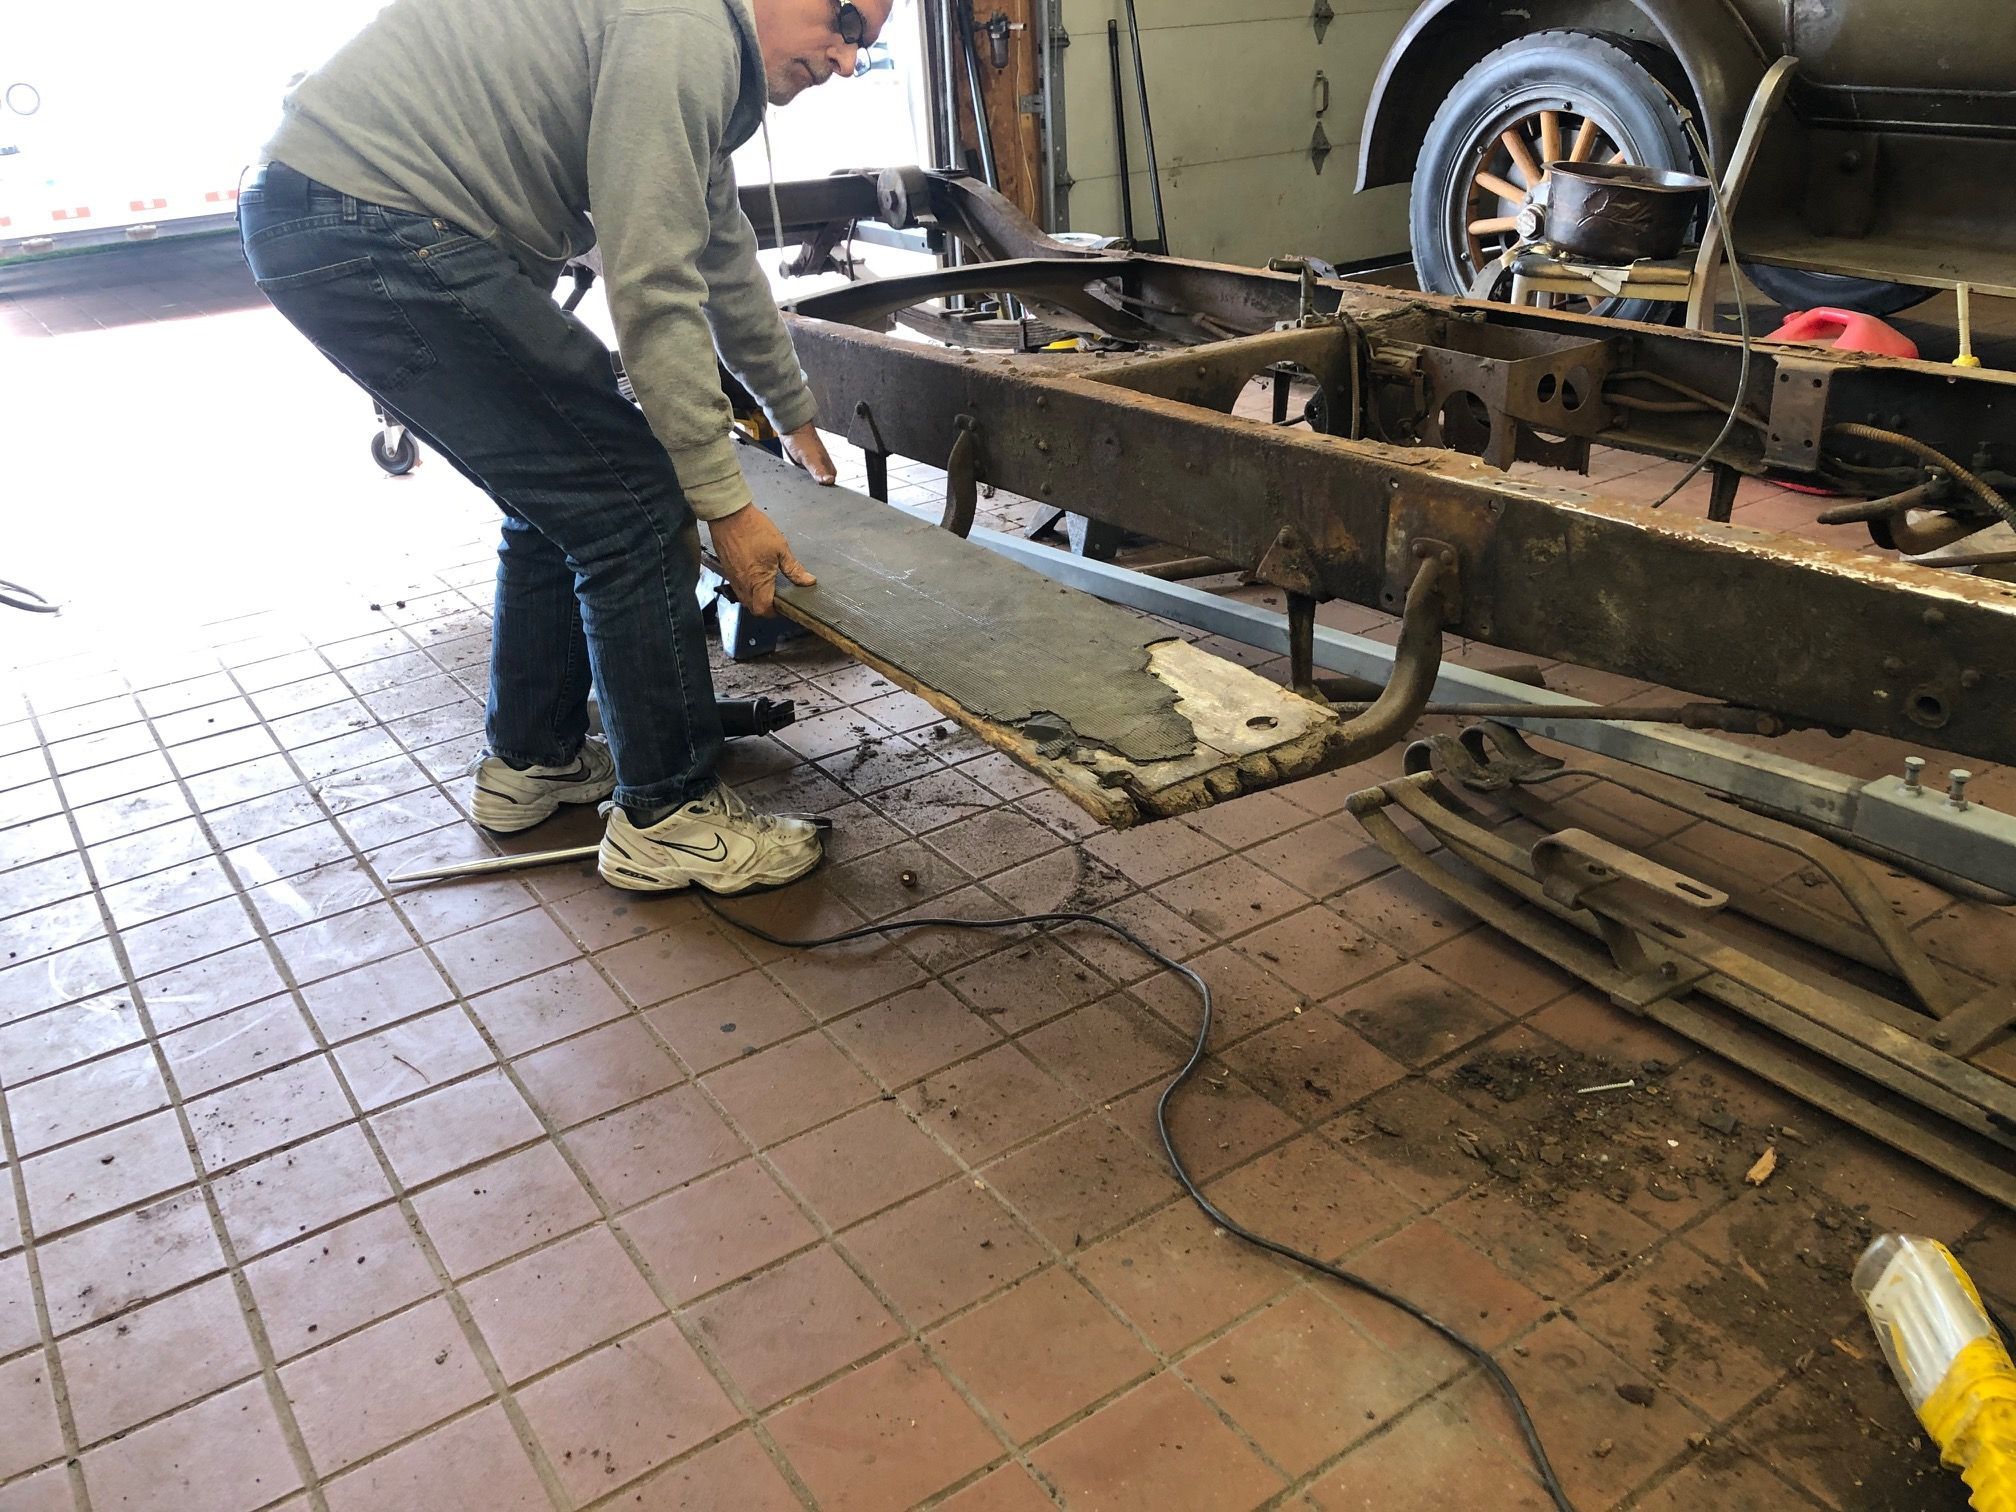
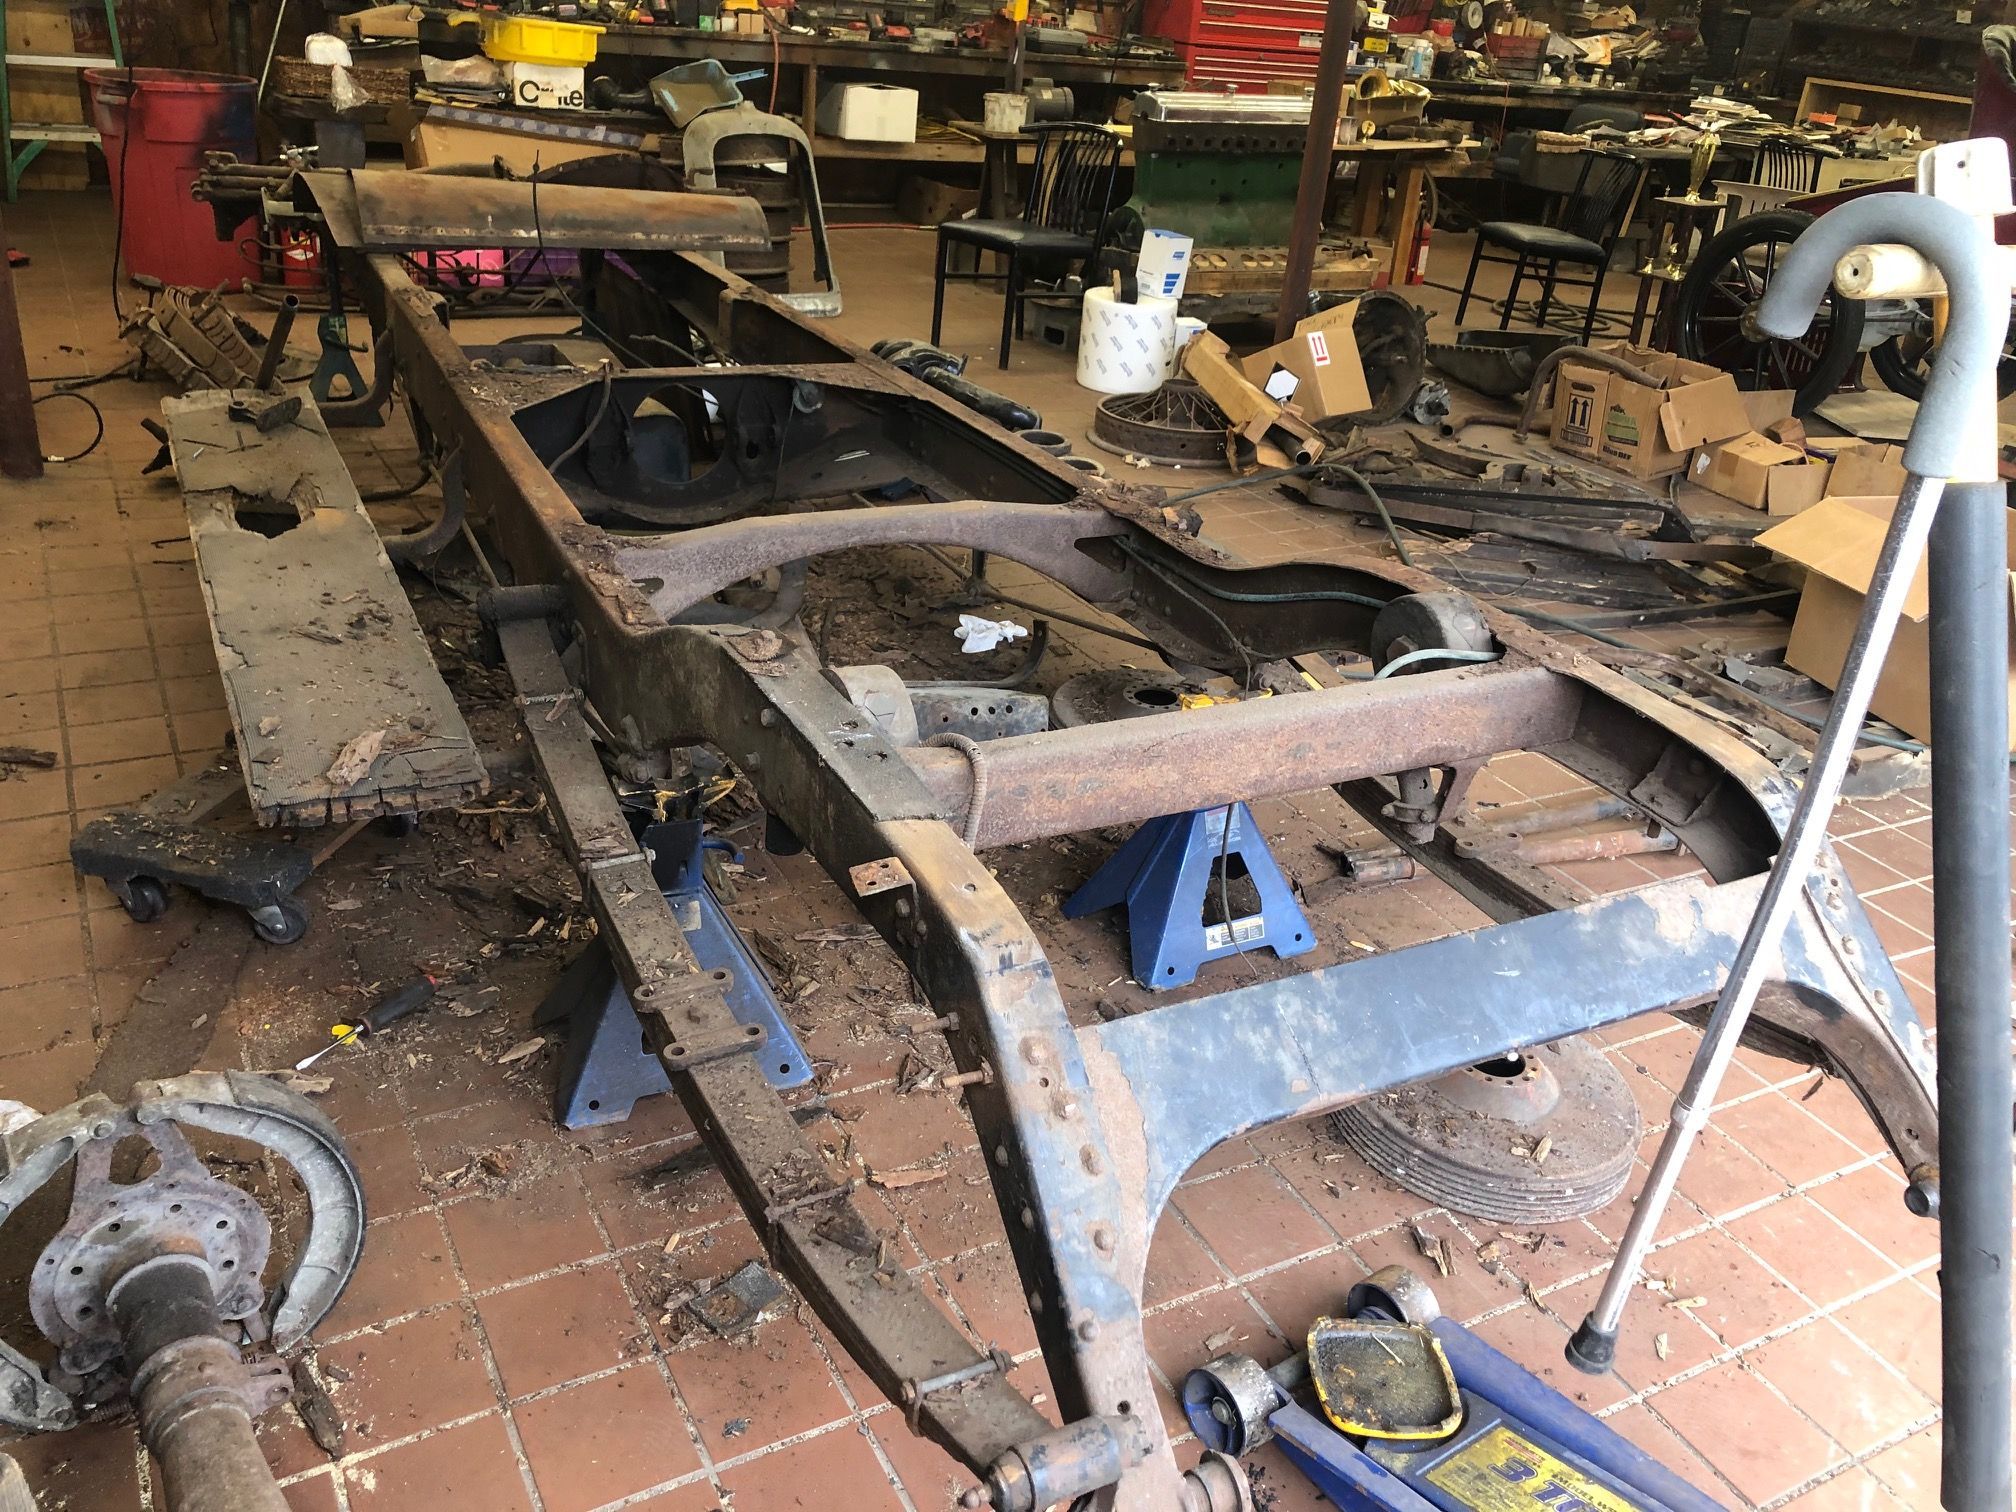
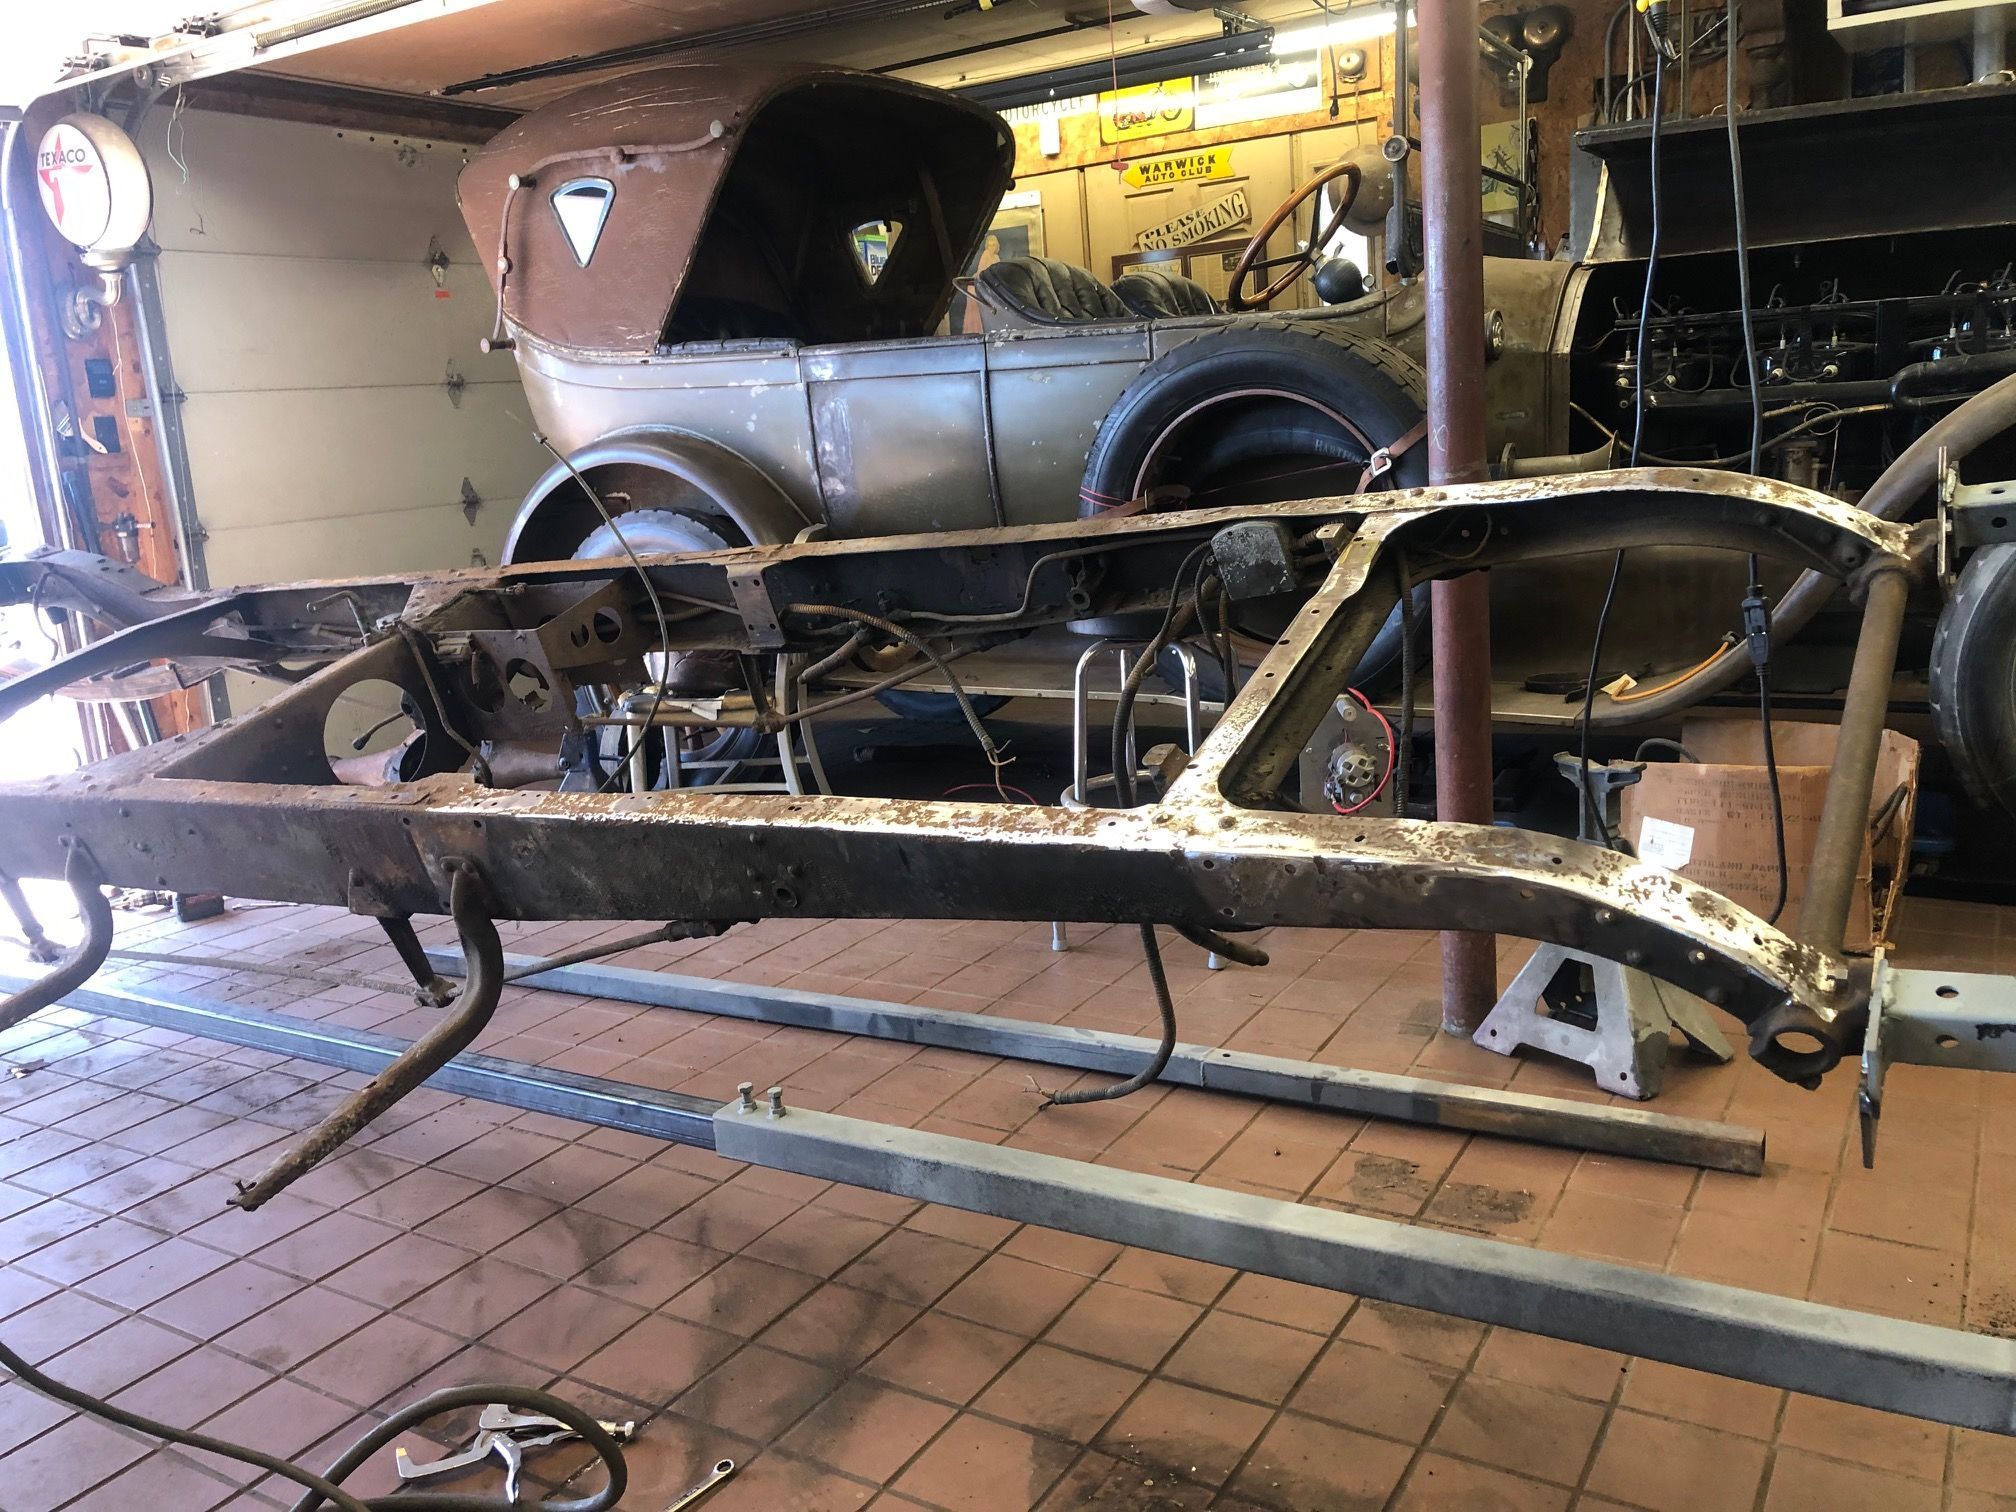
Now that the complete body has been removed, it is imperative that the weathered running boards be removed as well.
11 / 230
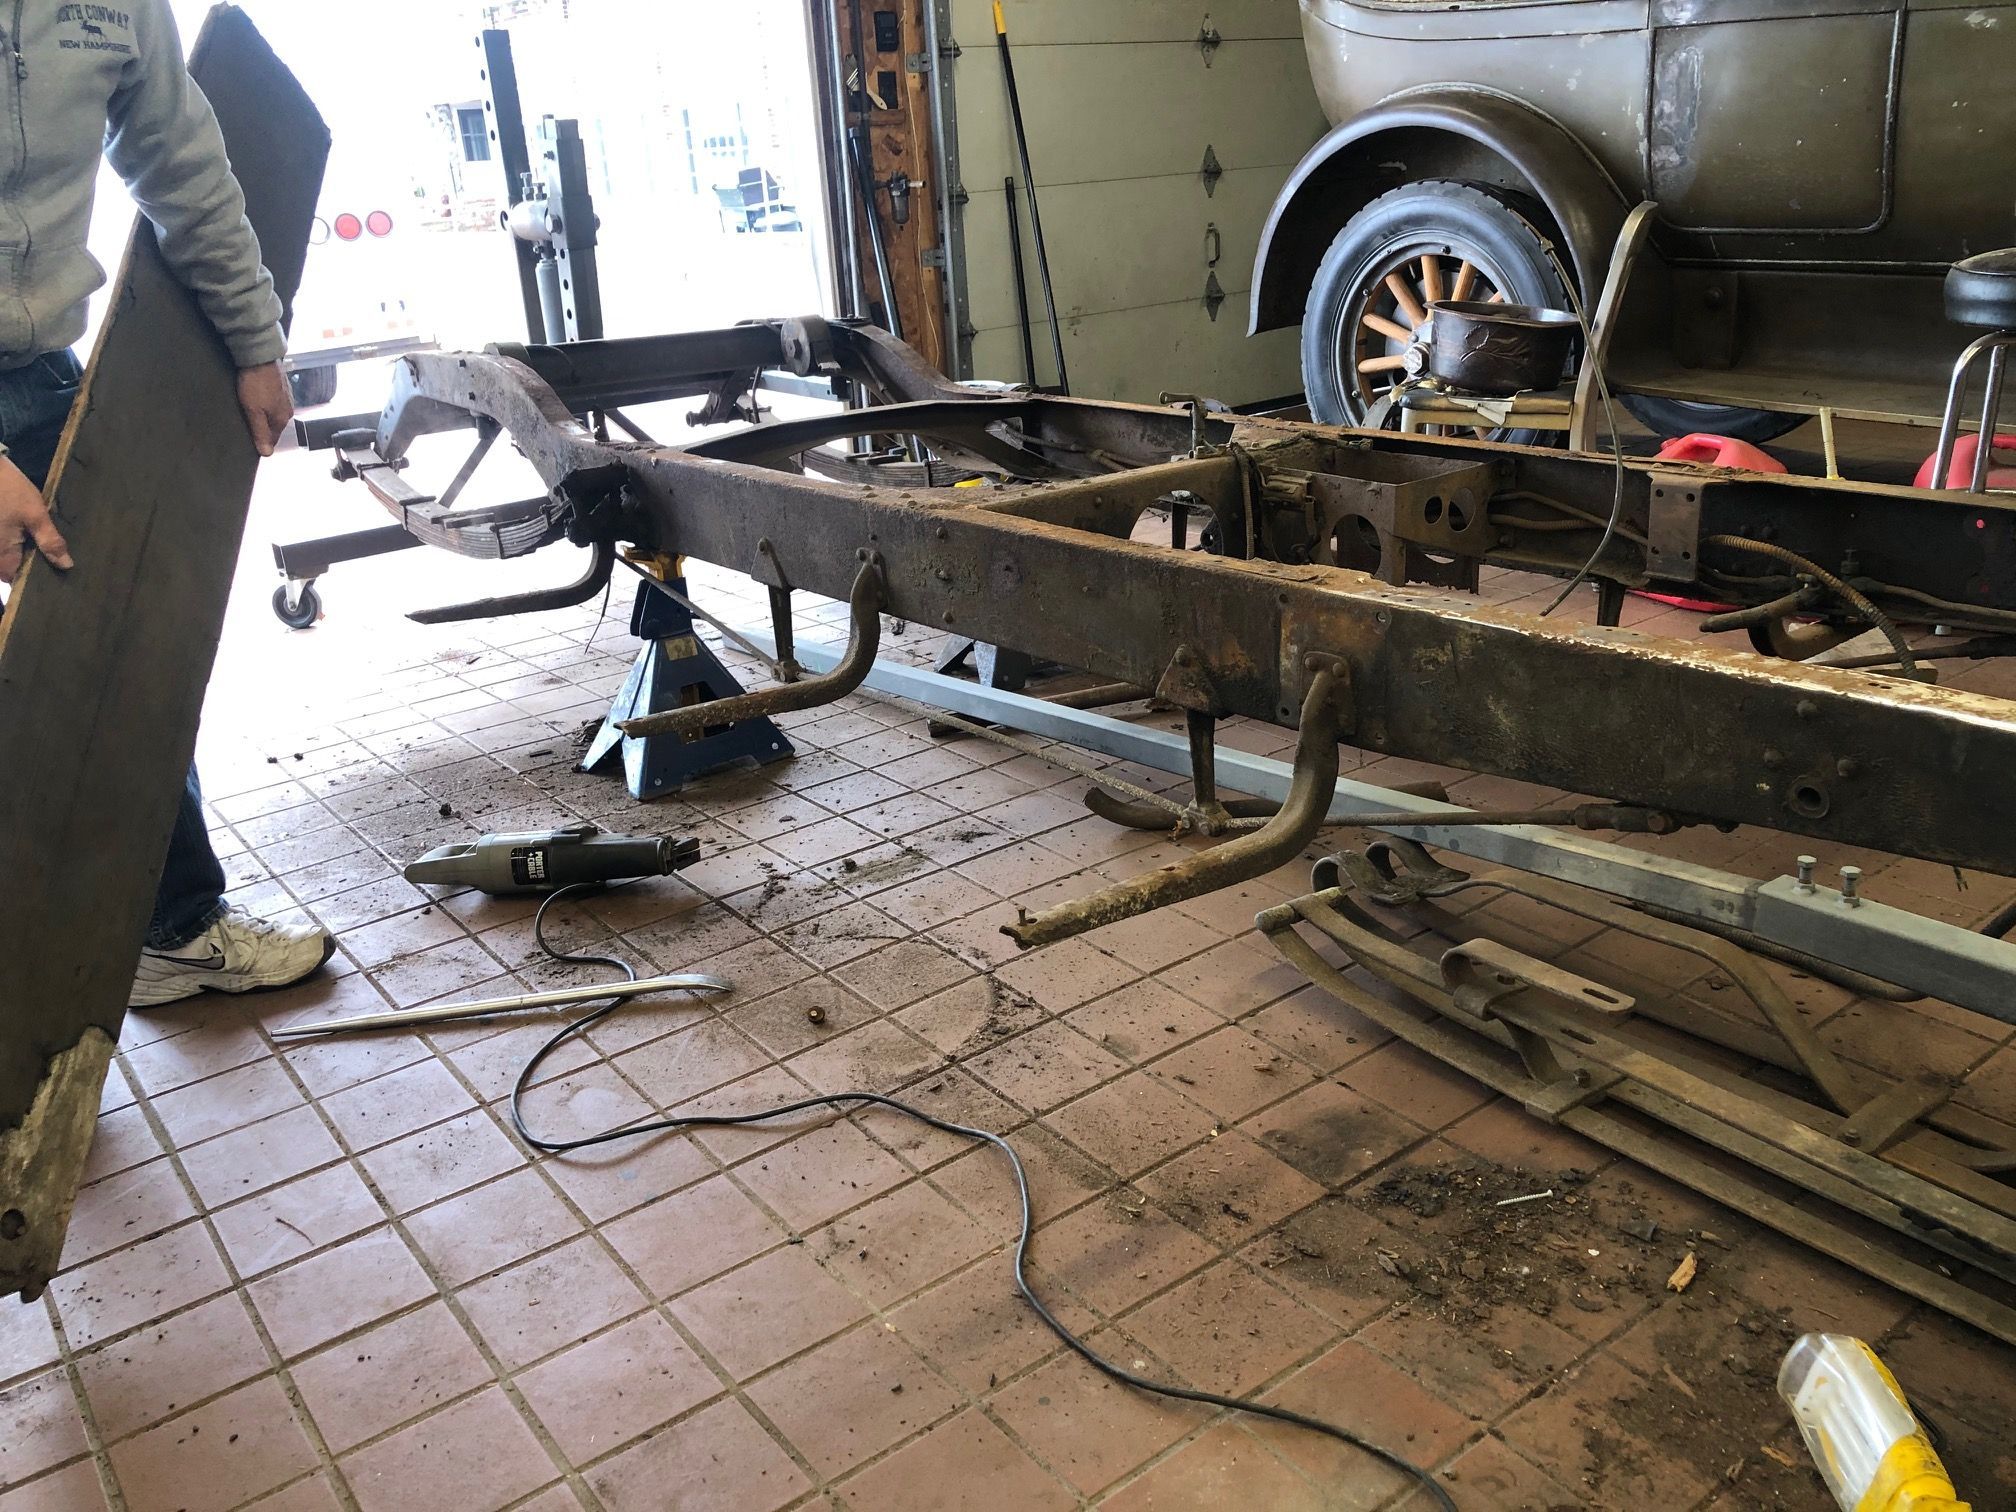
Now that the complete body has been removed, it is imperative that the weathered running boards be removed as well.
12 / 230
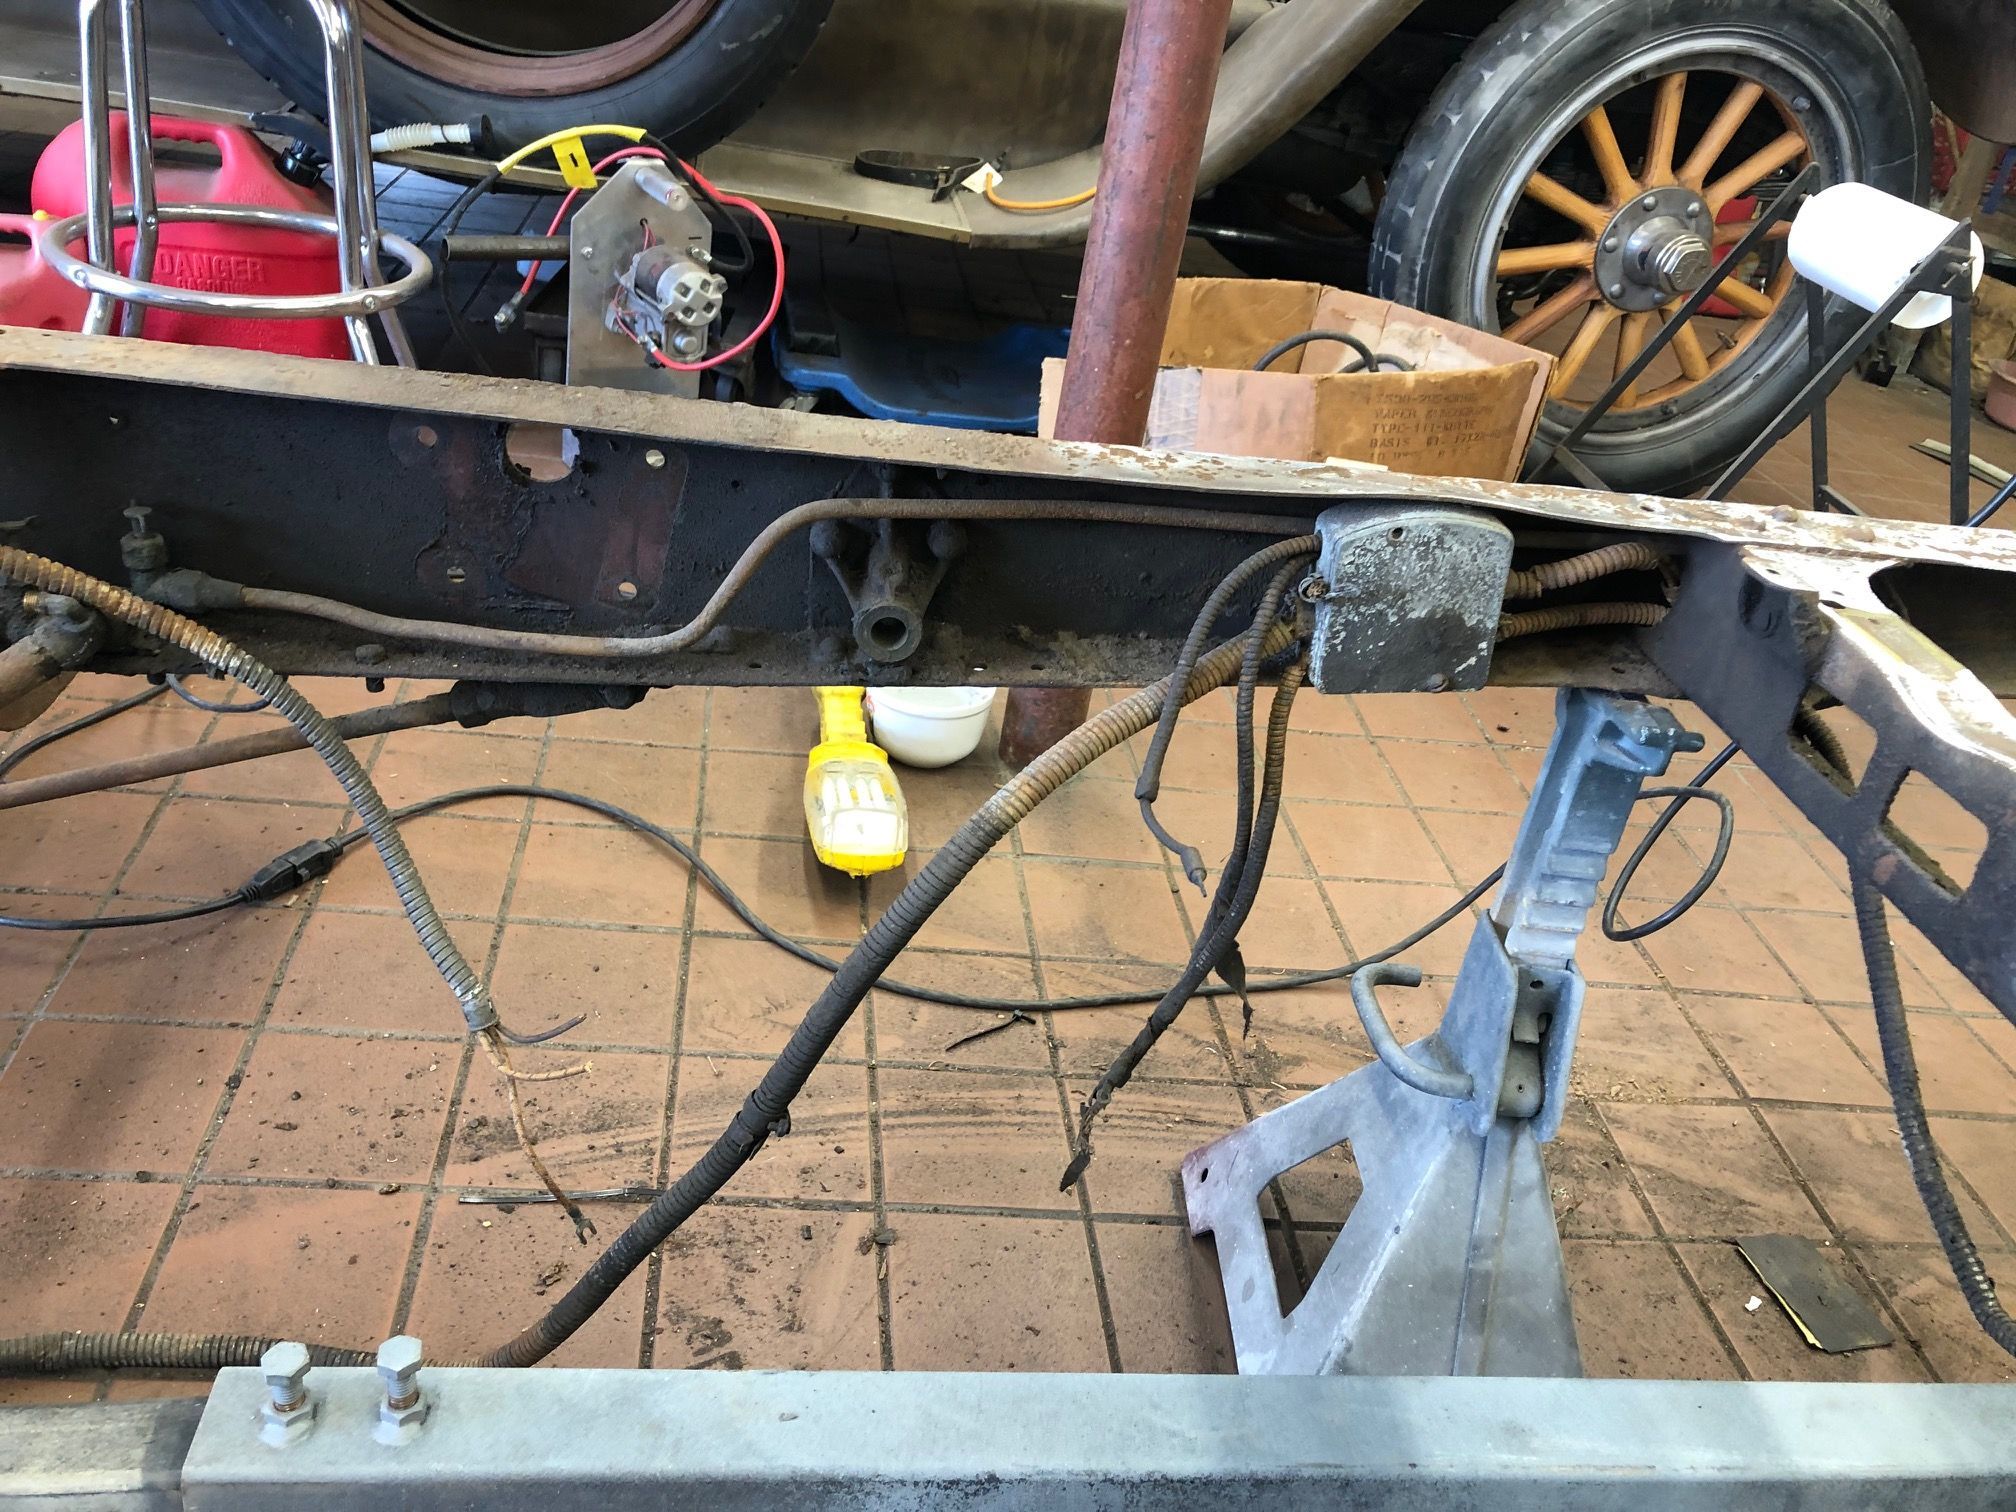
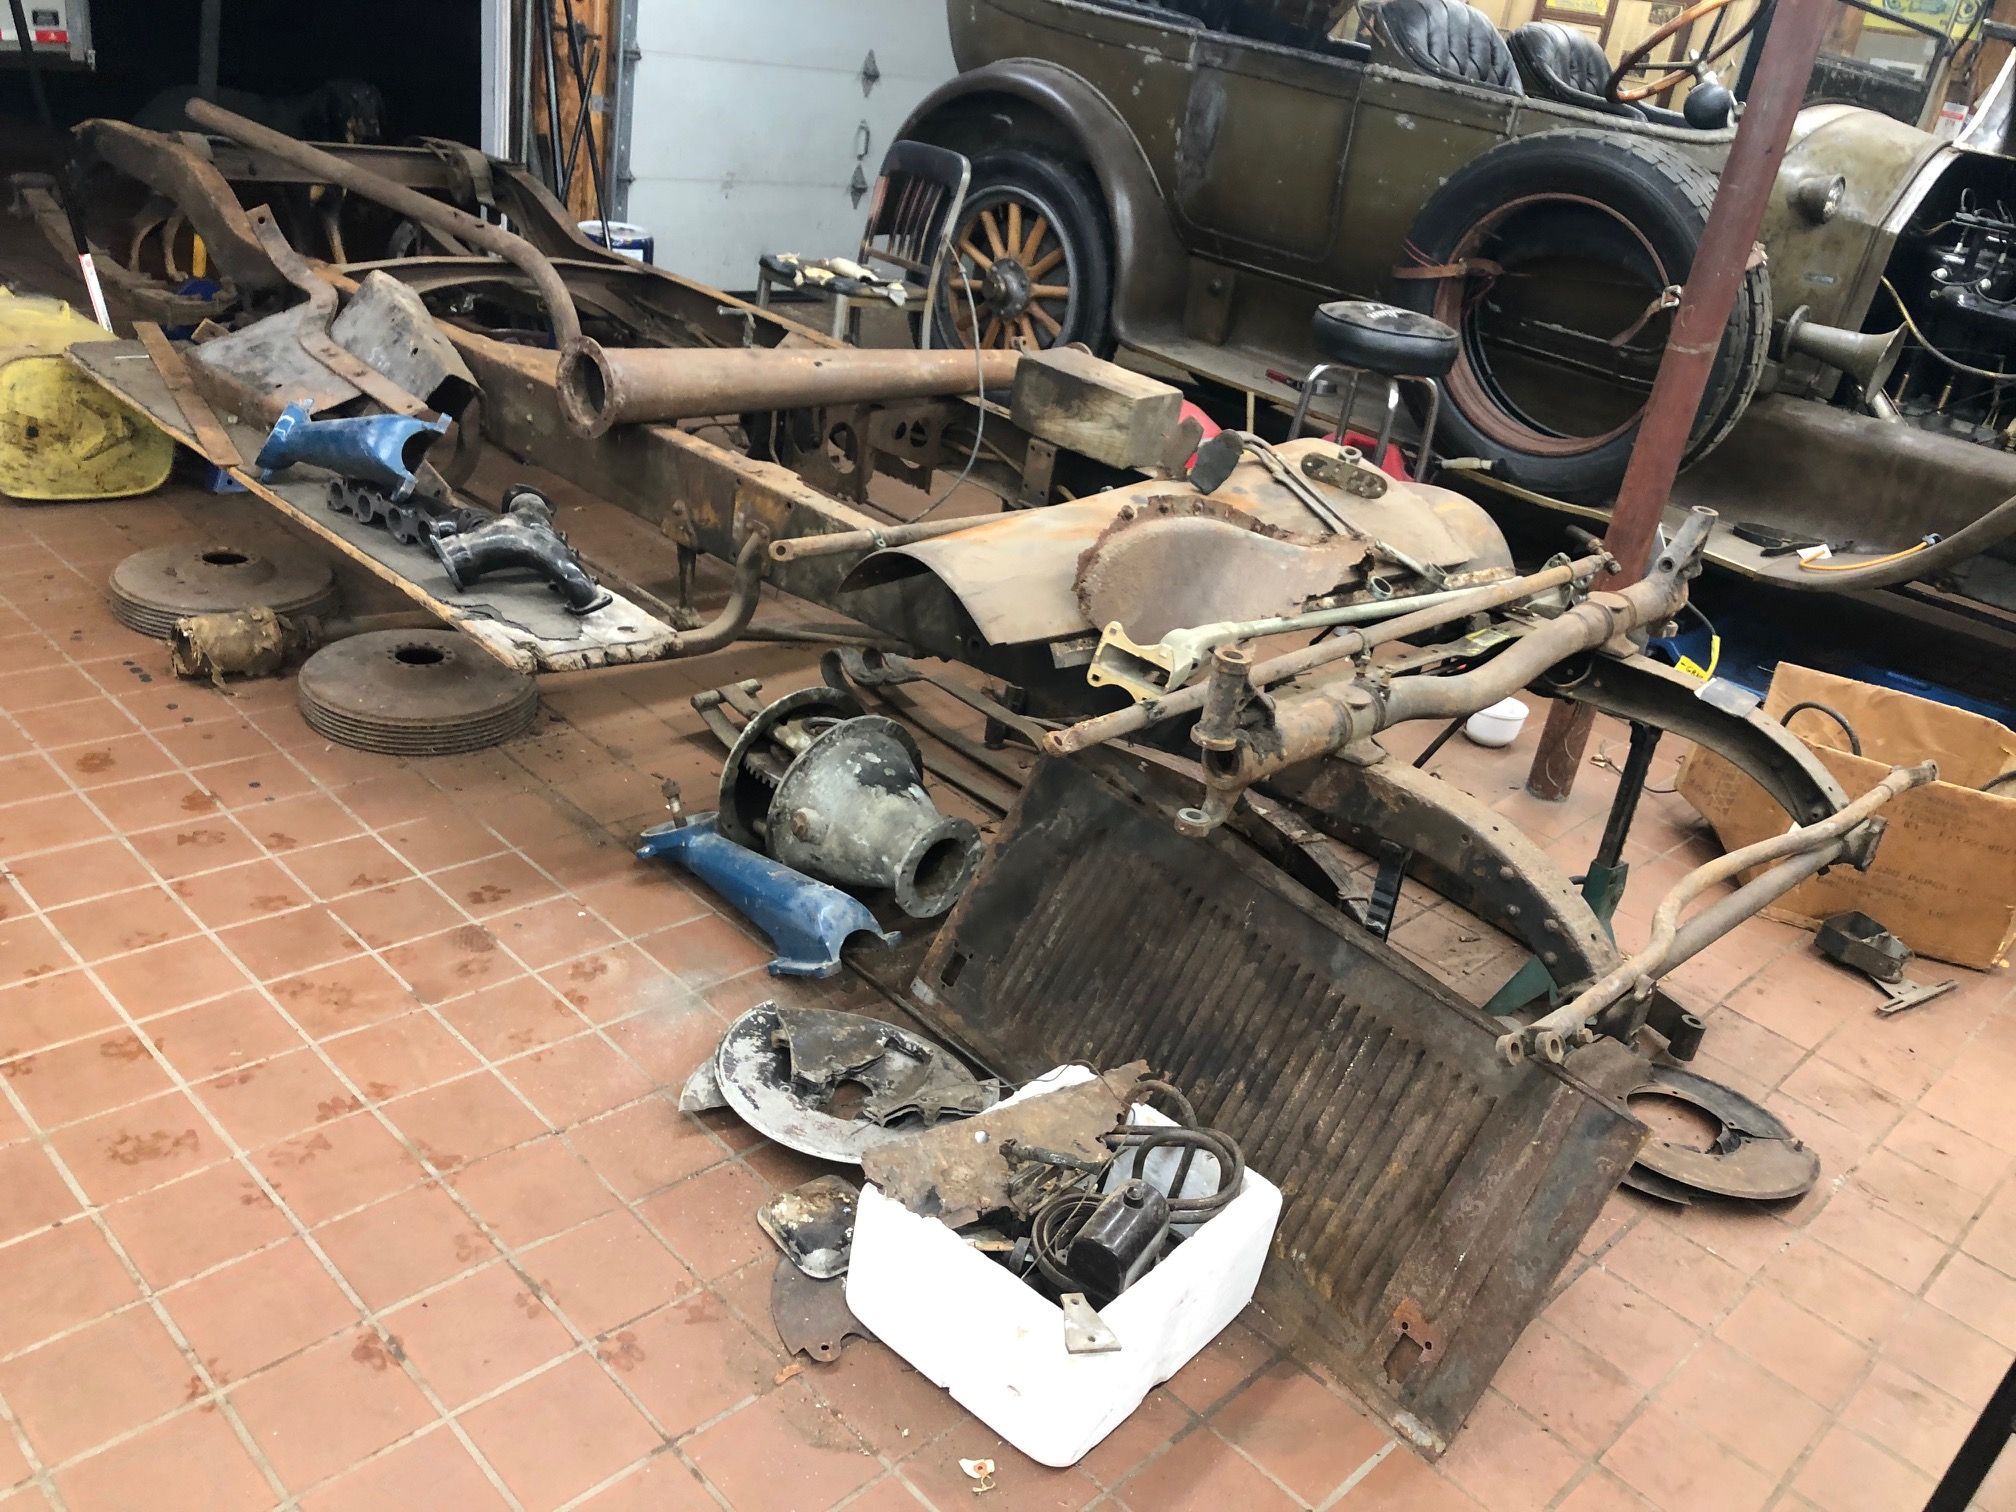
All wiring and wire harness junction boxes must be removed and replaced with new period-correct wires. Left front section is seen here.
13 / 230
All wiring and wire harness junction boxes must be removed and replaced with new period-correct wires. Left rear section is seen here.
14 / 230
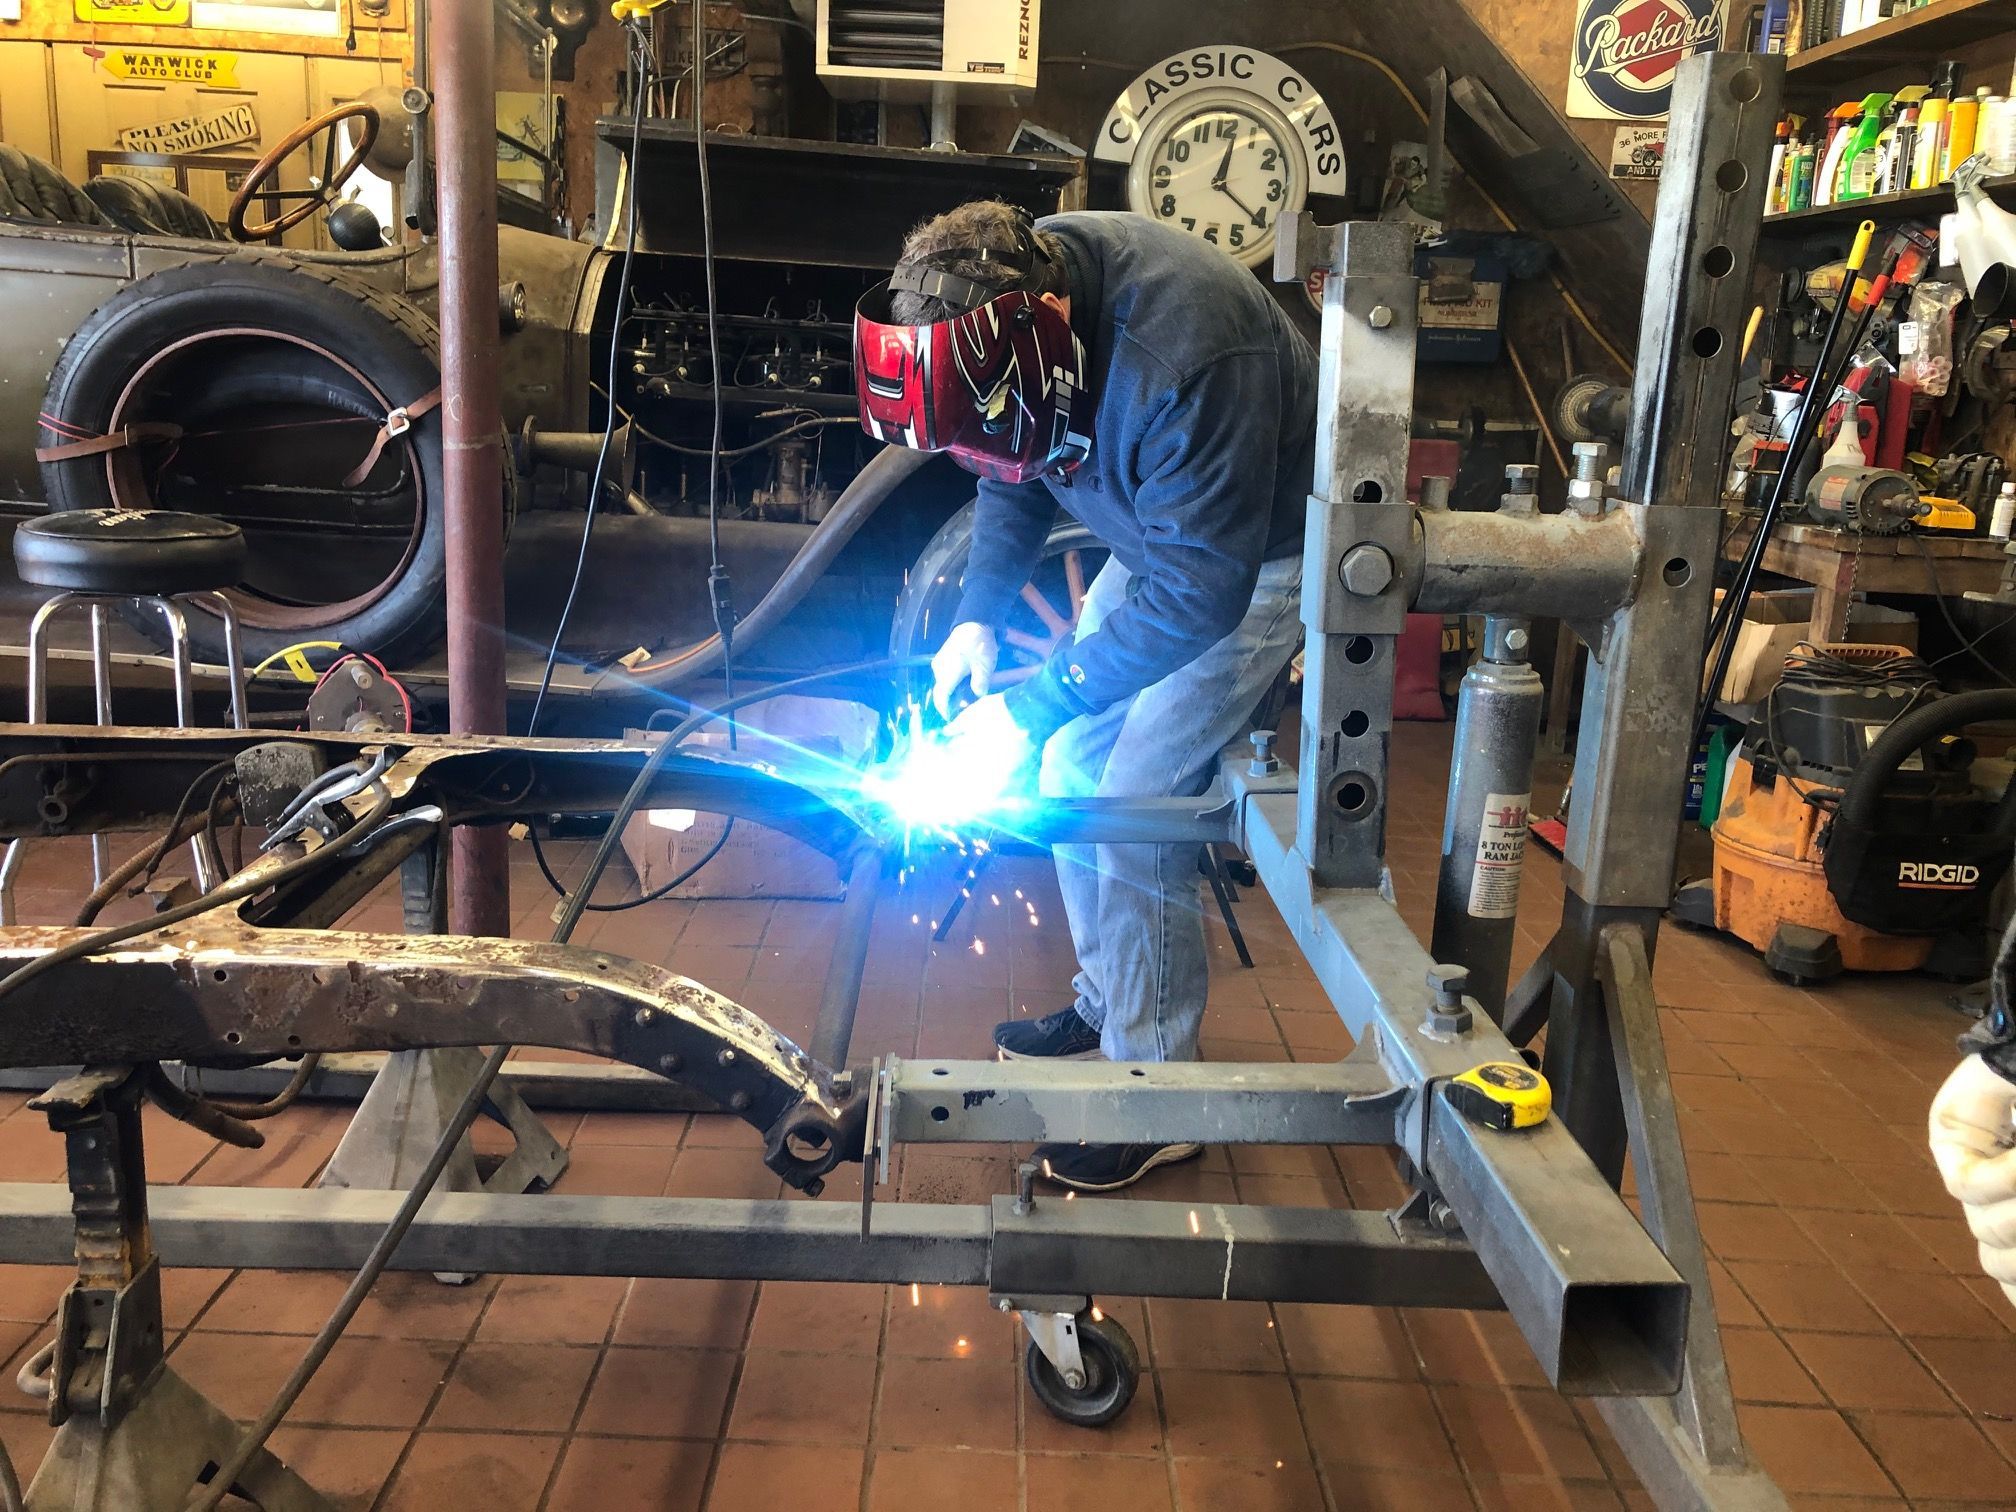
A "Frame Rotisary" (as spelled in the parts and tools catalog) designed for easier mobility and access for sand blasting is being custom fit to the chassis.
15 / 230
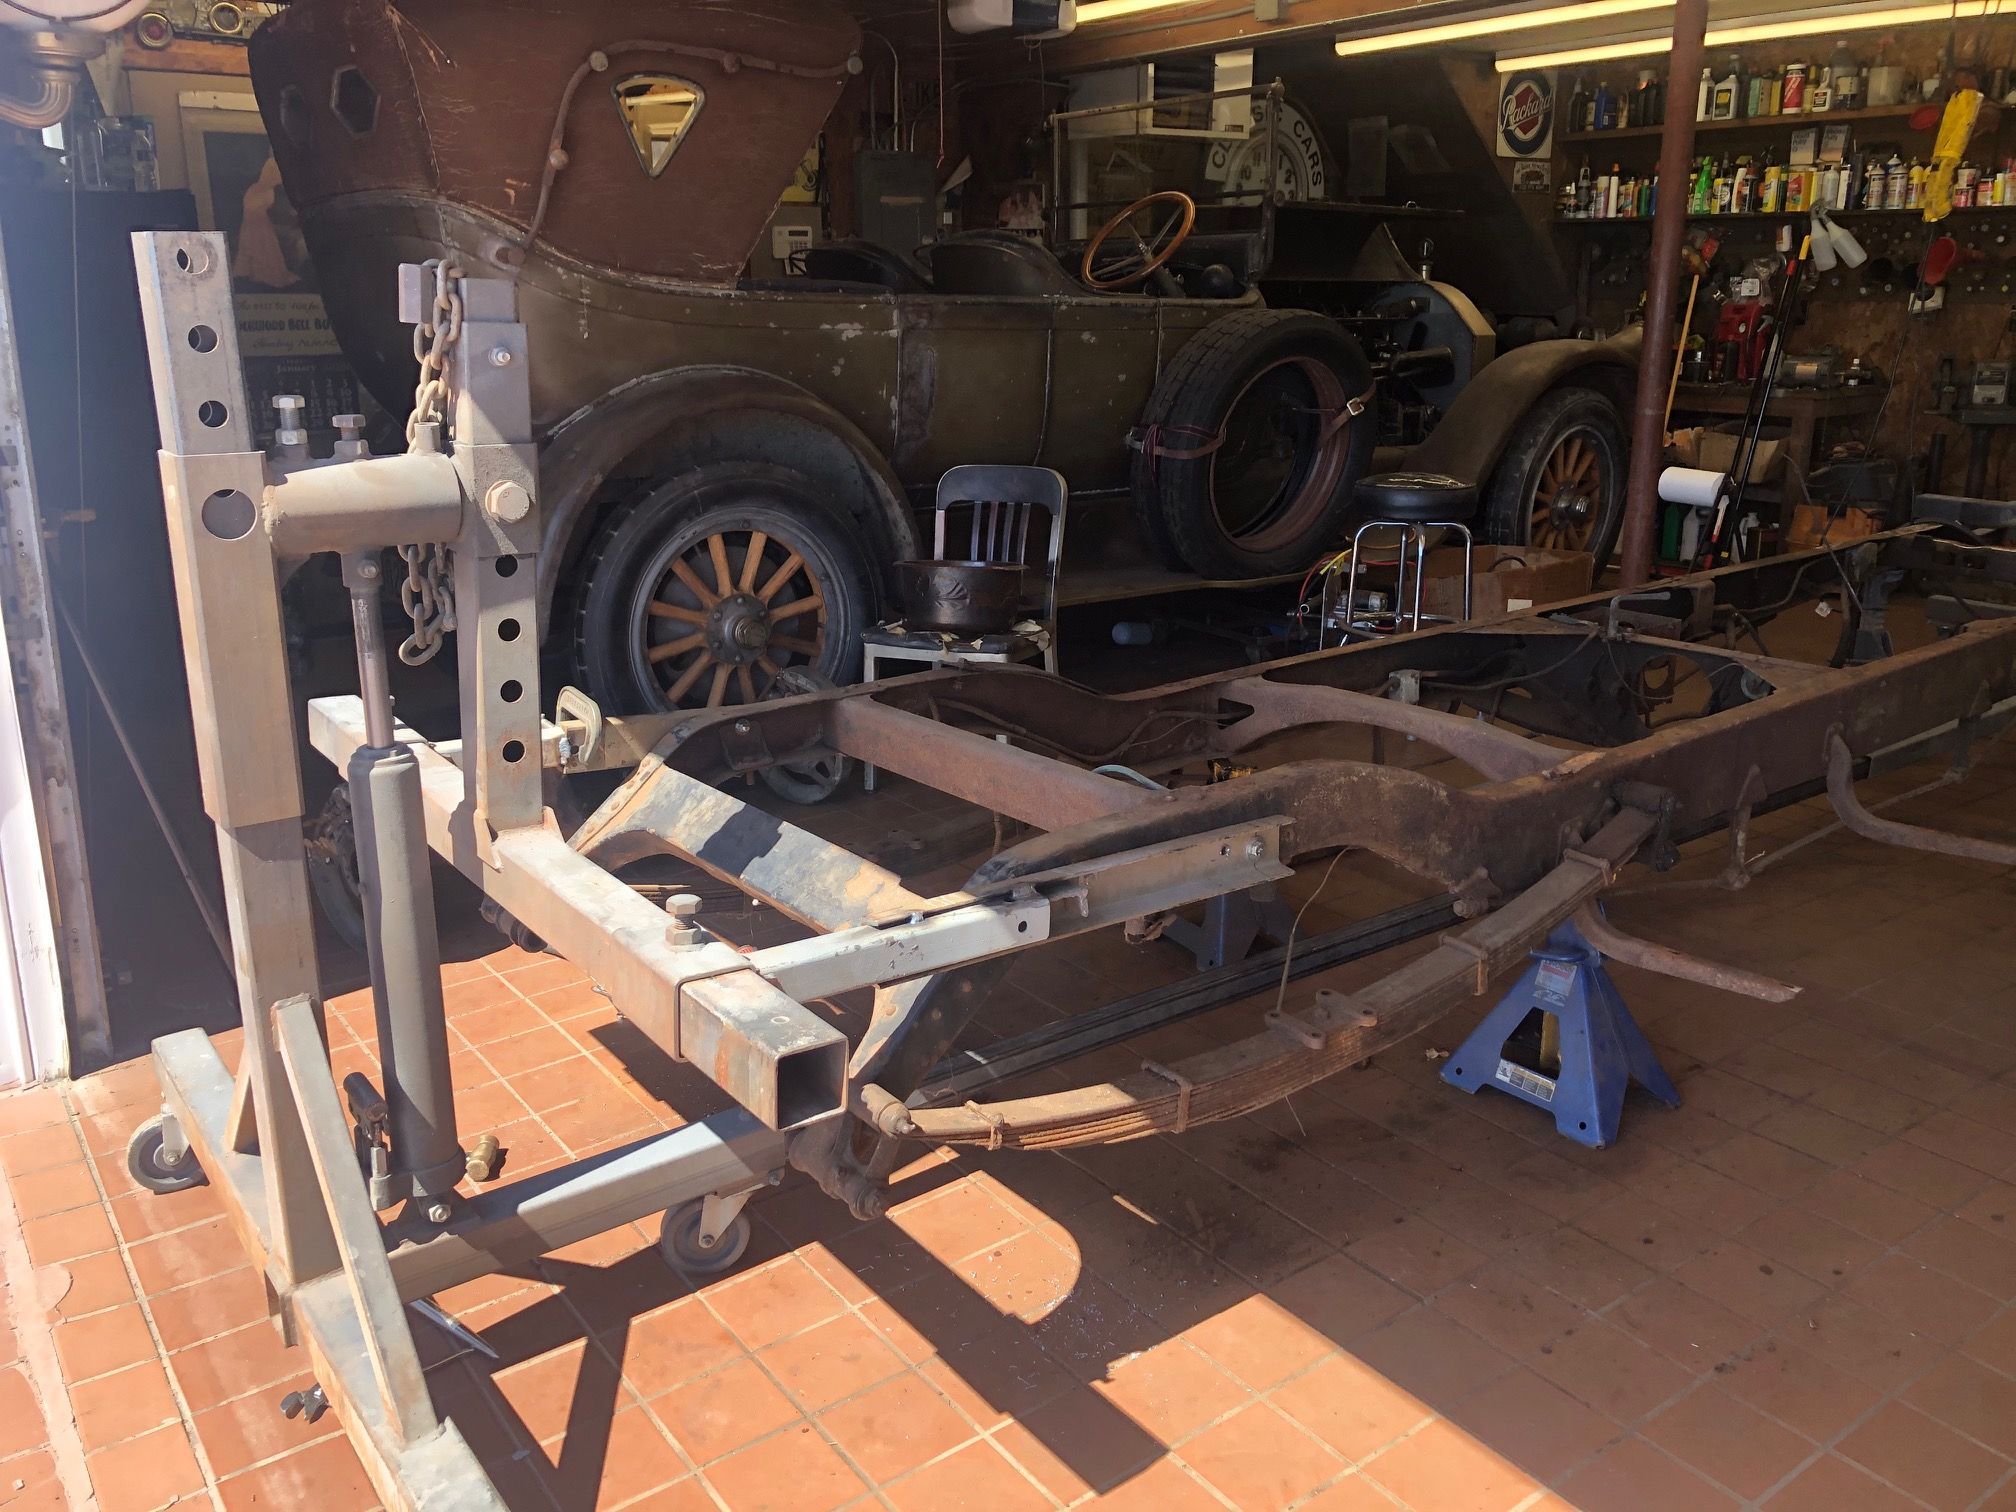
Rear section of frame with rotisary added.
16 / 230
Rotisary slightly raised to display its use.
17 / 230
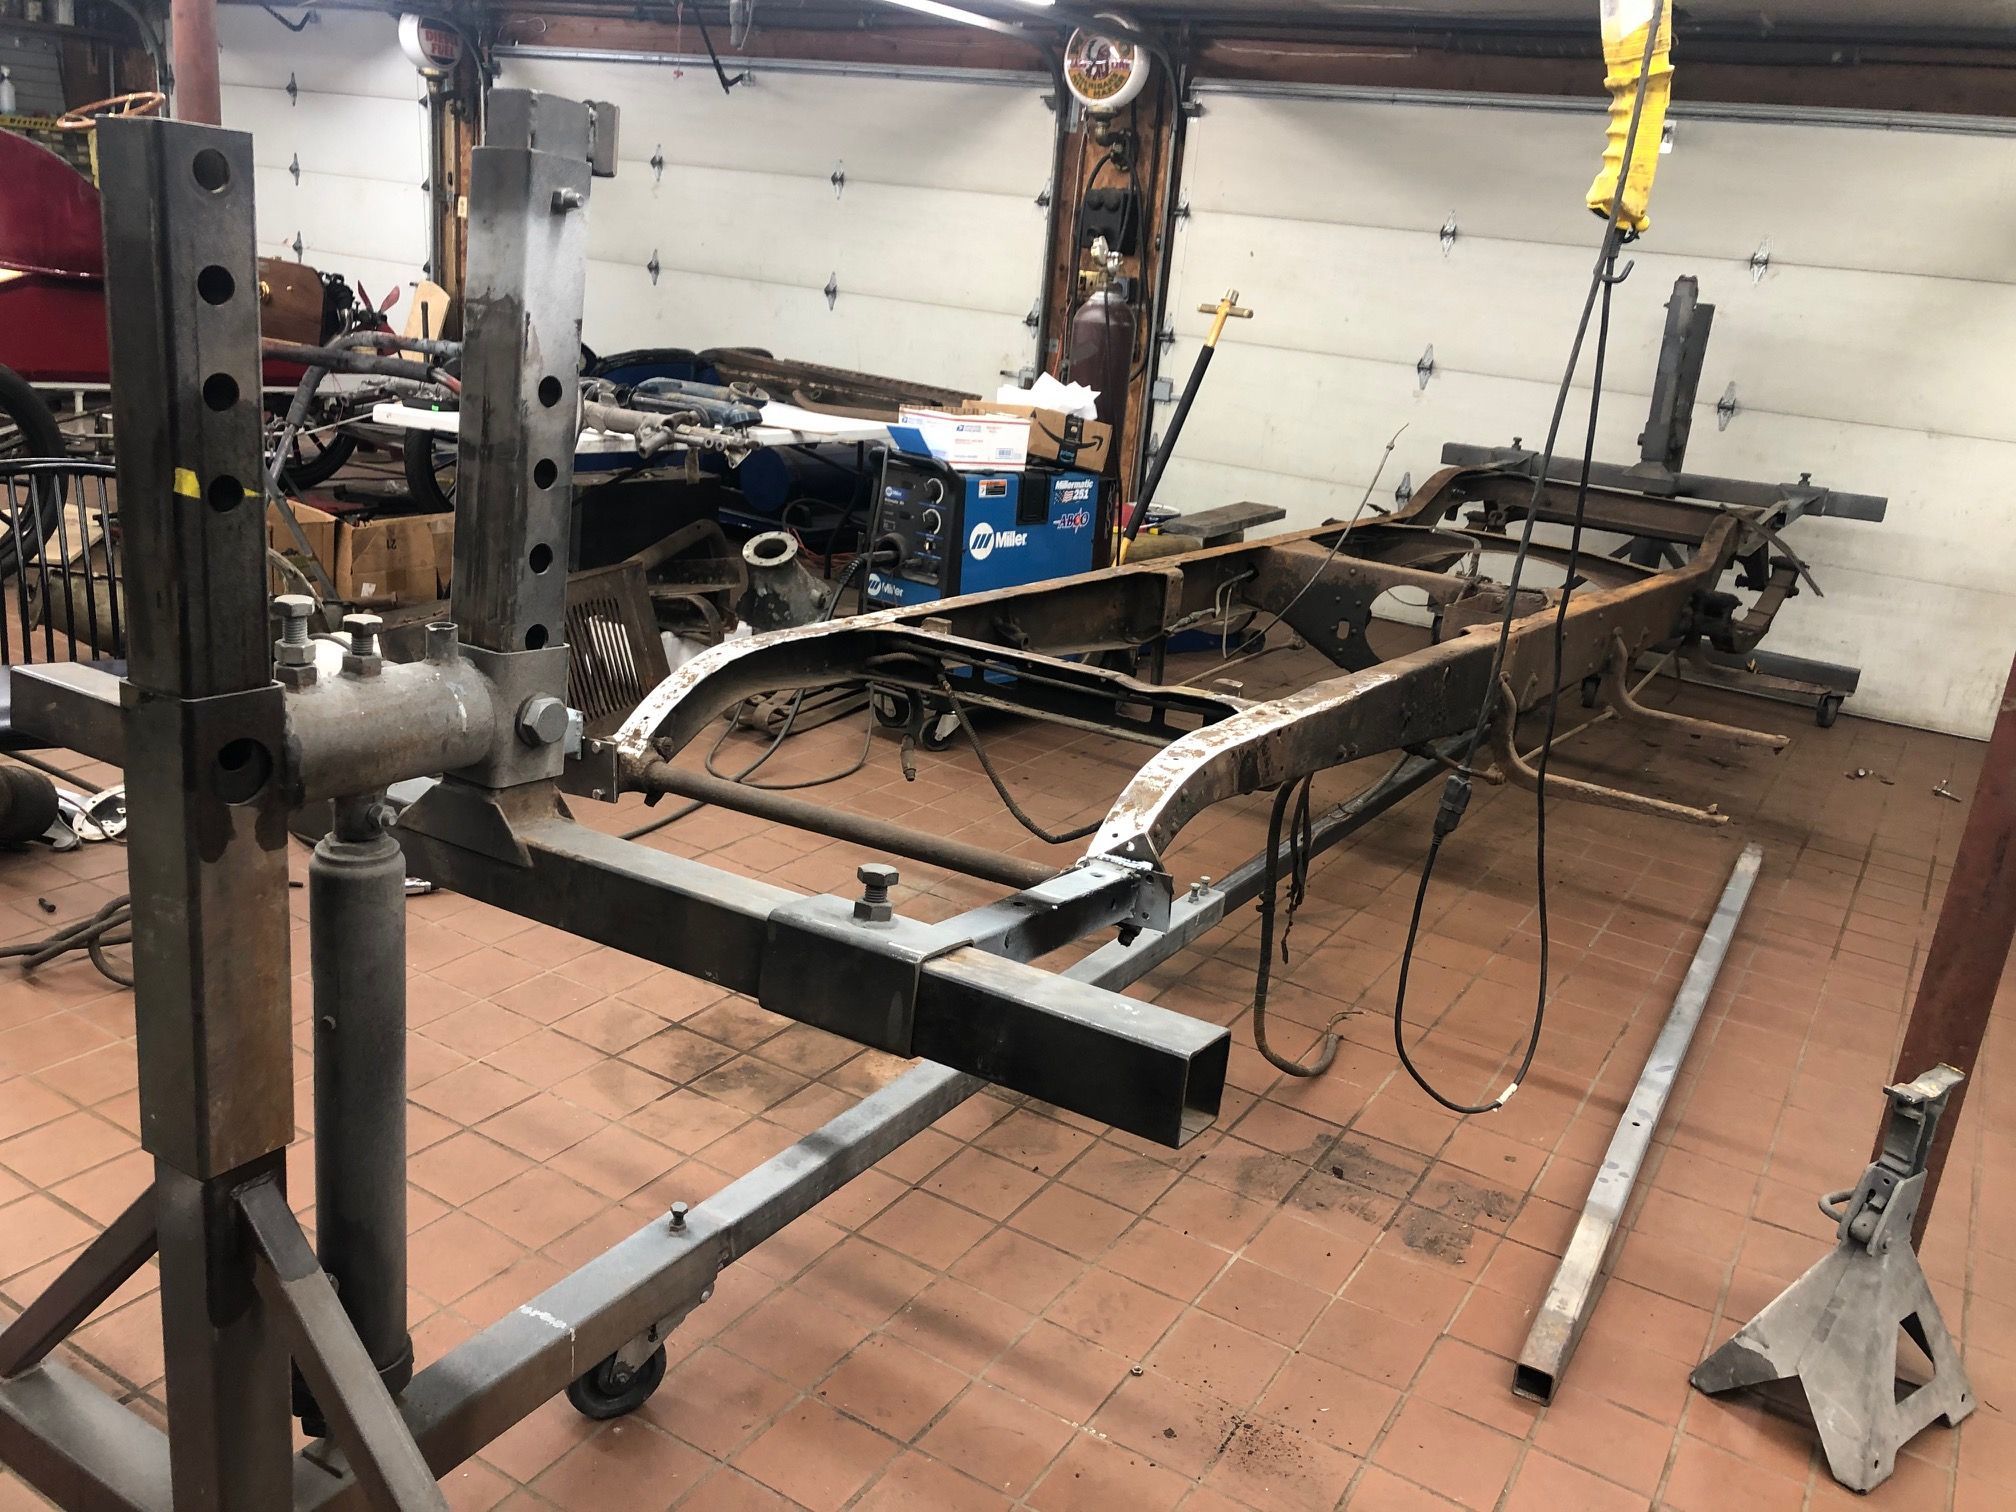
Left front view of attached rotisary.
18 / 230
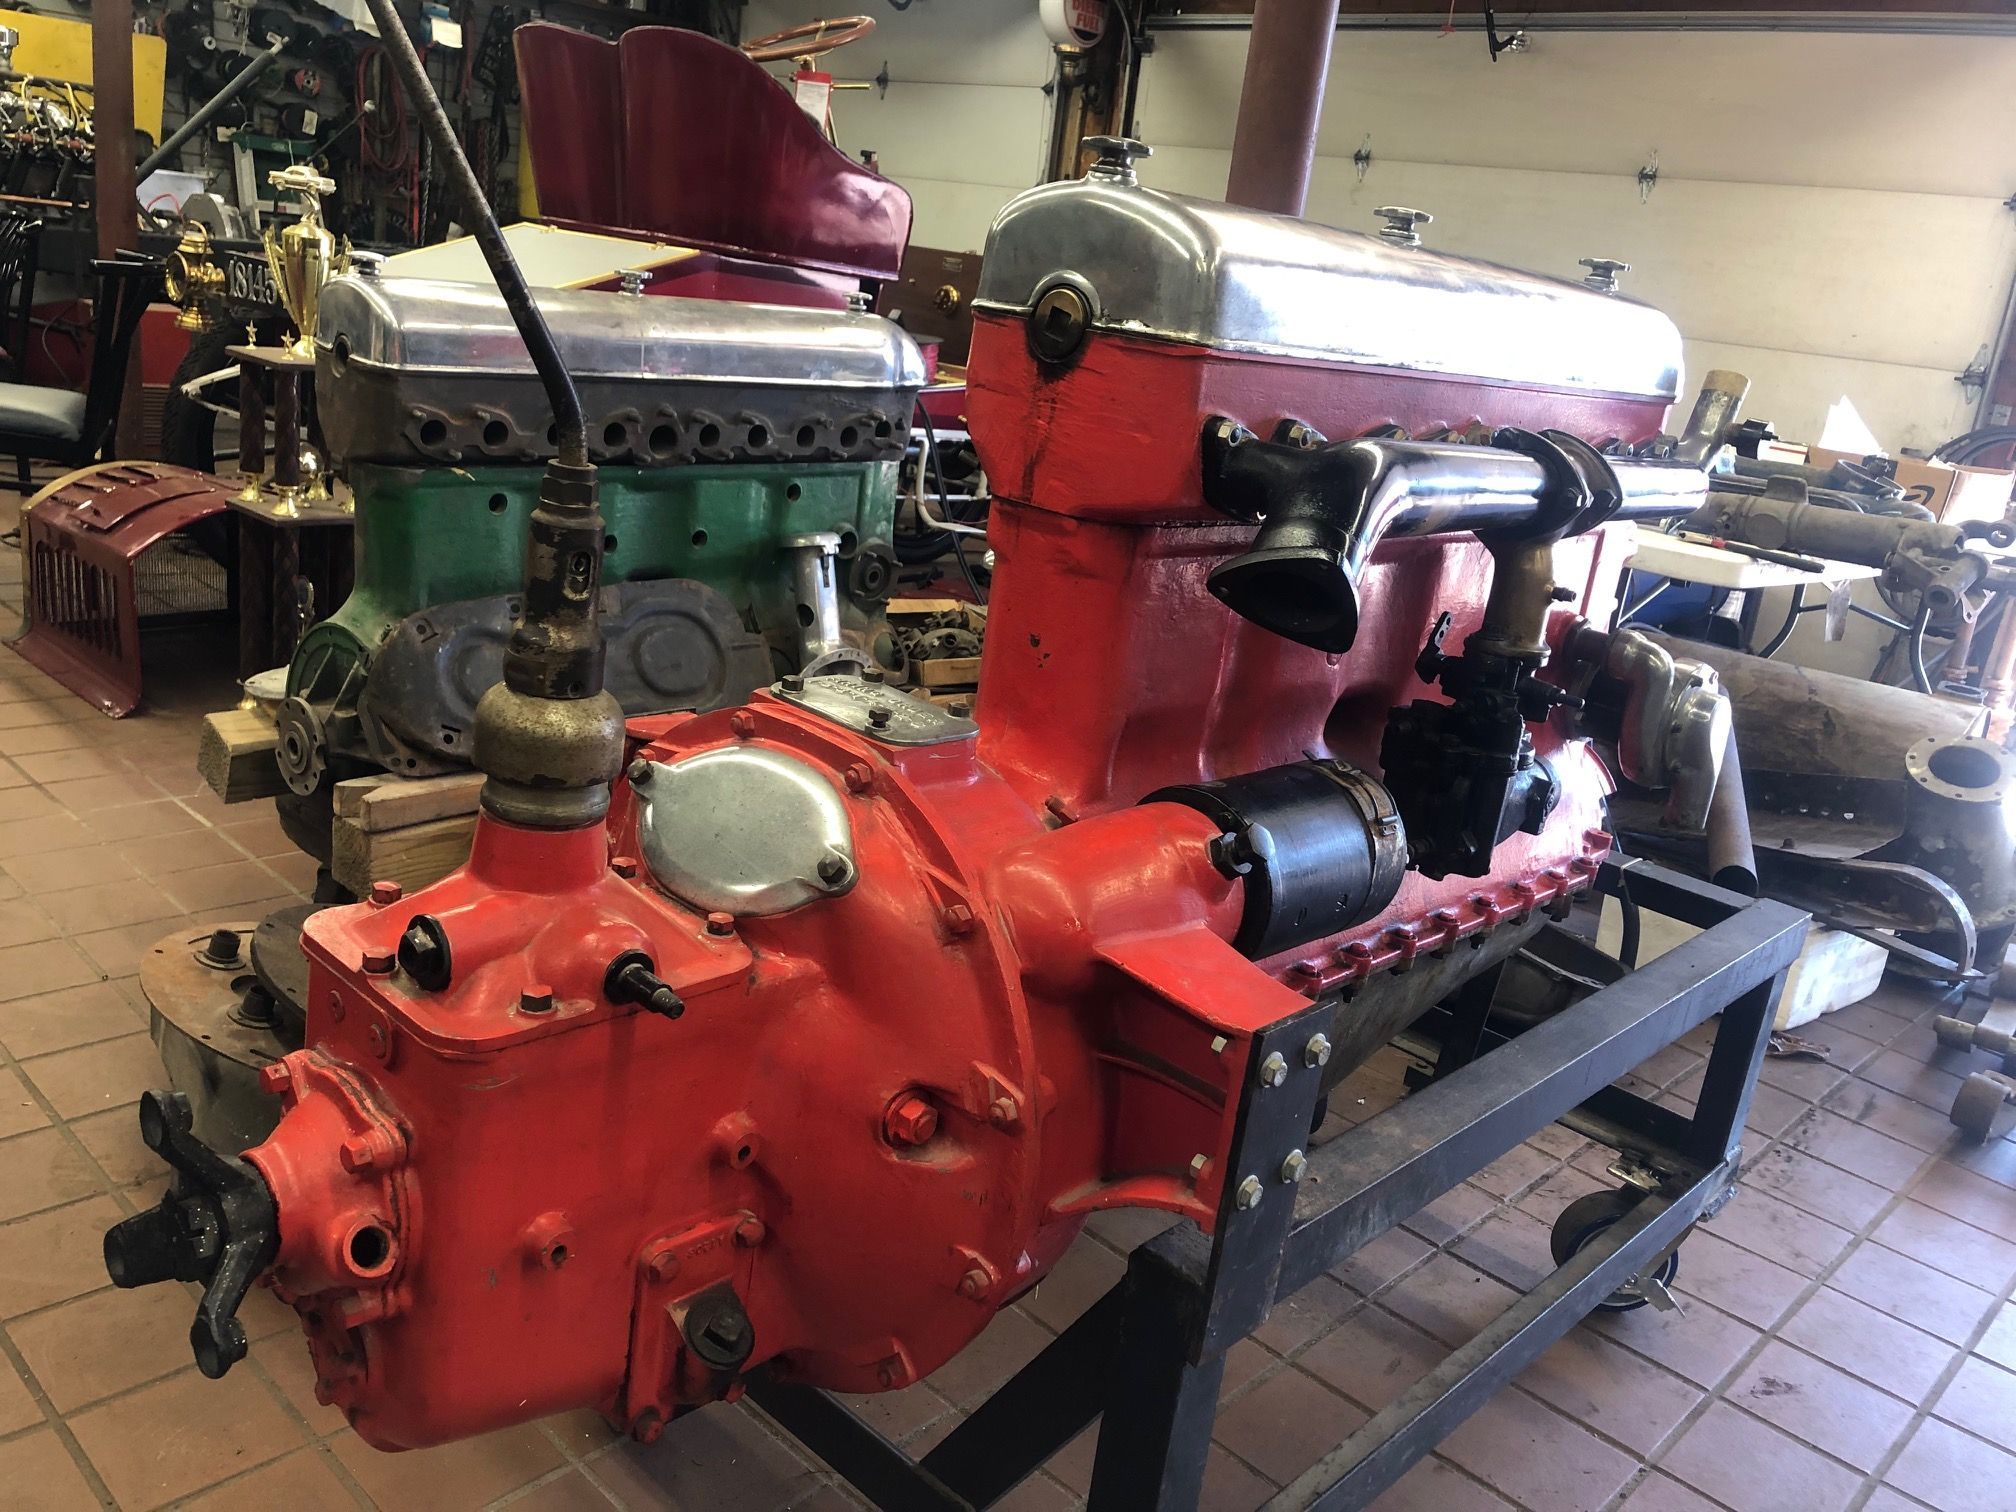
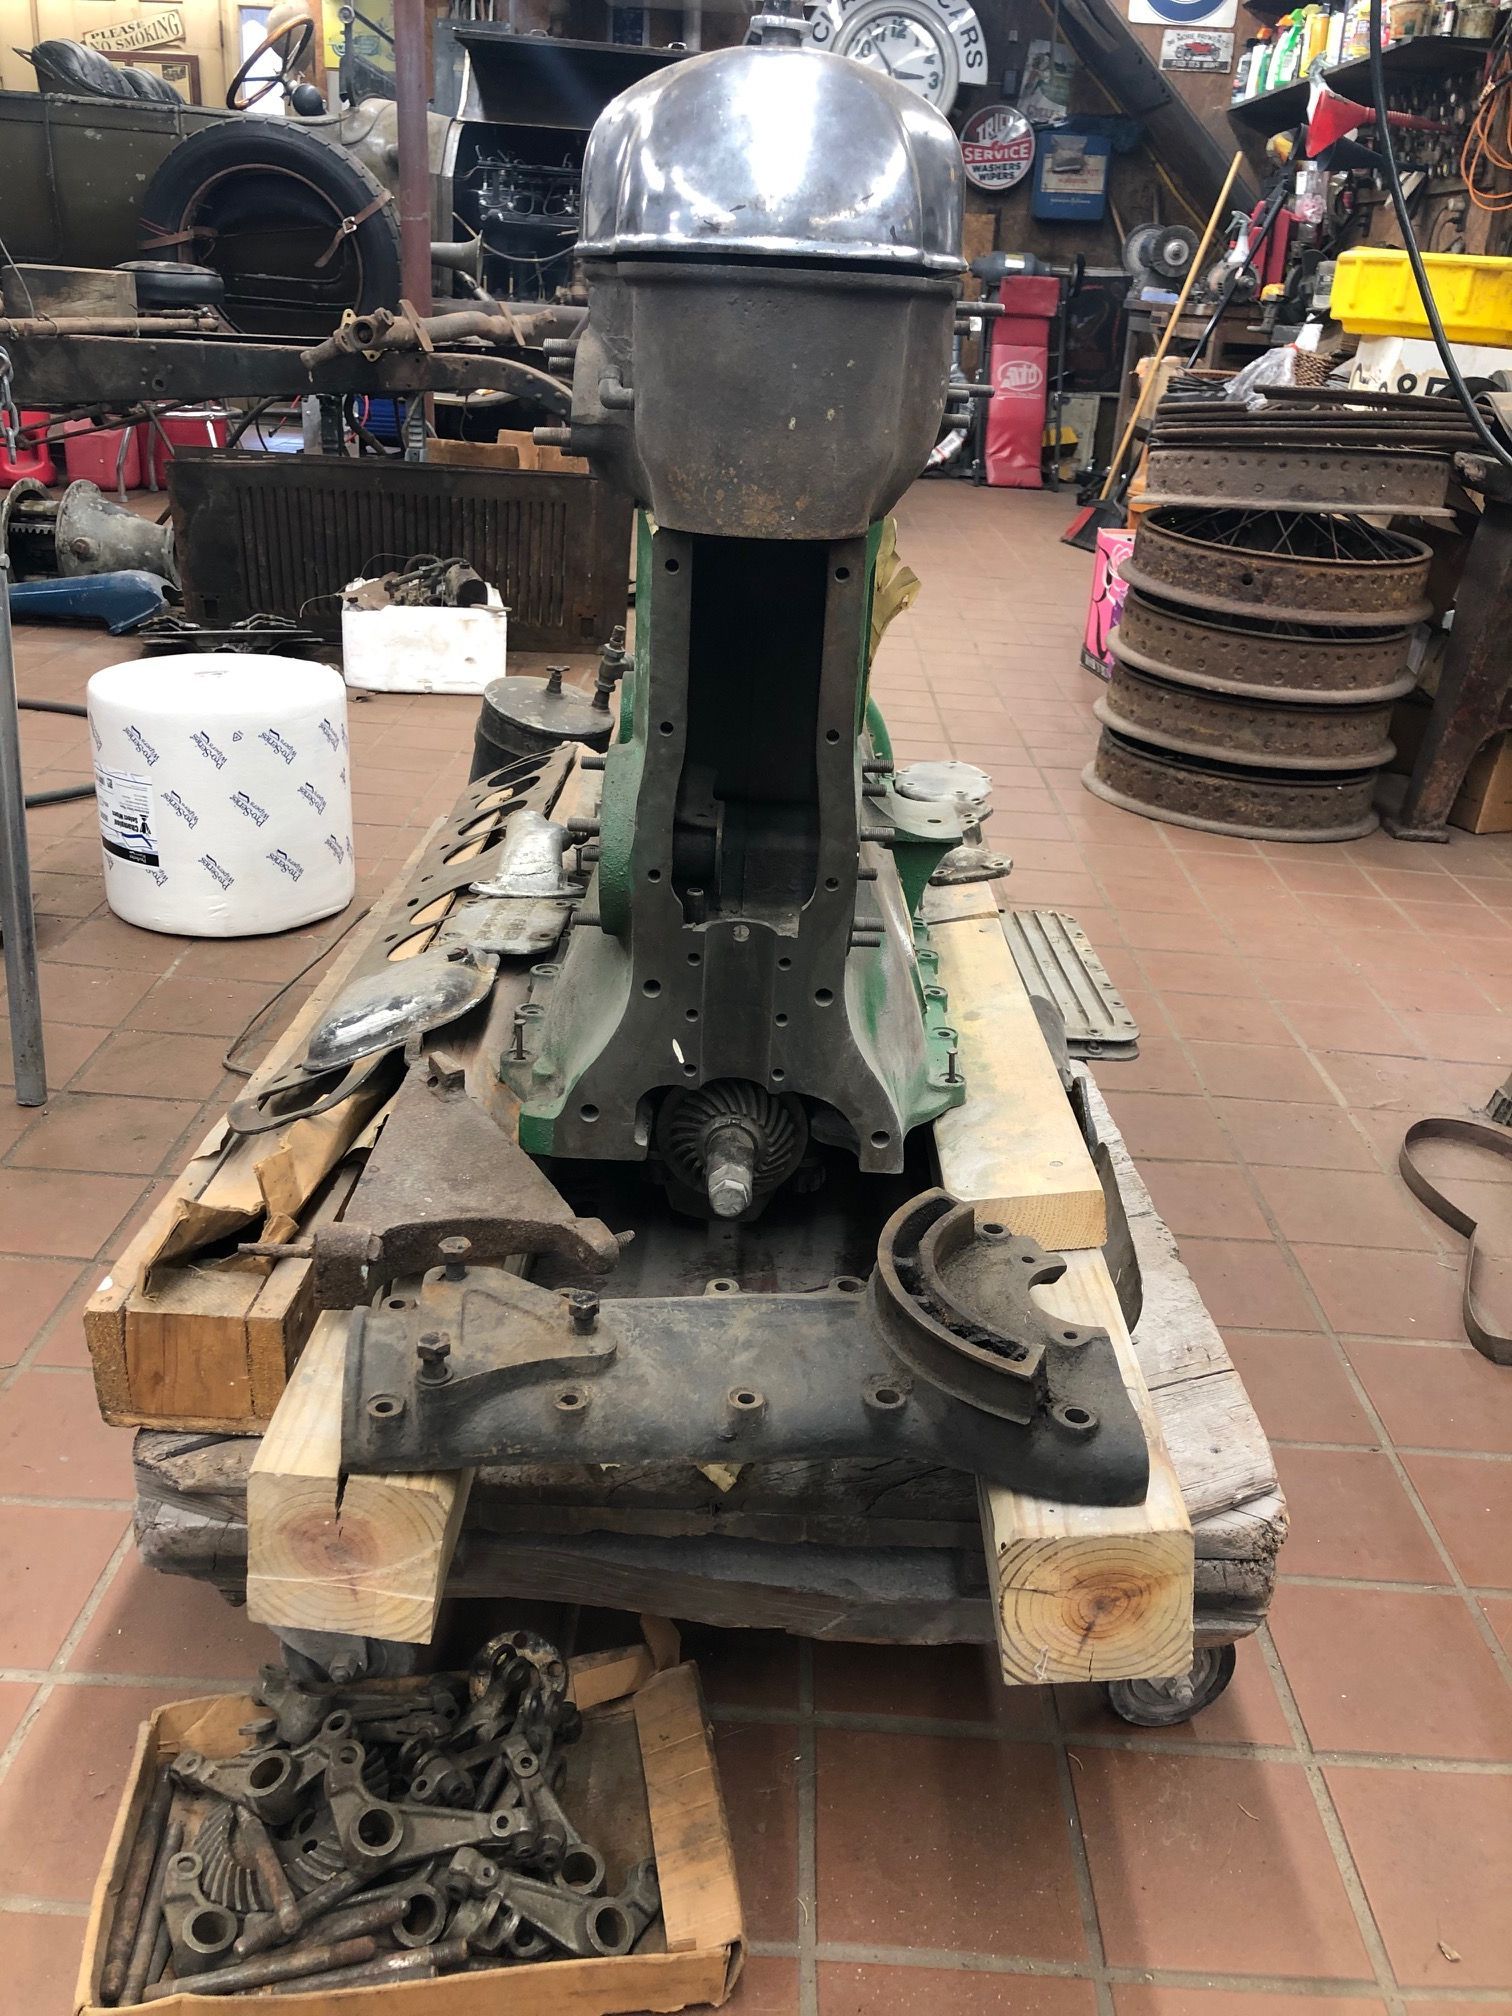
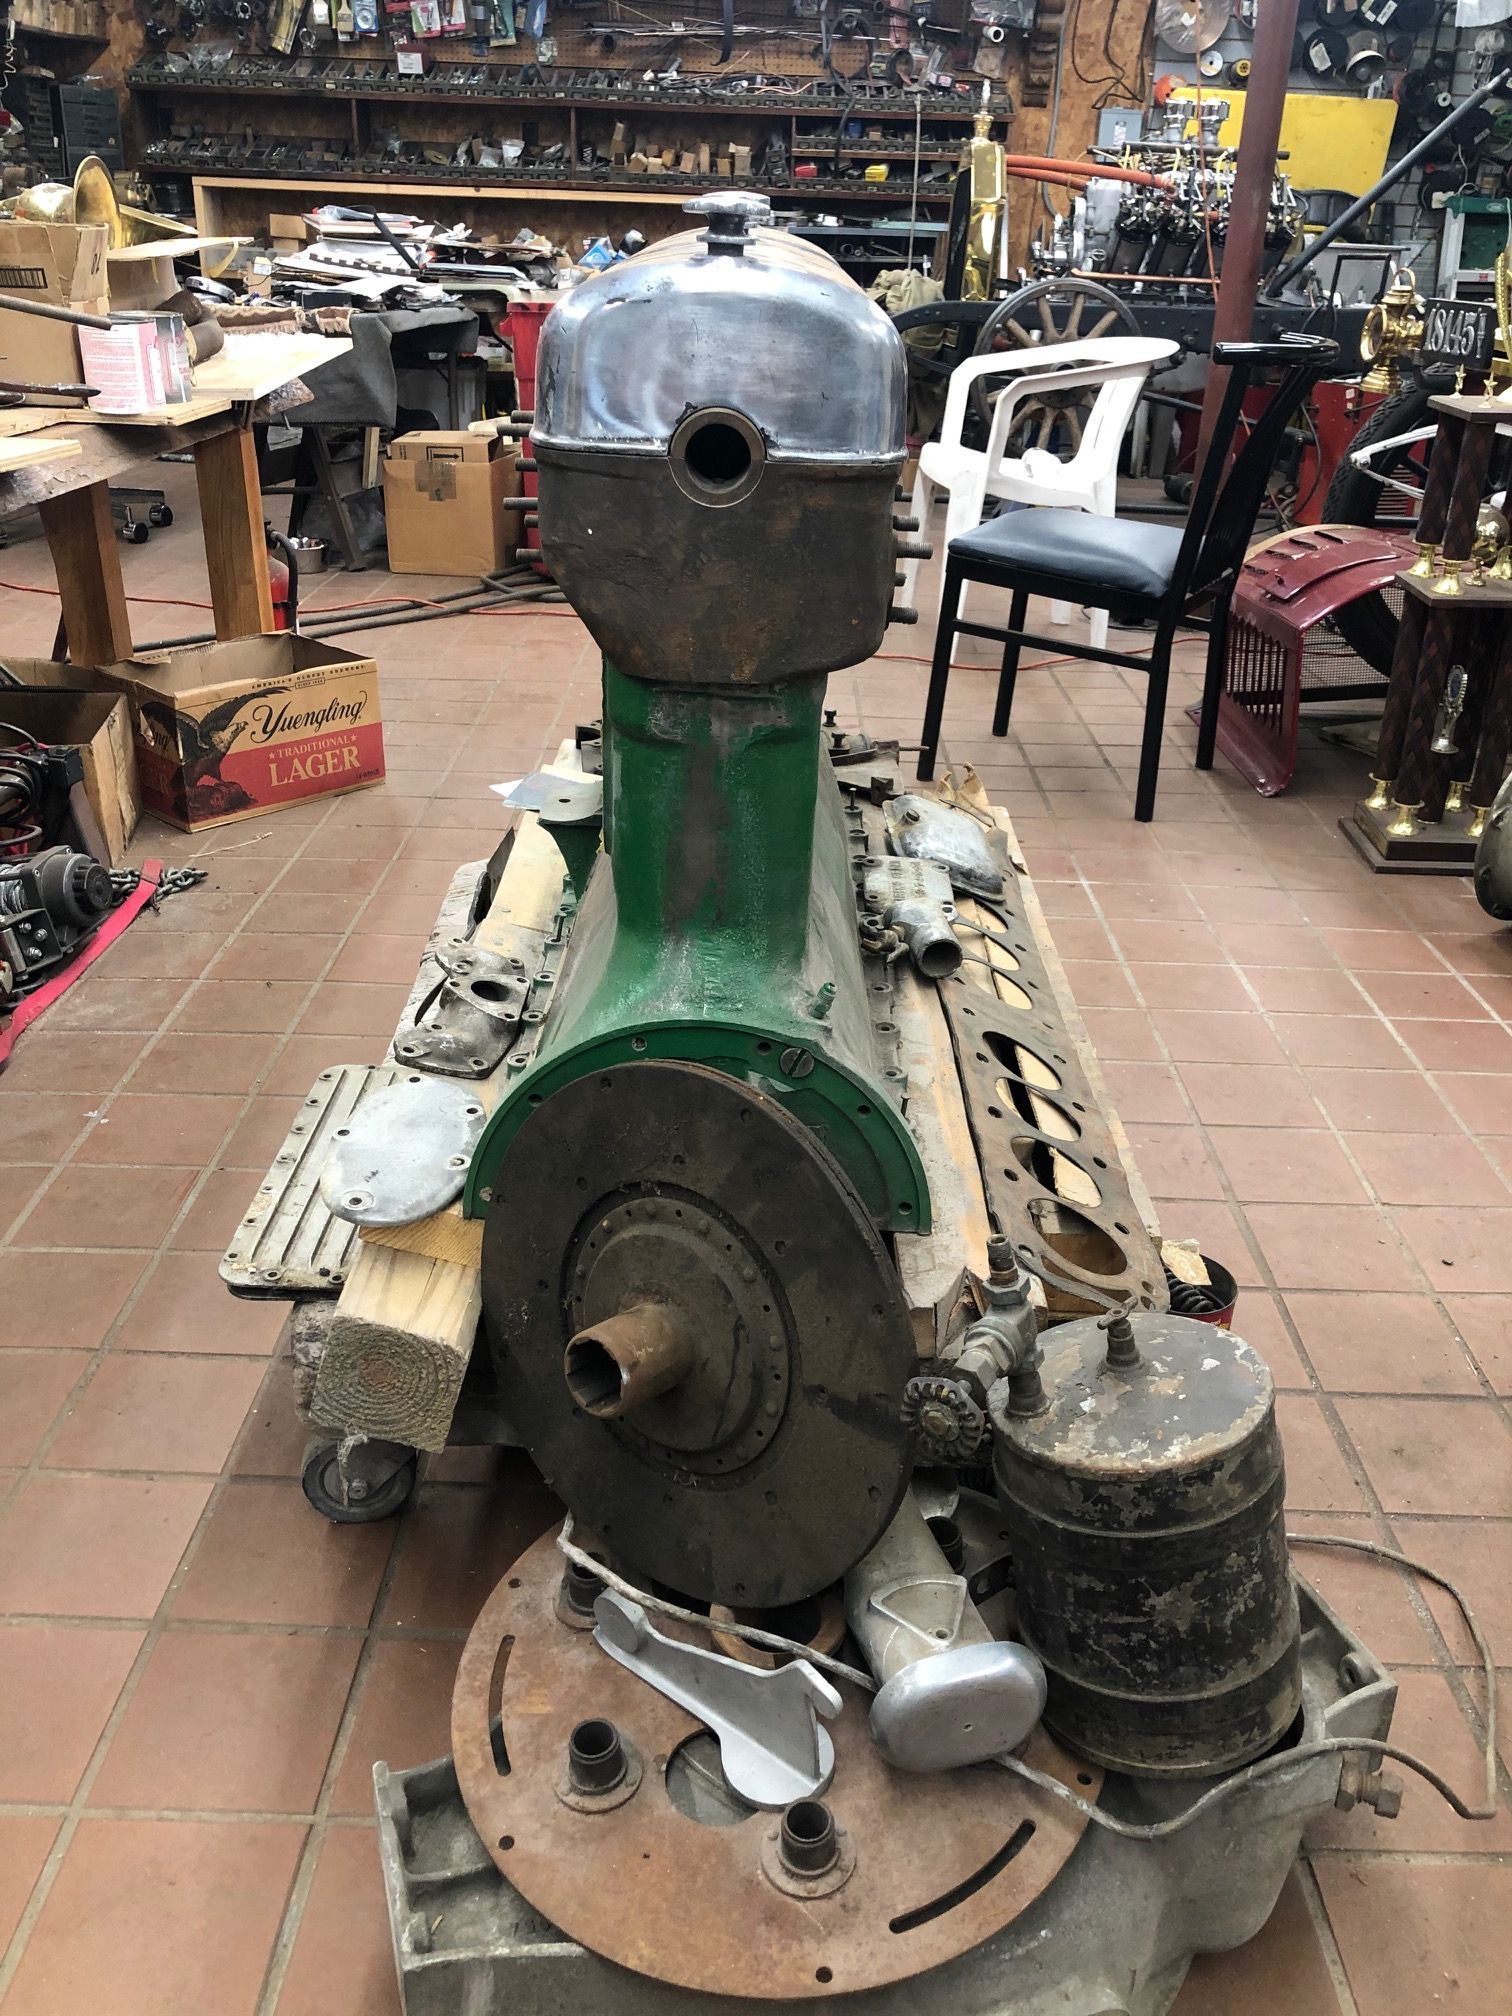
A complete 1925 Model A Duesenberg engine and transmission was acquired. This will make it much easier to determine which engine parts are missing from the project engine. Showing the right side.
19 / 230

New complete spare engine and transmission. Showing the left side.
20 / 230