
1917 Curtiss OXX-6 Aero Engine.
1 / 157
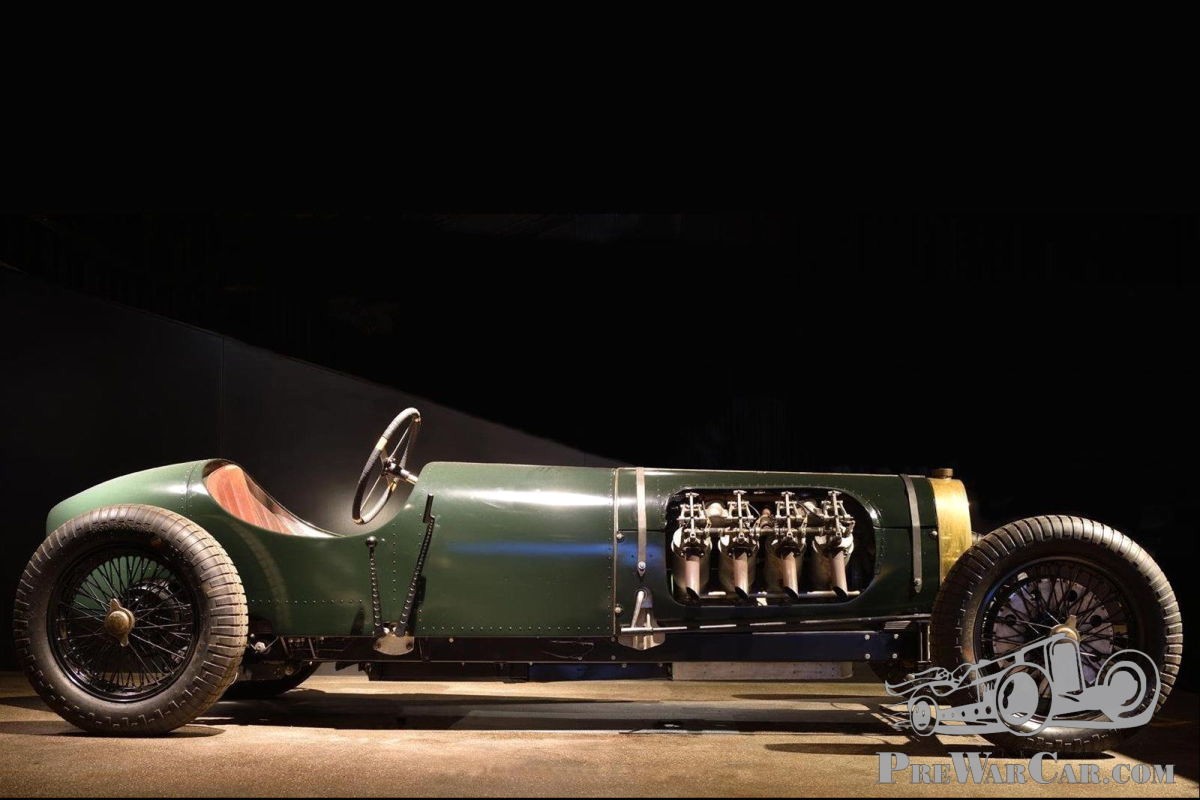
This is what the car will look like when the project is complete.
2 / 157
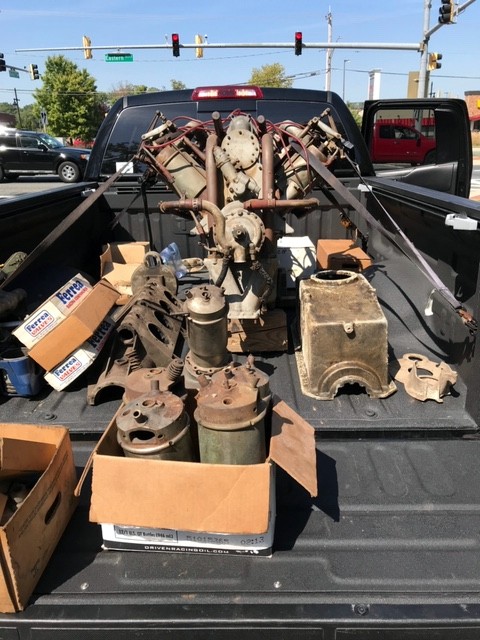
Engine I purchased plus an almost complete spare engine for parts.
3 / 157
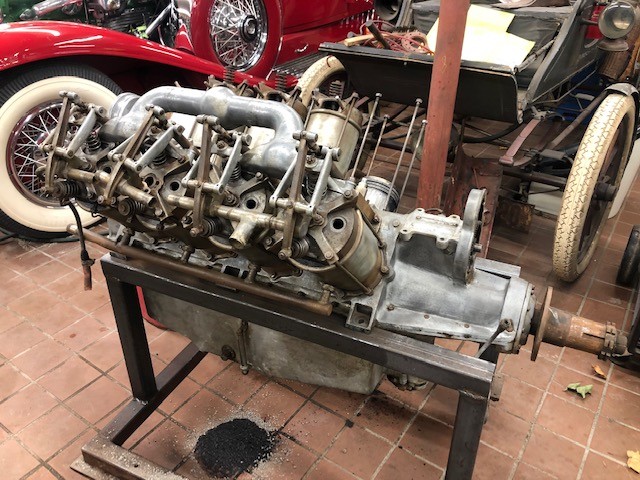
After its arrival at my shop in Rhode Island, my crew wasted no time in making a custom rolling frame to house the new Curtiss Aero engine and began dismantling the engine.
4 / 157
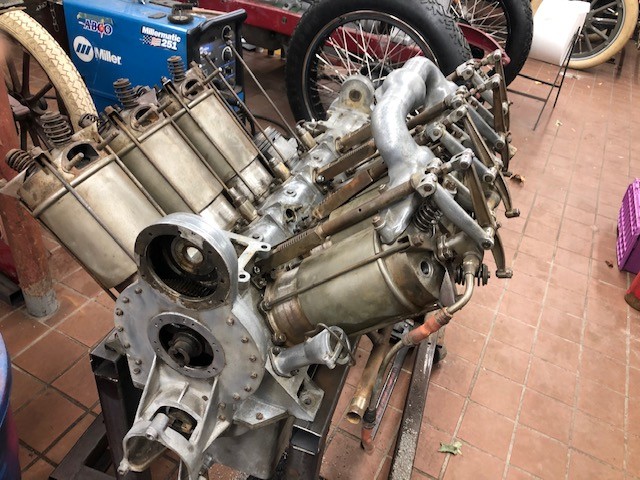
After its arrival at my shop in Rhode Island, my crew wasted no time in making a custom rolling frame to house the new Curtiss Aero engine and began dismantling the engine.
5 / 157

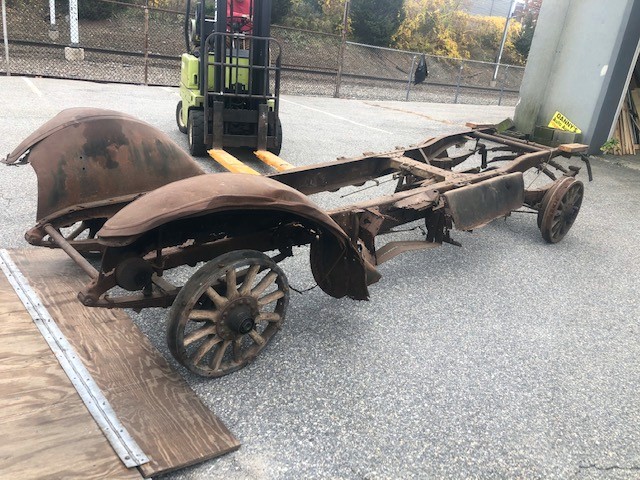
After looking through my "project car" inventory in my downtown warehouse, I picked a period-correct 1917 Cadillac chassis to be used for the new race car project.
6 / 157
After looking through my "project car" inventory in my downtown warehouse, I picked a period-correct 1917 Cadillac chassis to be used for the new race car project.
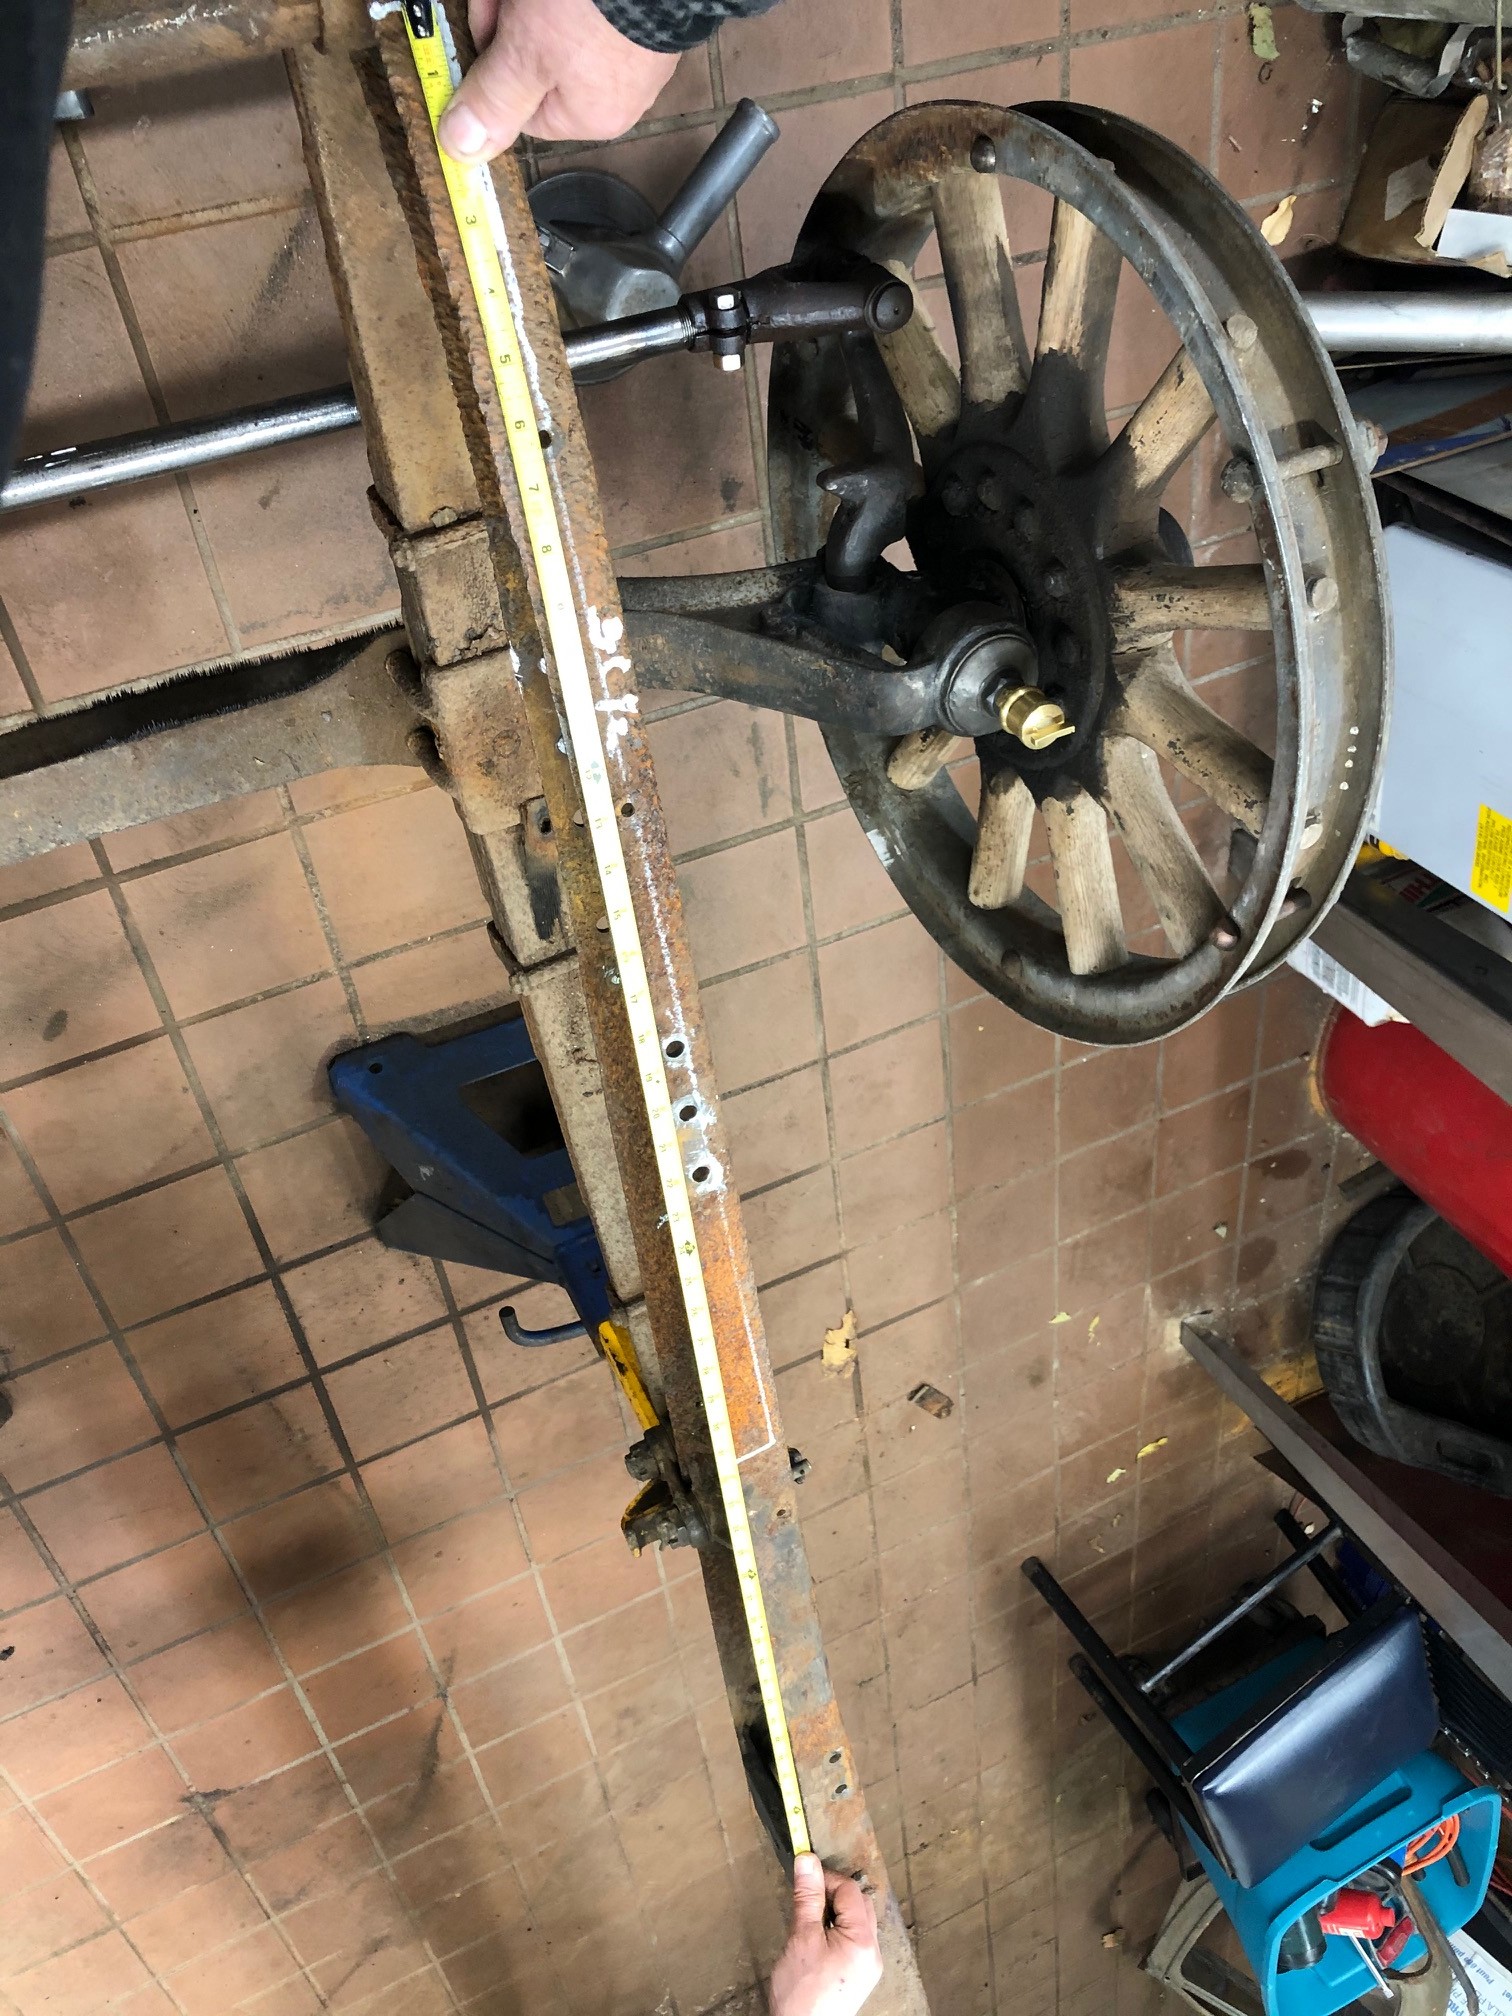
7 / 157

Left side view of race car chassis after fenders, splash aprons, and wheels etc. were removed.
8 / 157

Left side view of race car chassis after fenders, splash aprons, and wheels etc. were removed.
9 / 157
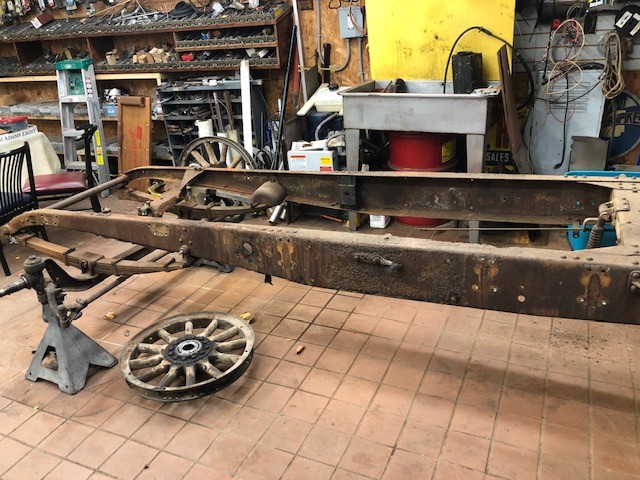
Chassis is stripped of all previous body parts.
10 / 157
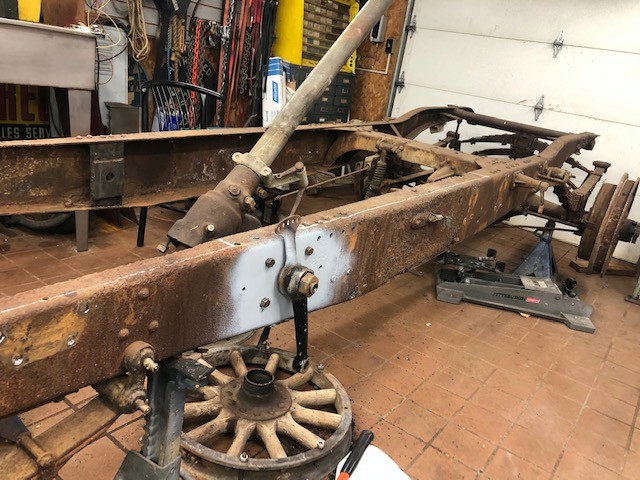
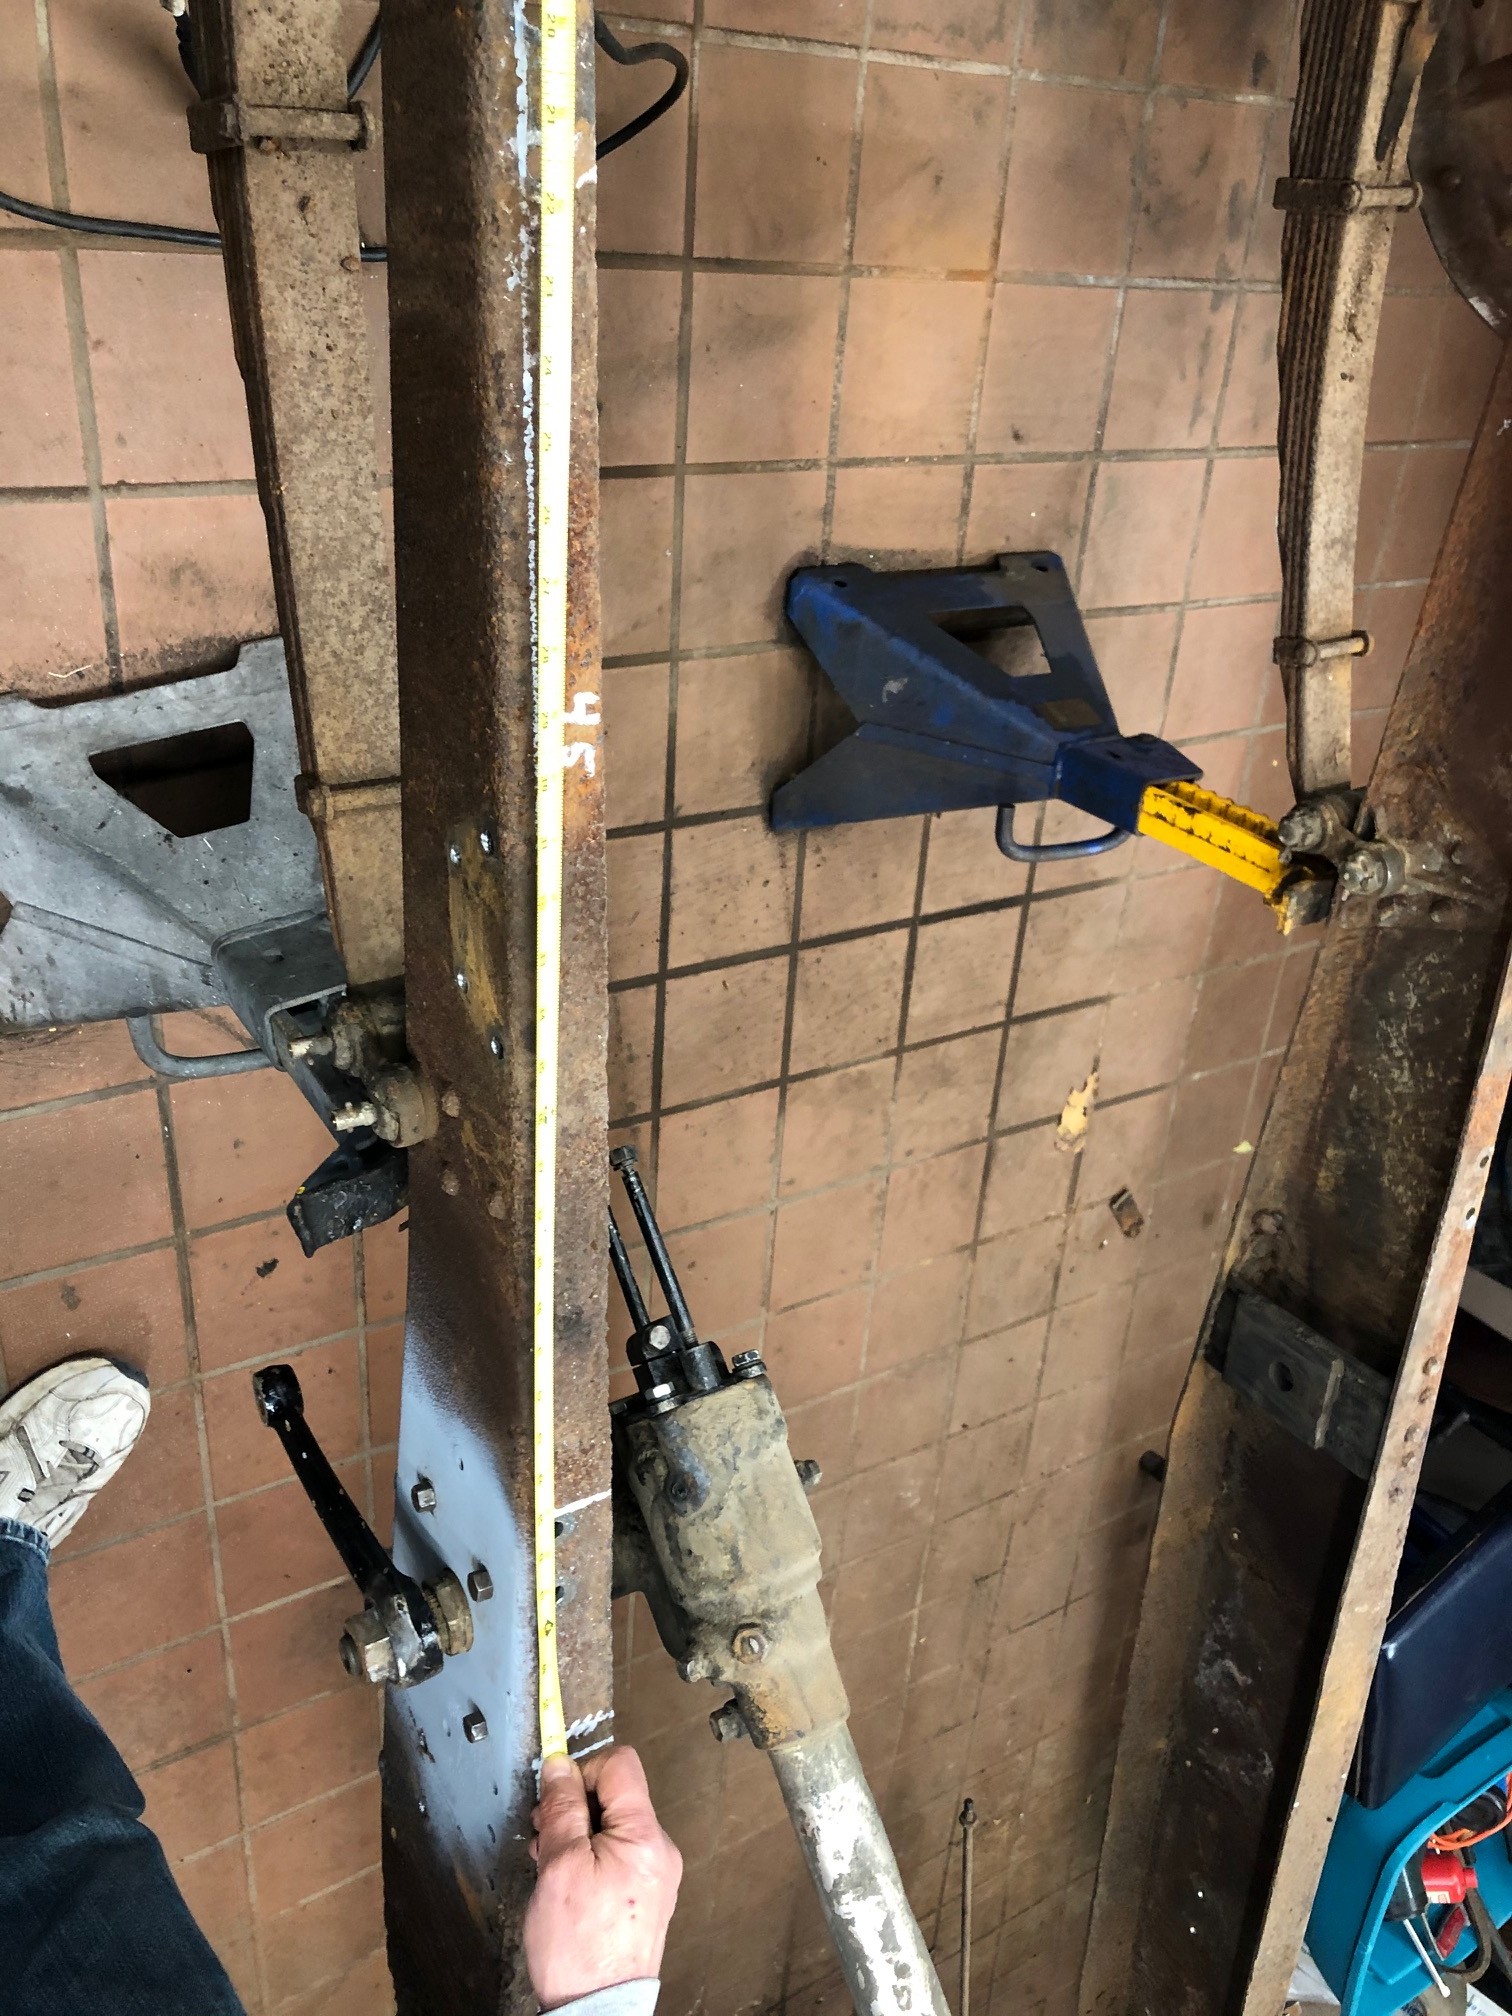
Proper steering box and pitman arm Is located and fitted to the chassis.
11 / 157

Tie rod had to be removed, straightened, and relocated to its correct position on the chassis.
12 / 157
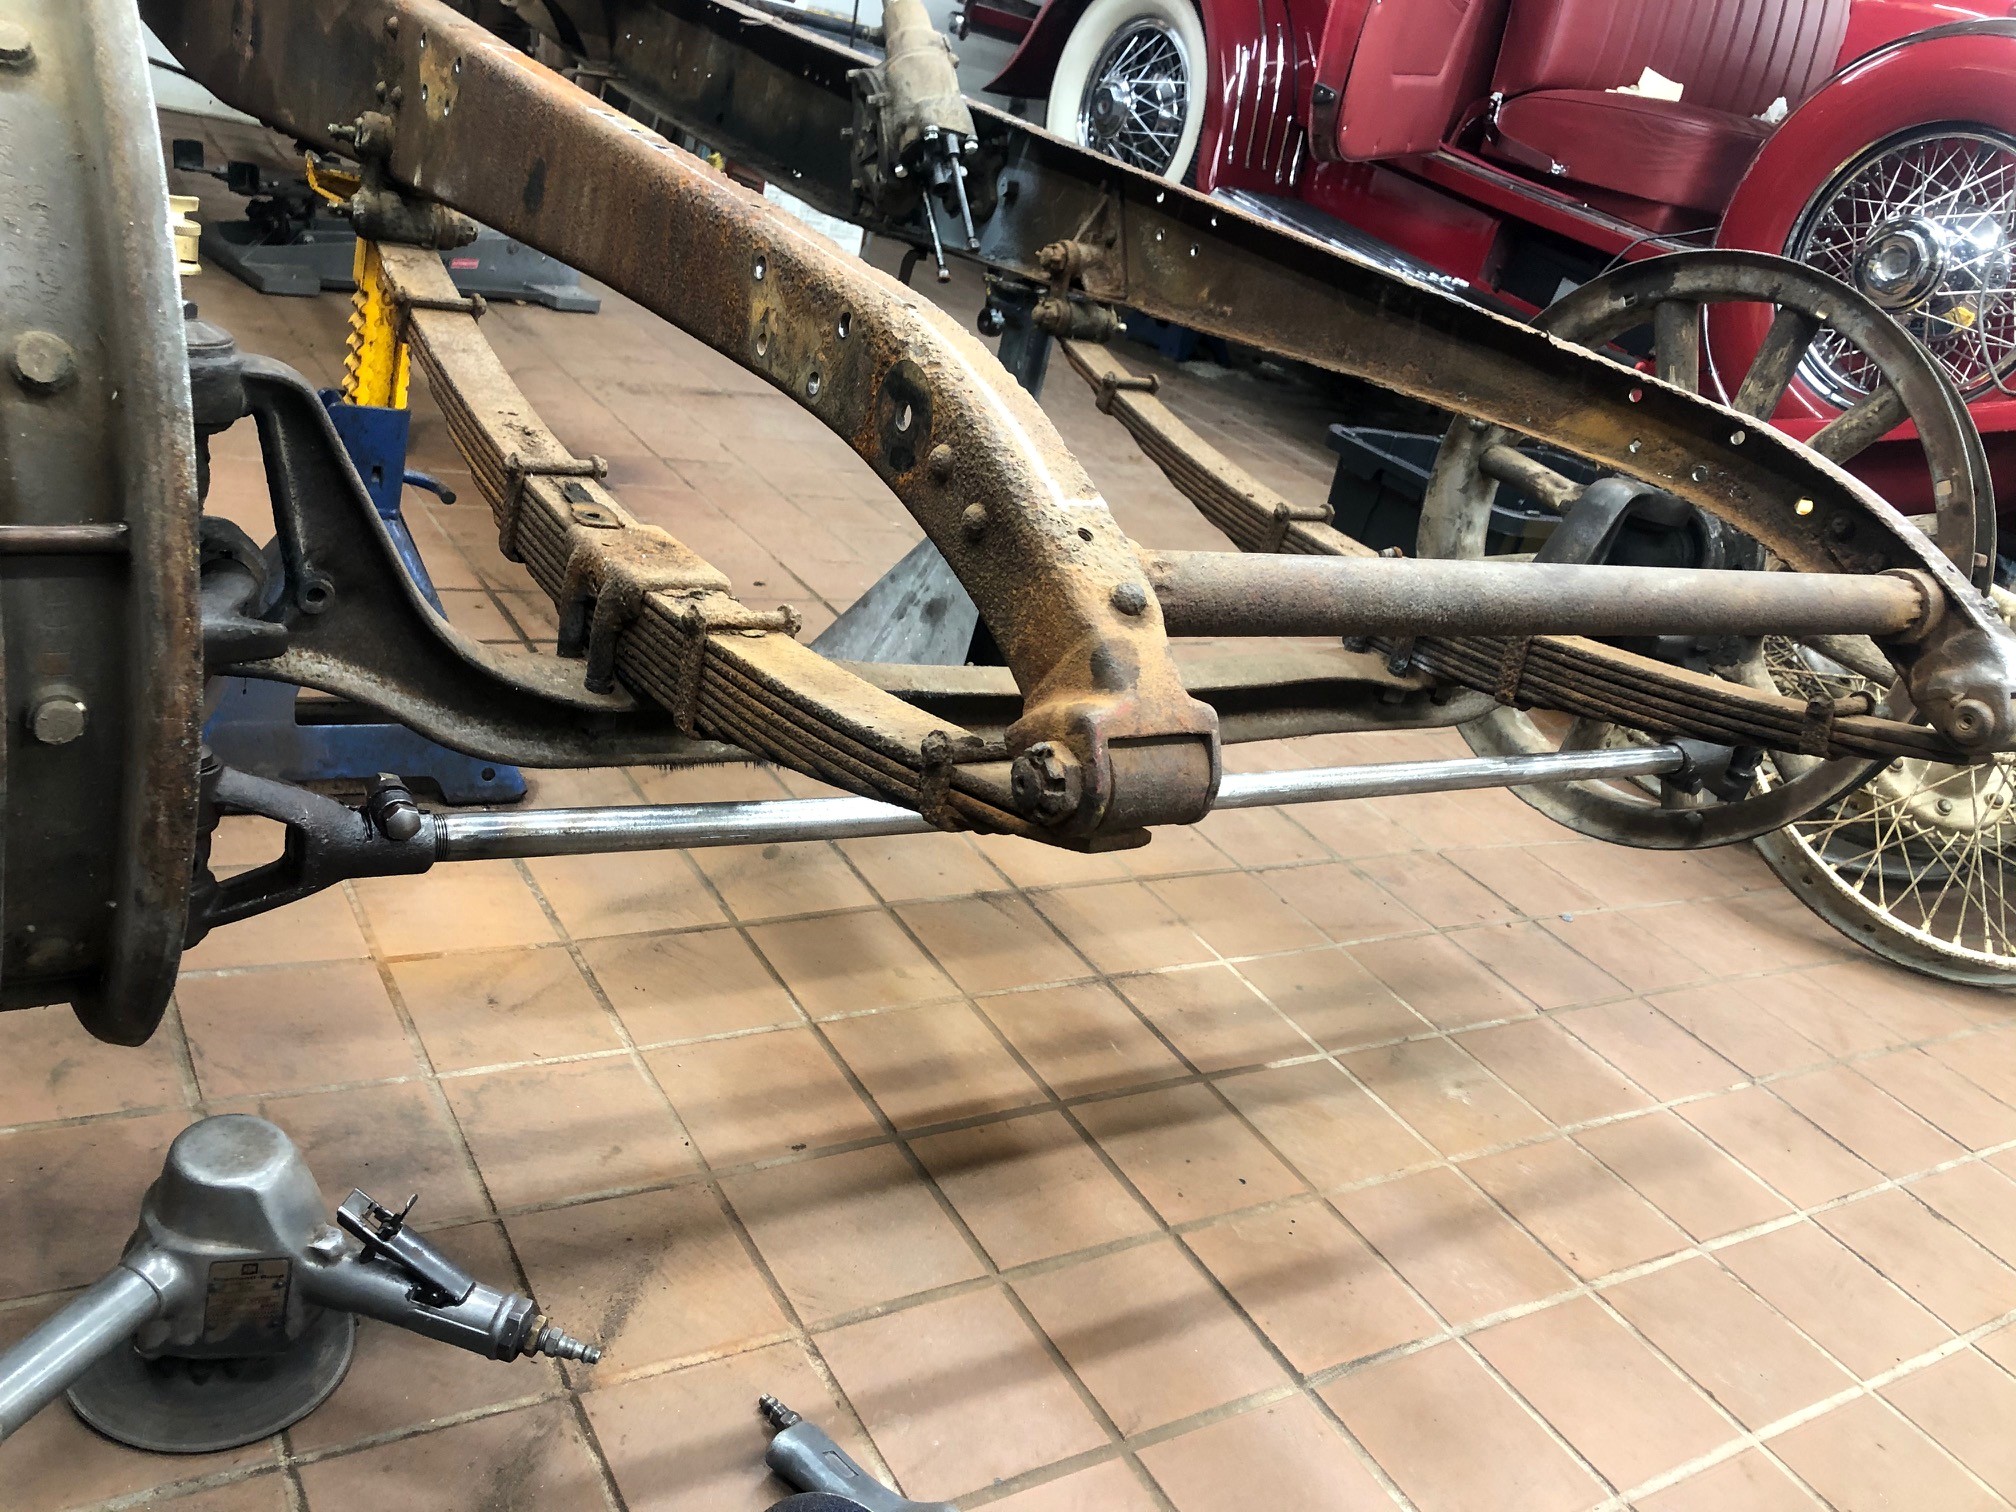
After close inspection, it was noted that severe pitting was present on the front rails of the chassis.
13 / 157
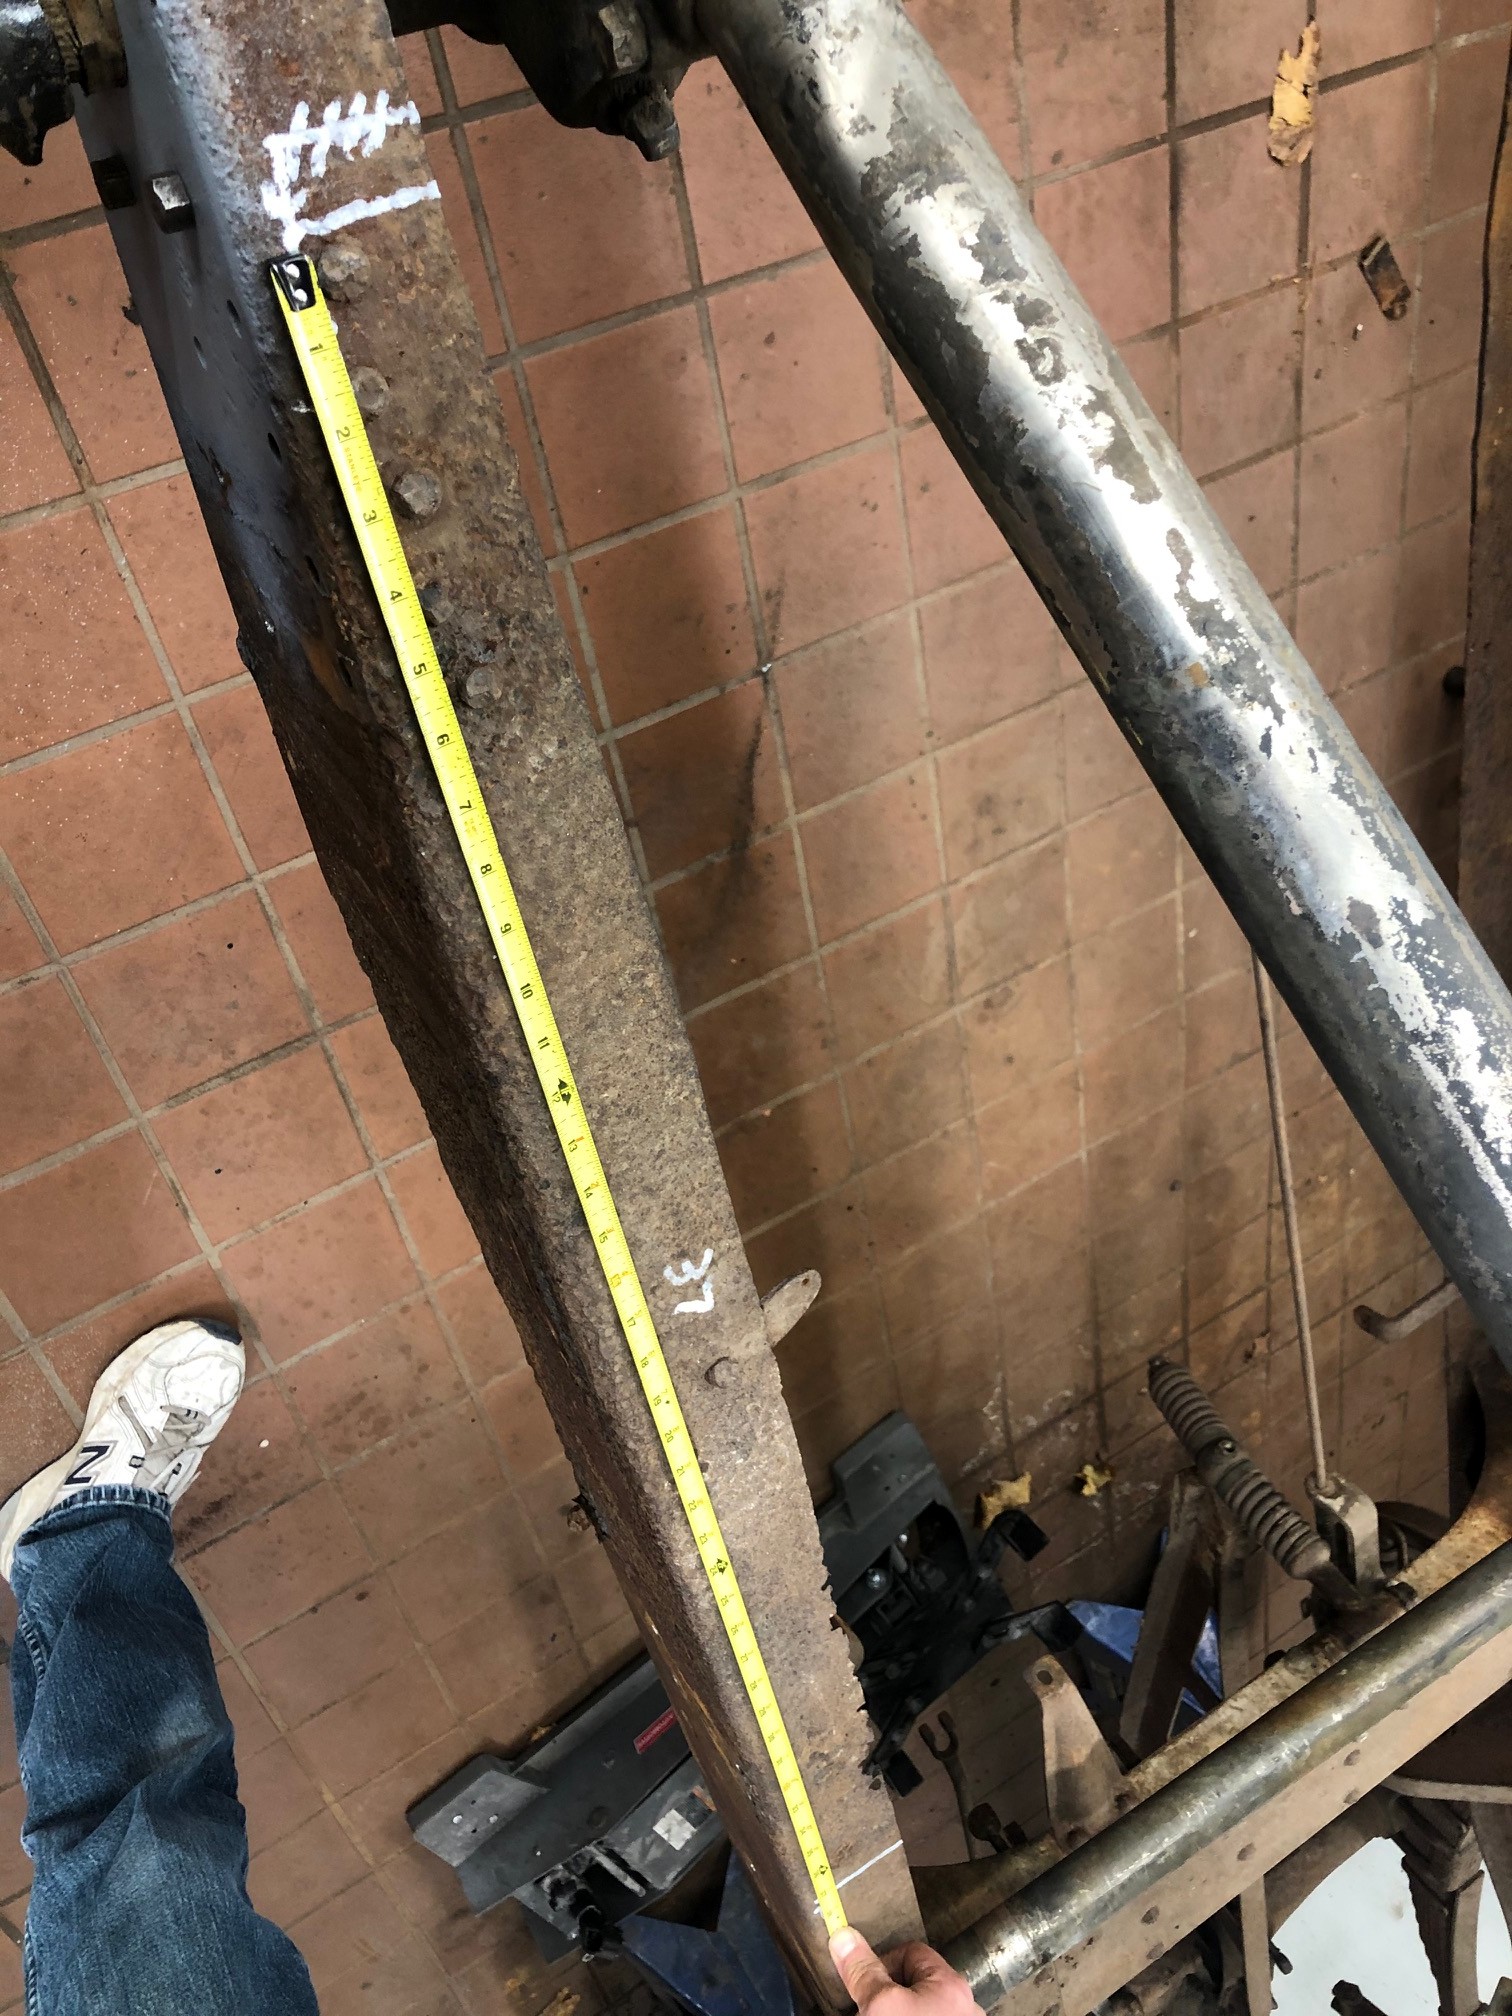
37 inches of the left side top rail must be replaced.
14 / 157
The pitted sections were measured so that the proper 3/16 inch thick replacement pieces could be ordered.
15 / 157
The pitted sections were measured so that the proper 3/16 inch thick replacement pieces could be ordered.
16 / 157

The complete chassis was taken to the sand blasting shop where it was steam cleaned, sand blasted, and painted.
17 / 157
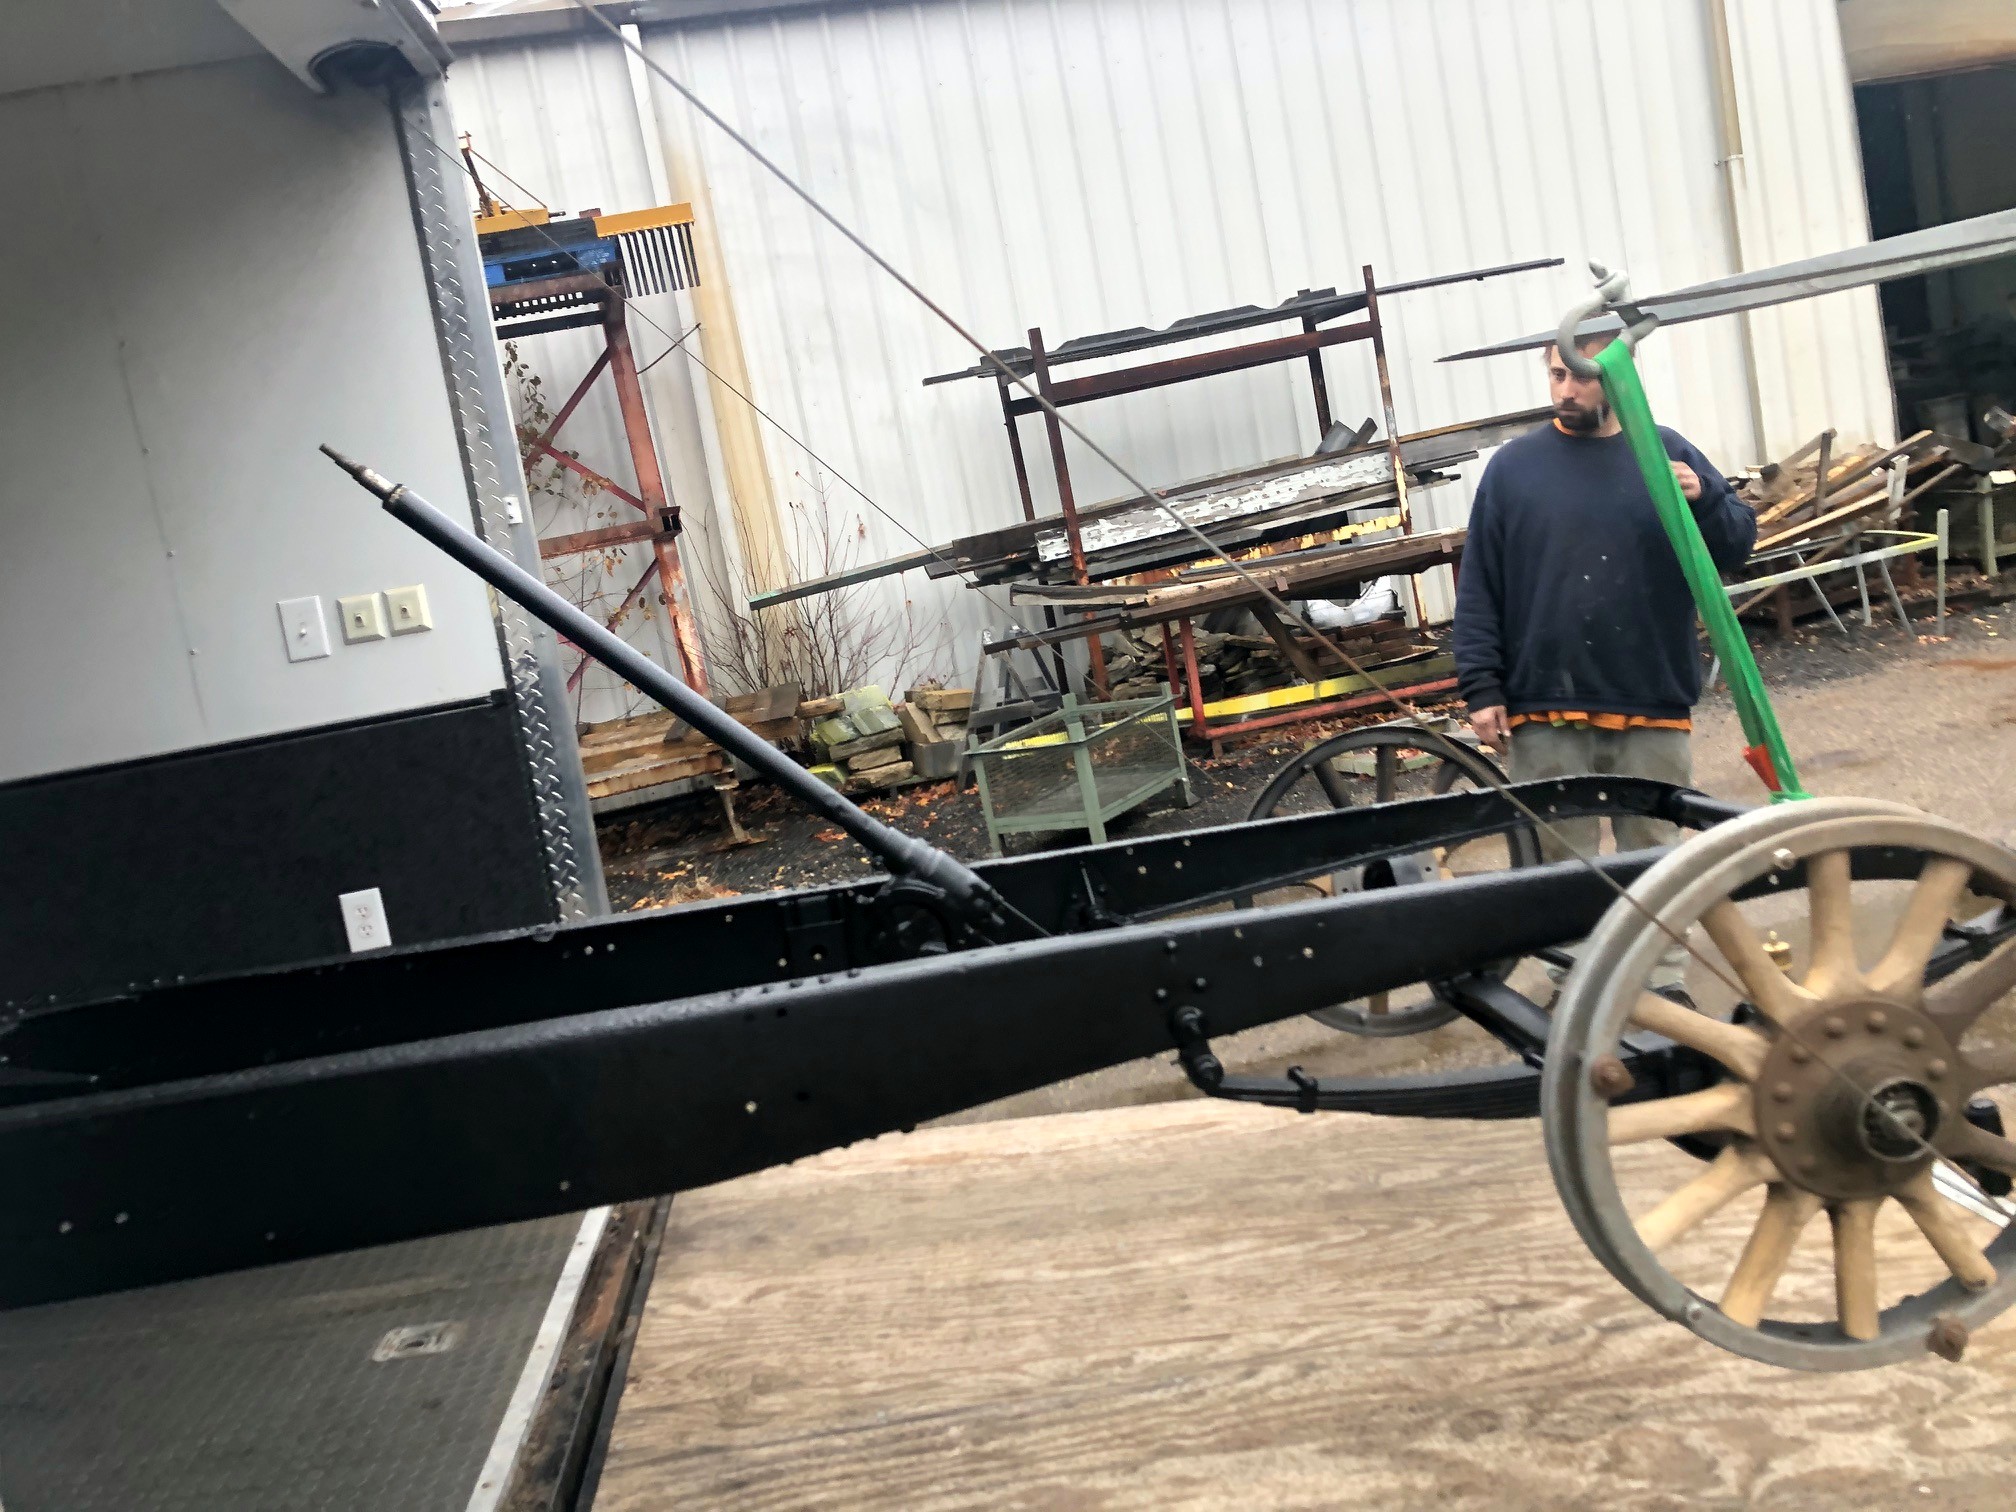
The newly painted chassis is being loaded into the trailer to be returned to our shop.
18 / 157
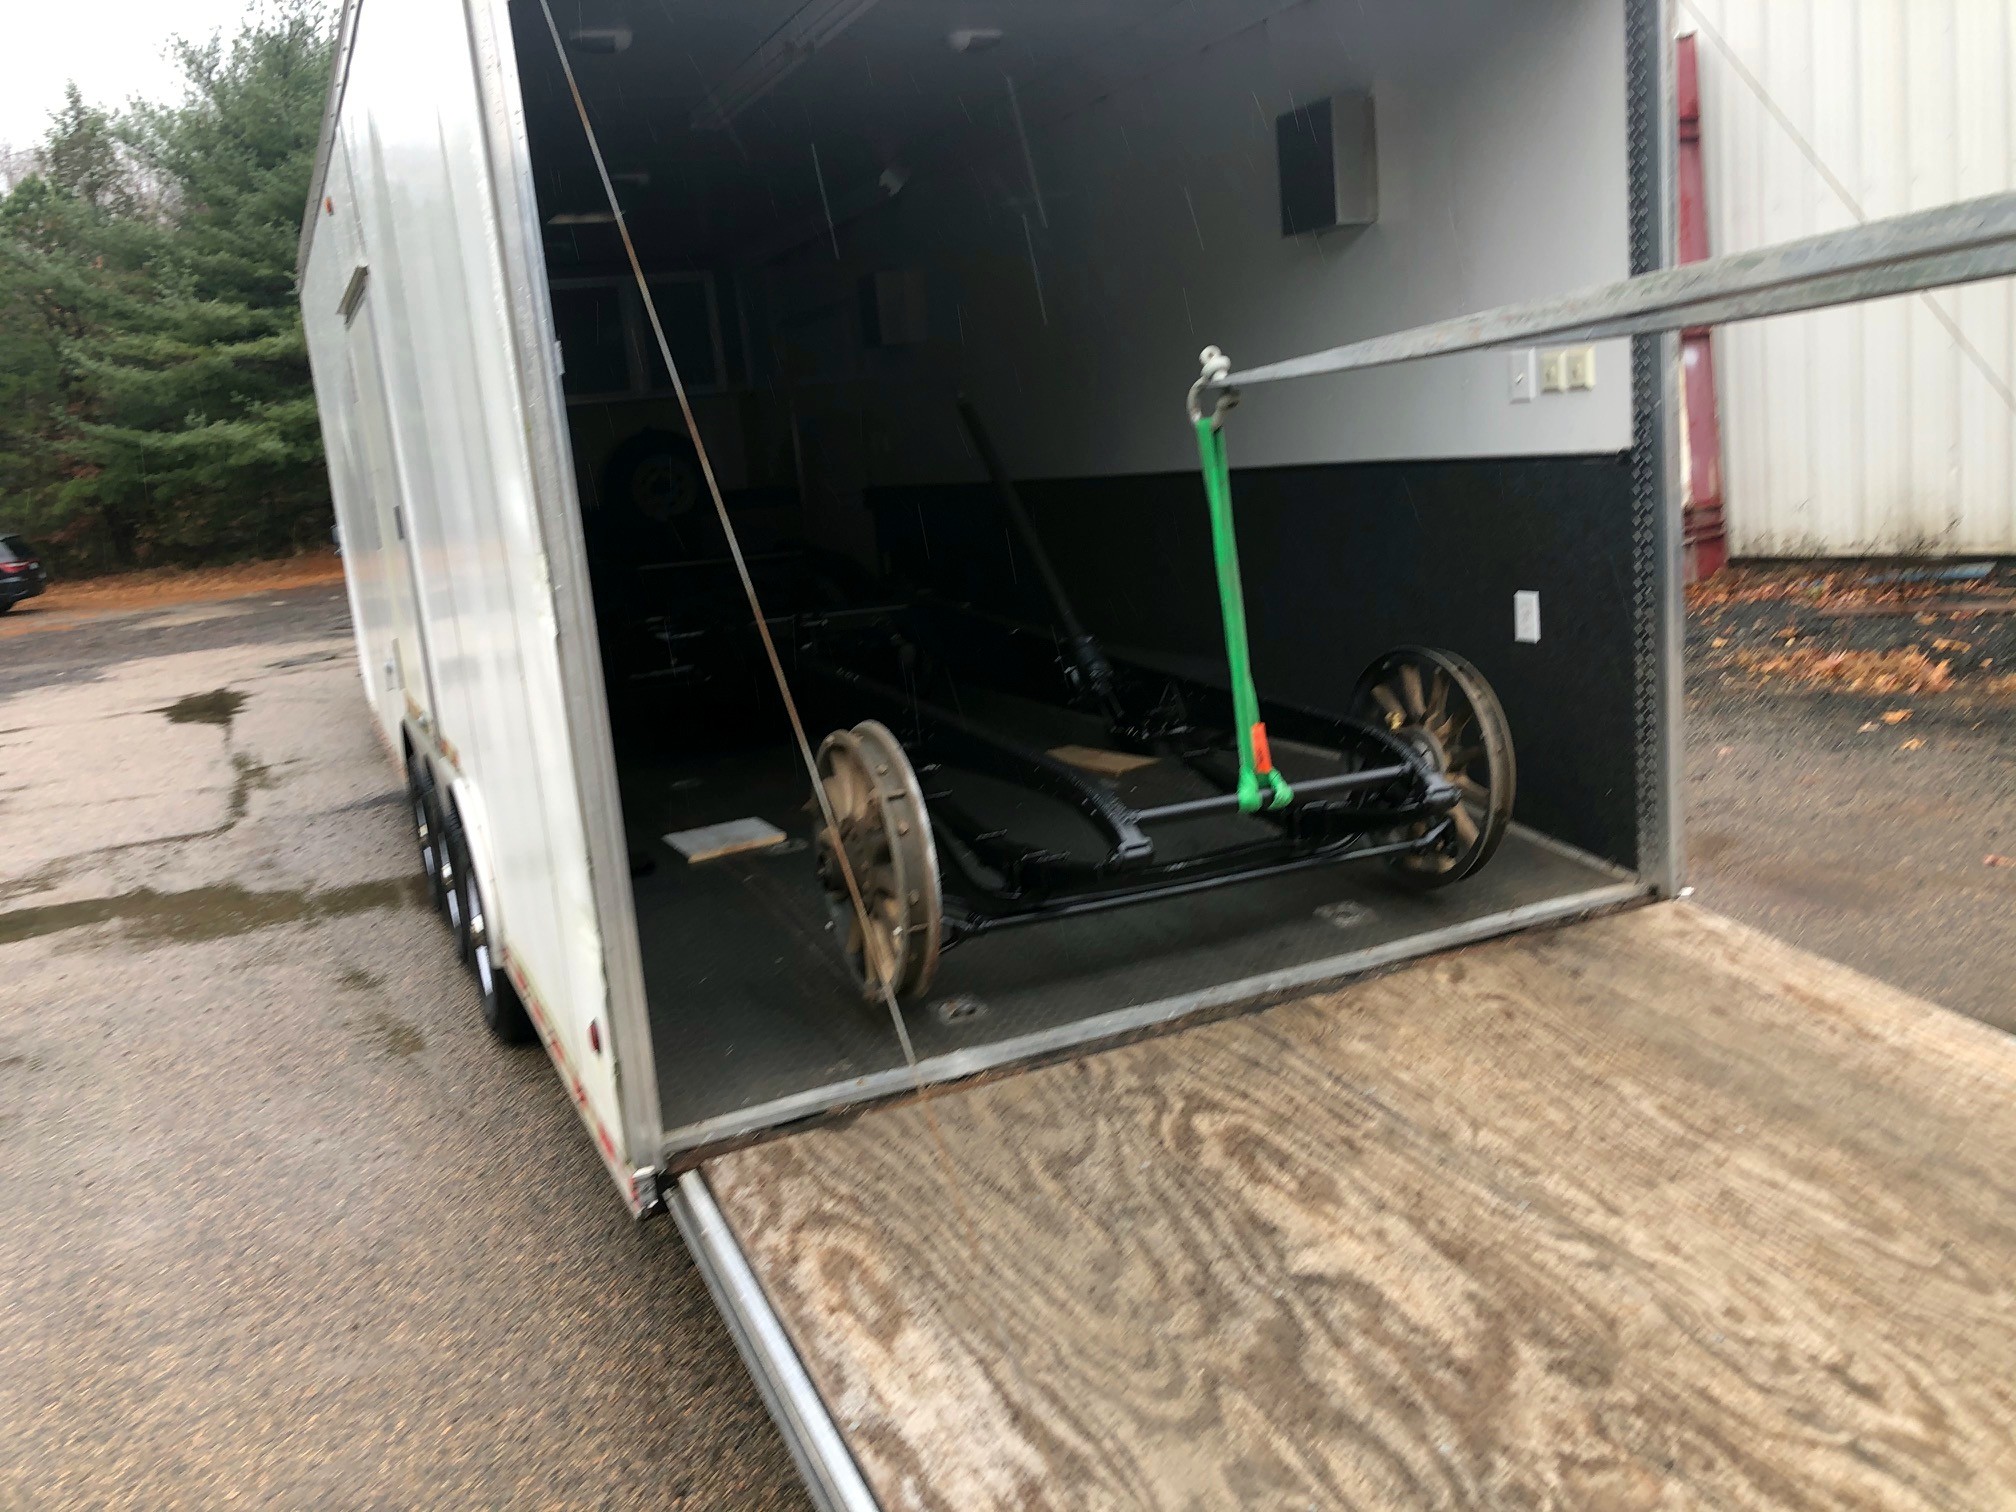
The newly painted chassis is being loaded into the trailer to be returned to our shop.
19 / 157
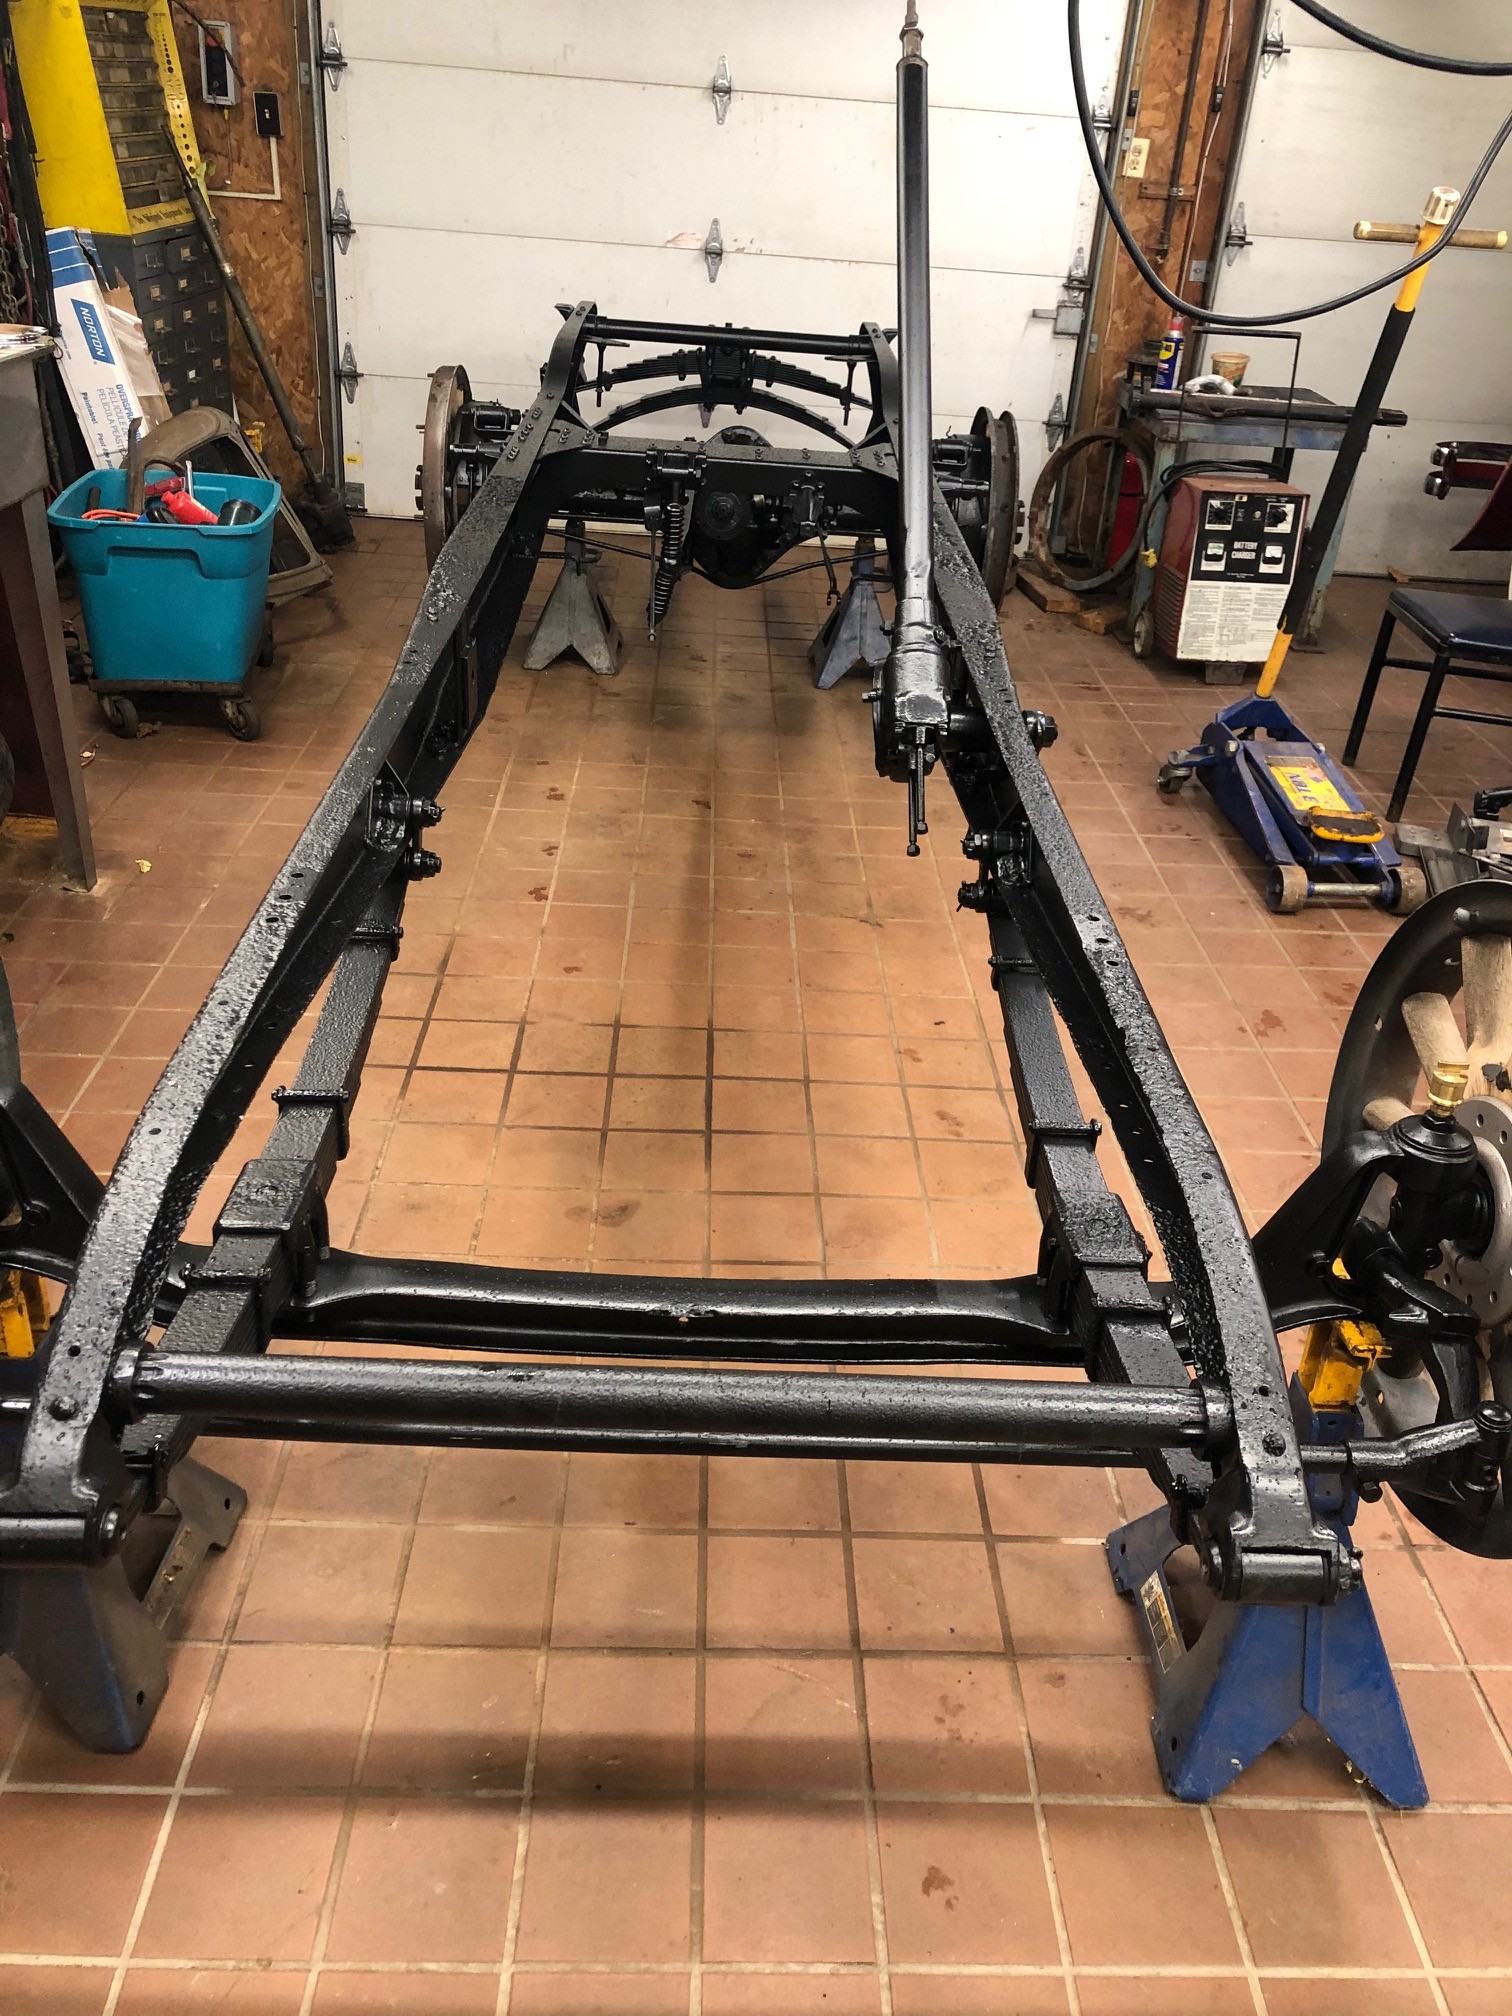
The newly sand blasted and painted chassis as it arrived at our shop.
20 / 157